Welcome to Moda Fabrics!
Christmas Baubles Quilt
Christmas Baubles Quilt
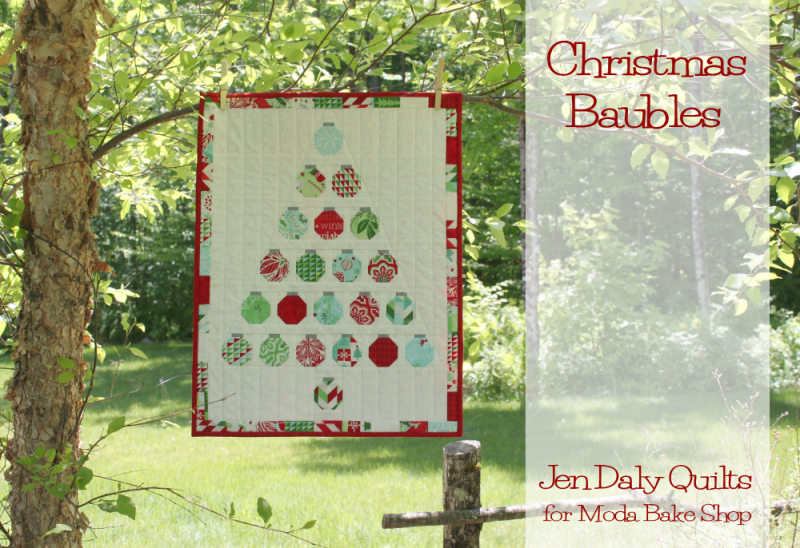
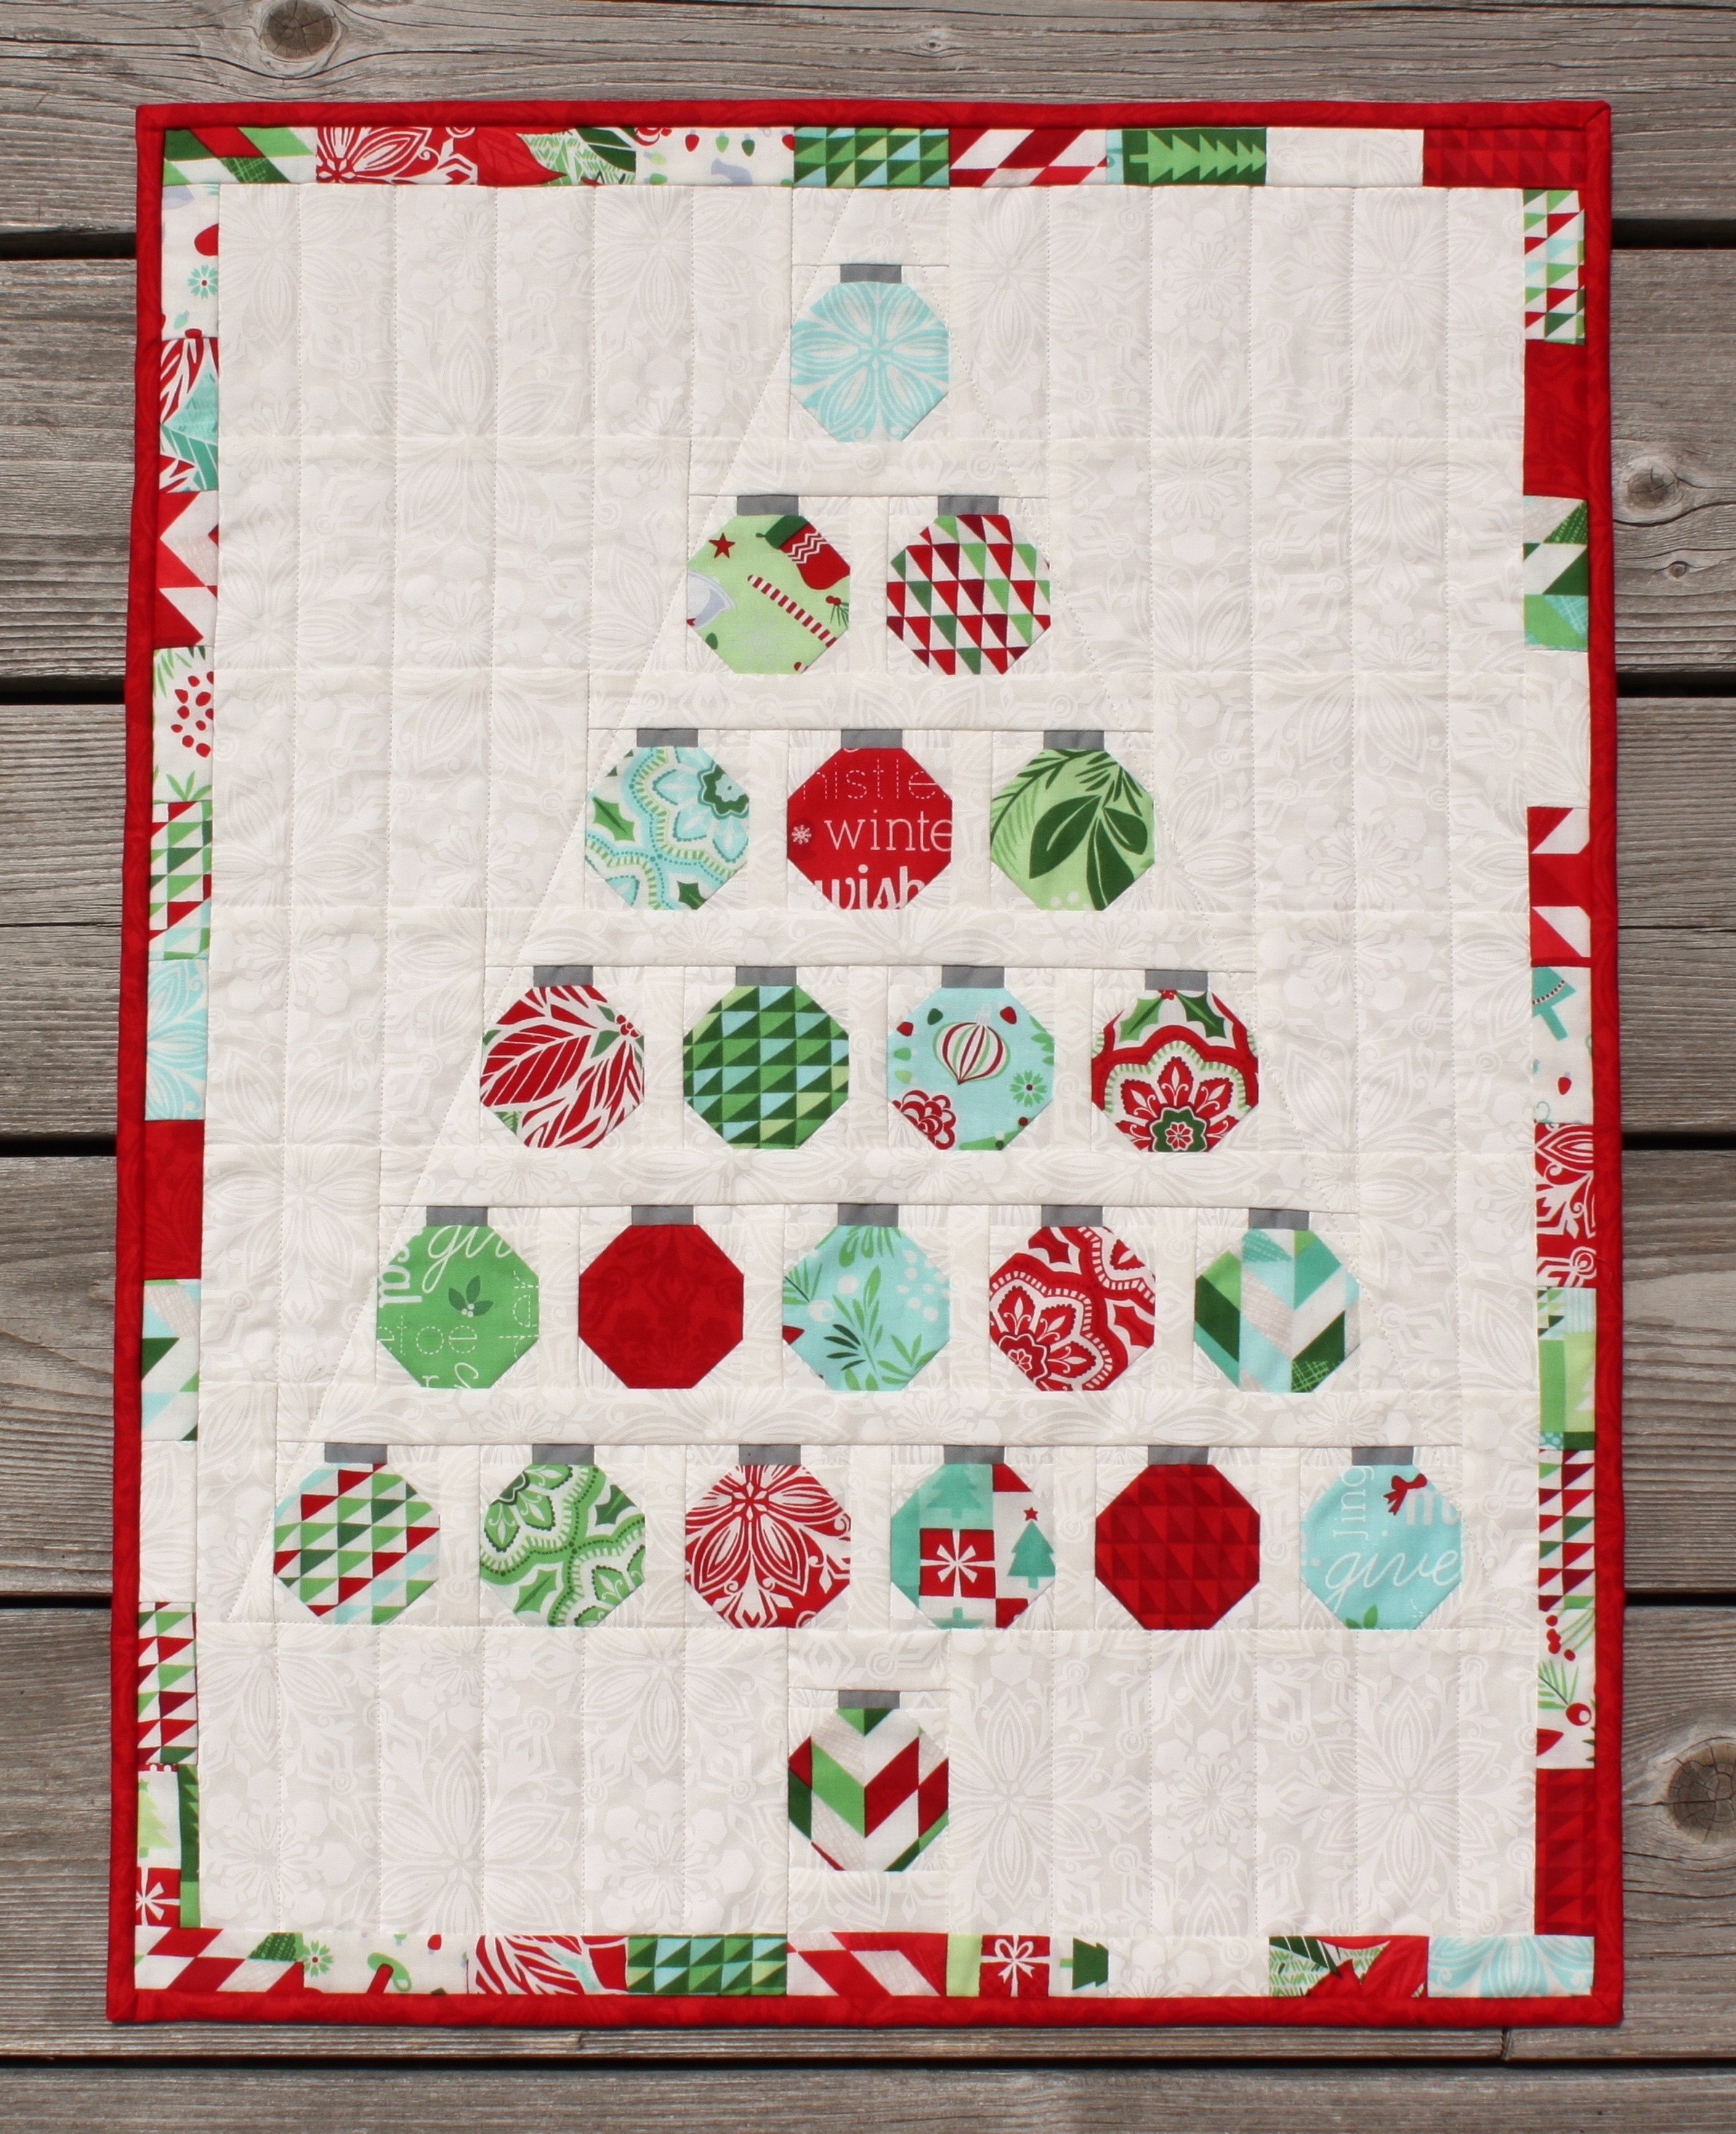
Hey there! My name is Jen Daly and I'm so happy to be back at the Moda Bake Shop today with a new project to share with you all! Christmas Baubles is a sweet little 18" x 24" quilt that you can make with a mini charm pack of your favorite Christmas fabrics. My quilt features Kate Spain's "Jingle" fabric line and I think her cheerful colors and fun prints are perfect for this quilt!
Here we go...
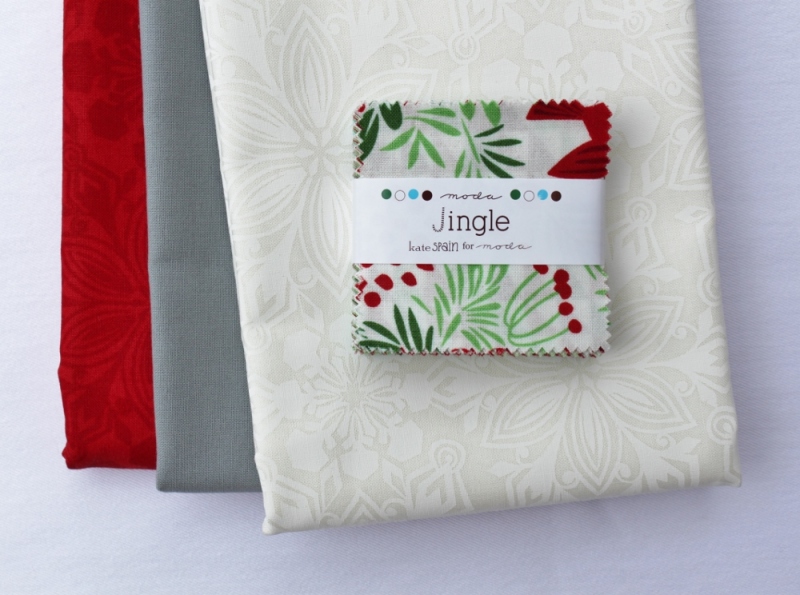
- 1 Mini Charm Pack (shown in Jingle by Kate Spain)
- 2/3 yard white or tone on tone background fabric (shown in Jingle Noel Snow)
- 1/8 yard gray fabric (shown in Steel Bella Solid)
- 1 yard backing/binding fabric (shown in Jingle Noel Tonal Crimson)
- batting measuring 22" x 26"
Also Helpful:
- spray basting adhesive
- sandpaper board
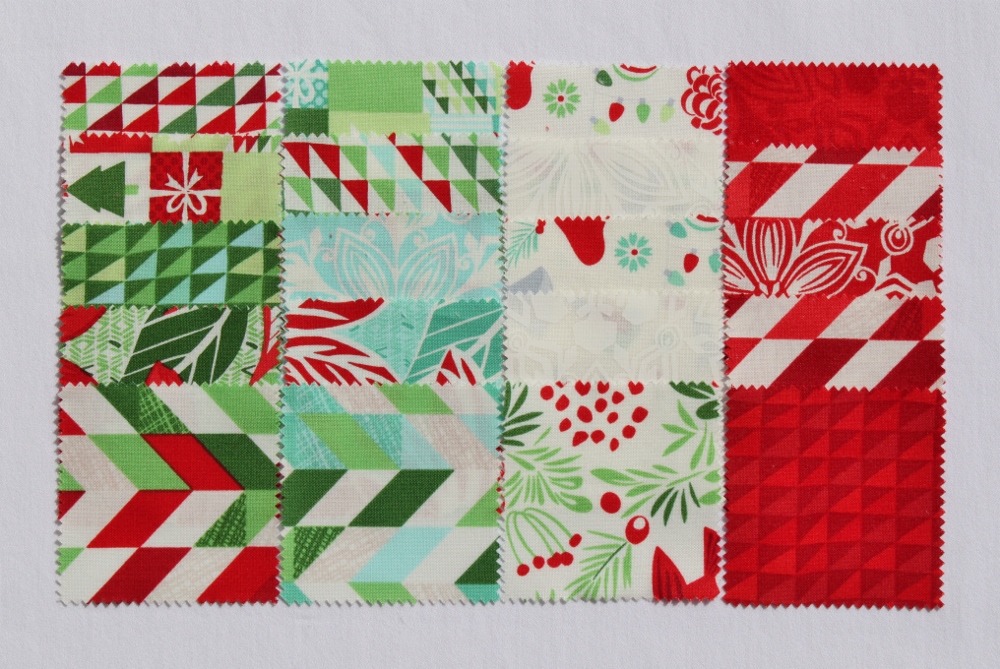
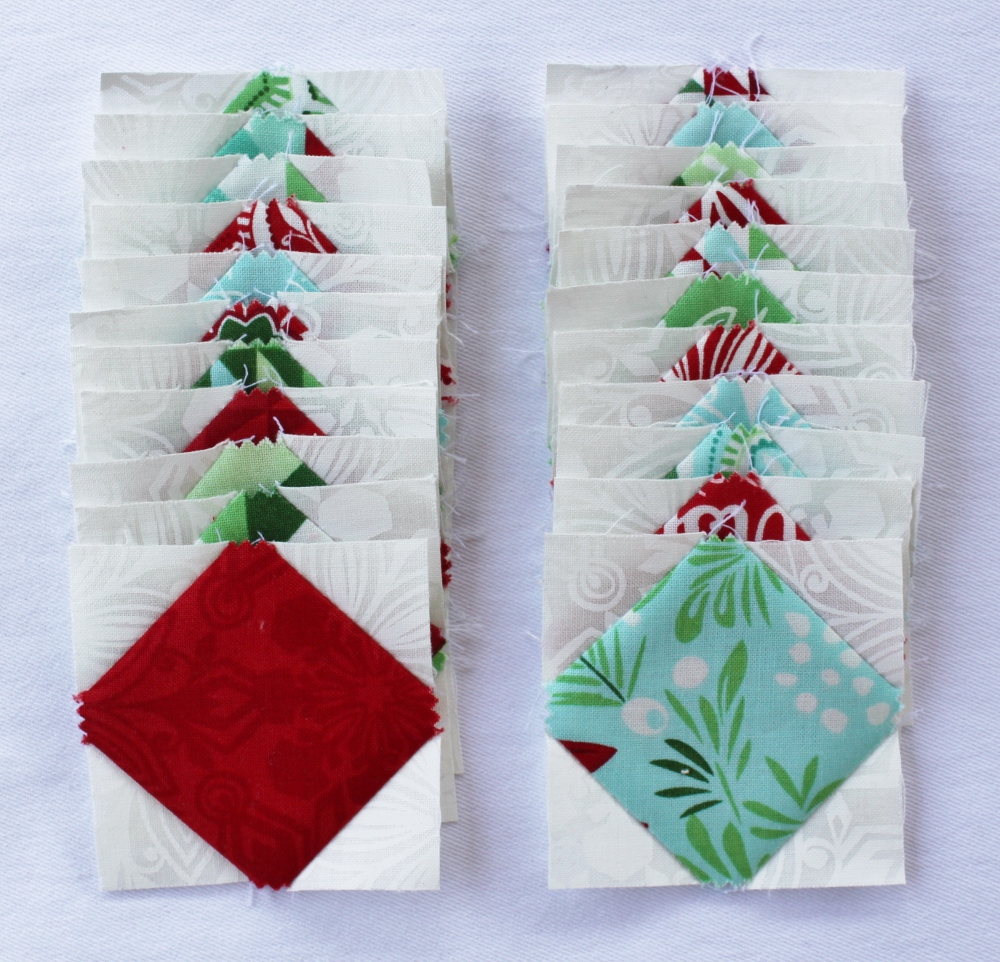
Before cutting, take a few minutes to organize your mini charm squares. You'll need 22 for the ornament blocks and 20 for the pieced border.
Here's how I sorted mine:
For the ornaments:
And for the pieced border:
Cutting:
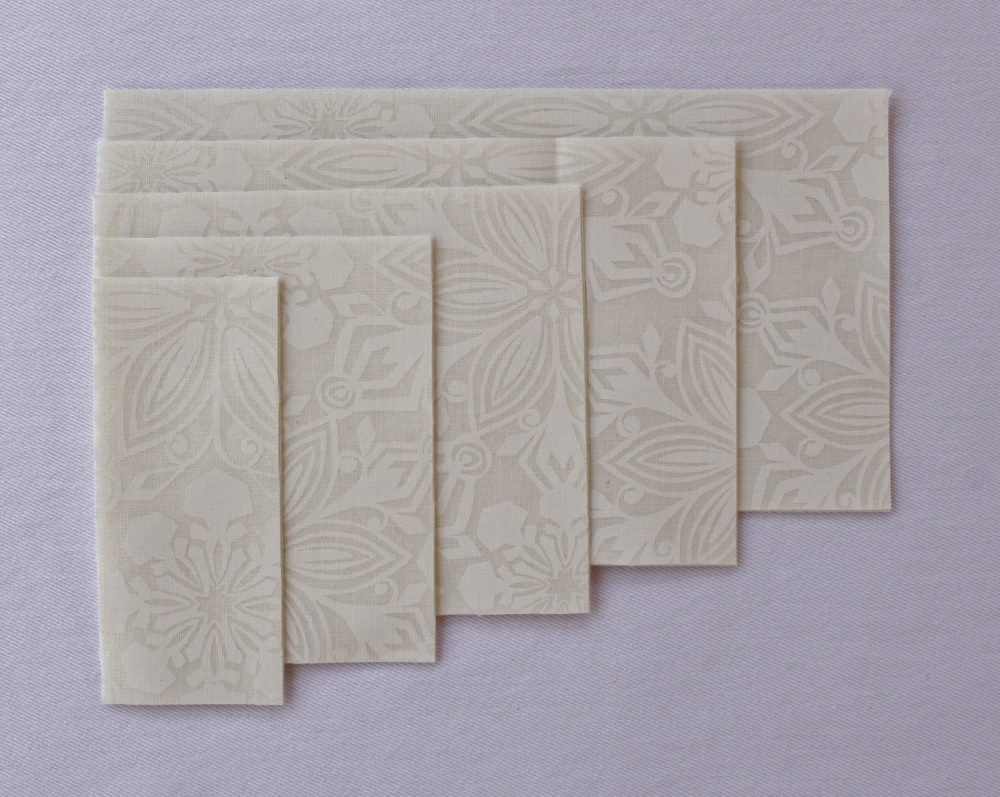
First cut your background fabric into the following:
- 1 strip 1" x WOF (width of fabric - or one selvage edge to the other)
- 4 strips 1 1/8" x WOF
- 2 strips 1 1/4" x WOF
- 1 strip 3 1/2" x WOF
- 1 strip 7 3/4" x WOF
Of the gray fabric, cut:
- 1 strip 1 1/4" x WOF
Of your binding fabric, cut:
- 3 strips 2 1/4" x WOF
Further cut your background fabric strips into the following:
- from the 1" x WOF strip:
- 15 - 1" x 2 3/4"
- from the 4 - 1 1/8" x WOF strips:
- from 3 strips, 88 - 1 1/8" x 1 1/8"
- from 4th strip, 2 - 1 1/8" x 20"
- from the 2 - 1 1/4" x WOF strips:
- 2 - 1 1/4" x 2 1/2"
- 1 - 1 1/4" x 5"
- 1 - 1 1/4" x 7 1/2"
- 1 - 1 1/4" x 10"
- 1 - 1 1/4" x 12 1/2"
- 1 - 1 1/4" x 15"
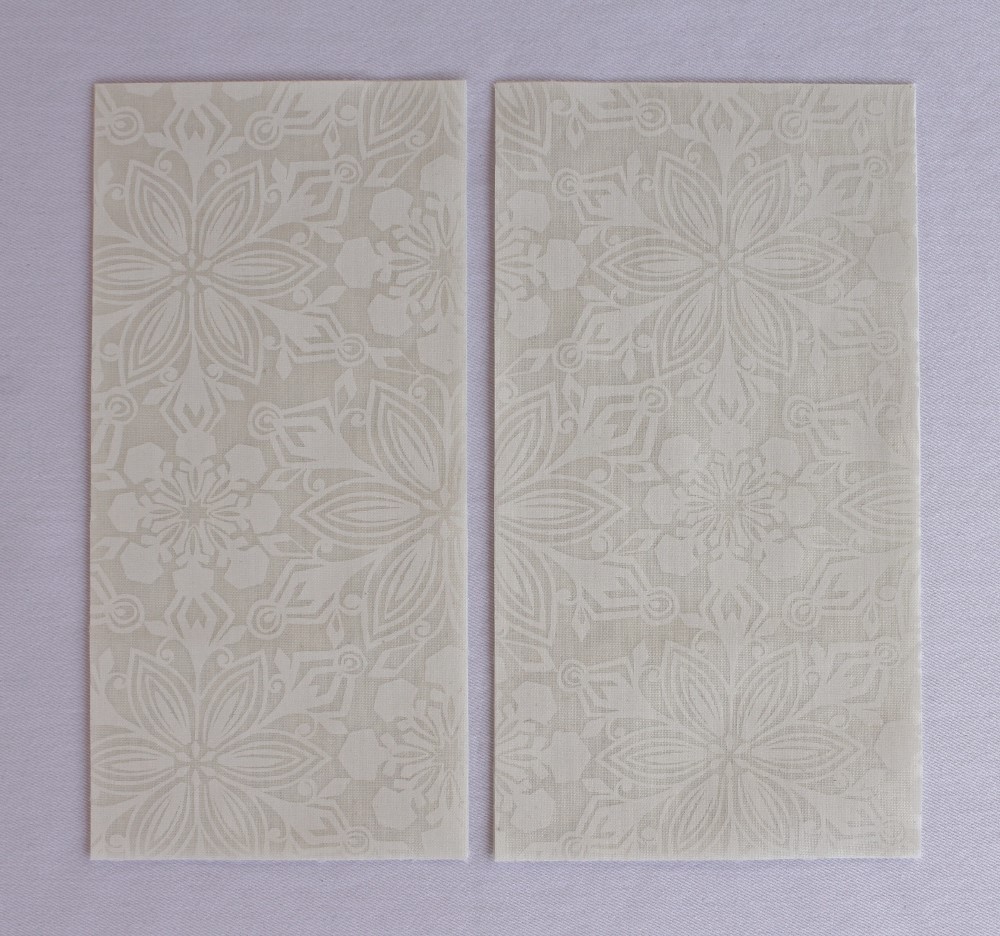
- from the 3 1/2" x WOF strip:
- 2 - 3 1/2" x 1 1/2"
- 2 - 3 1/2" x 2 3/4"
- 2 - 3 1/2" x 4"
- 2 - 3 1/2" x 5 1/4"
- 2 - 3 1/2" x 6 1/2"
- from the 7 3/4" x WOF strip:
- 2 - 7 3/4" x 3 3/4"
- 2 - 7 3/4" x 4 1/4"
Further cut your gray strip into 1 - 1 1/4" x 20".
Finally, cut the 20 mini charm squares that you plan to use for the pieced border in half -- each half should measure 1 1/4" x 2 1/2".
Ornament Blocks:
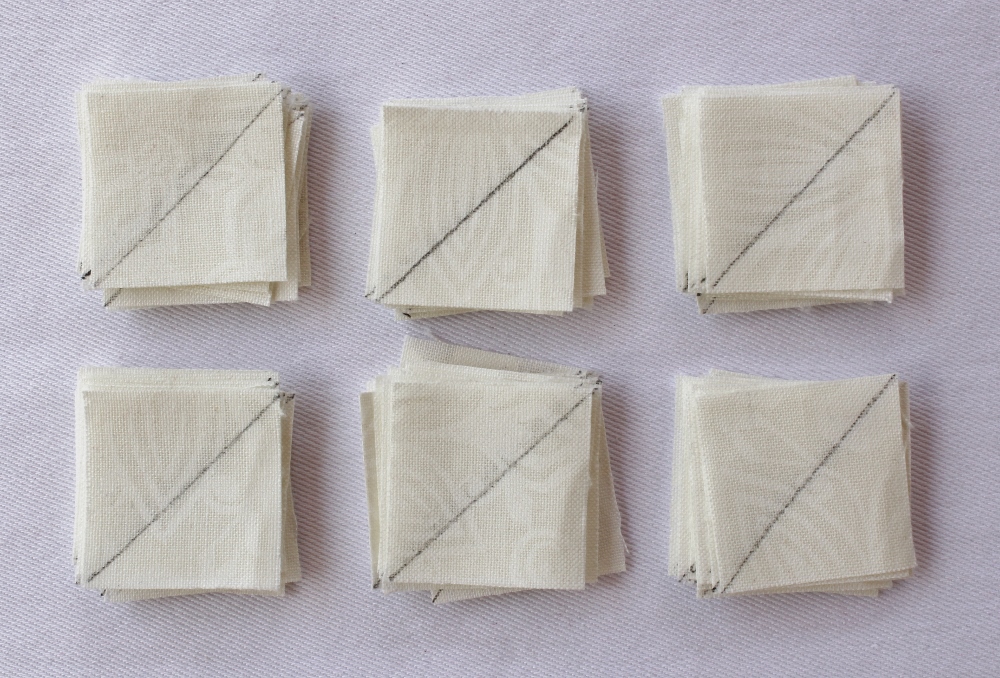
On the back of each of 88 background fabric 1 1/8" x 1 1/8" squares, lightly draw a diagonal line from corner to corner. Note: placing the squares on a sandpaper board before drawing lines helps to keep the fabric from shifting or distorting as you draw the lines.
For each ornament:
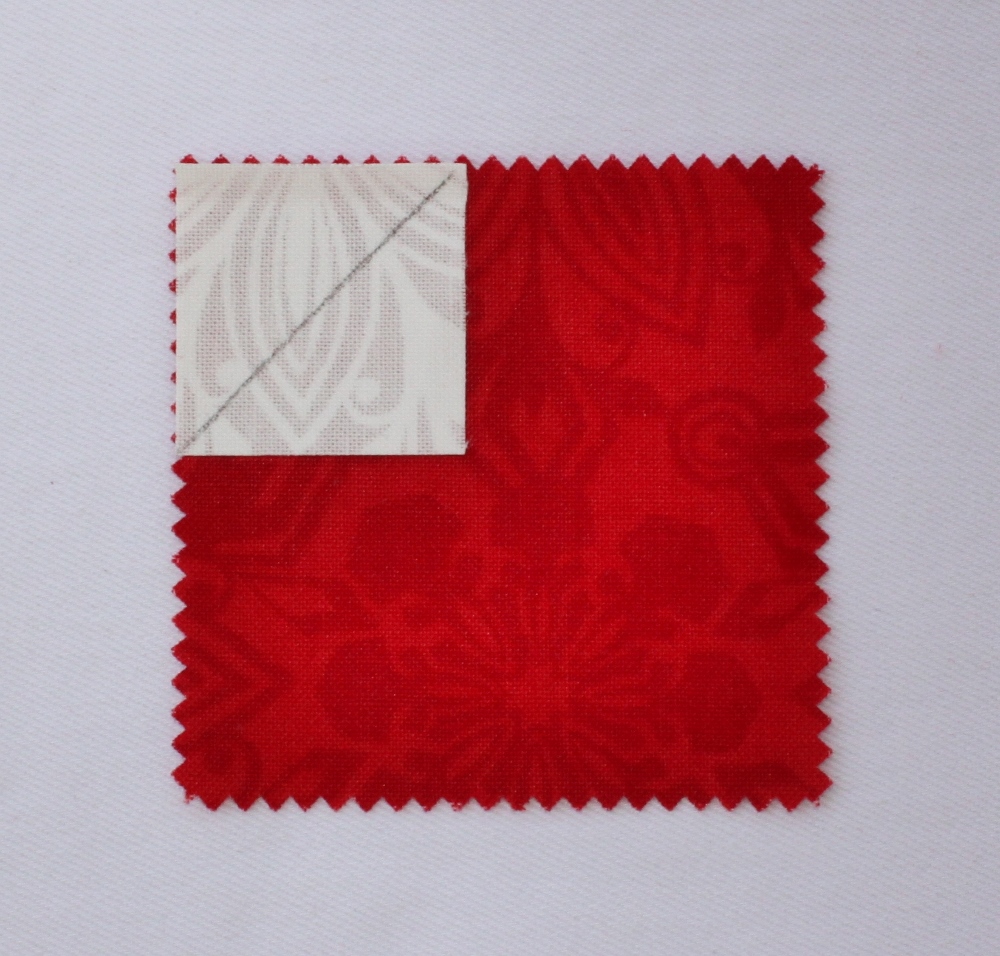
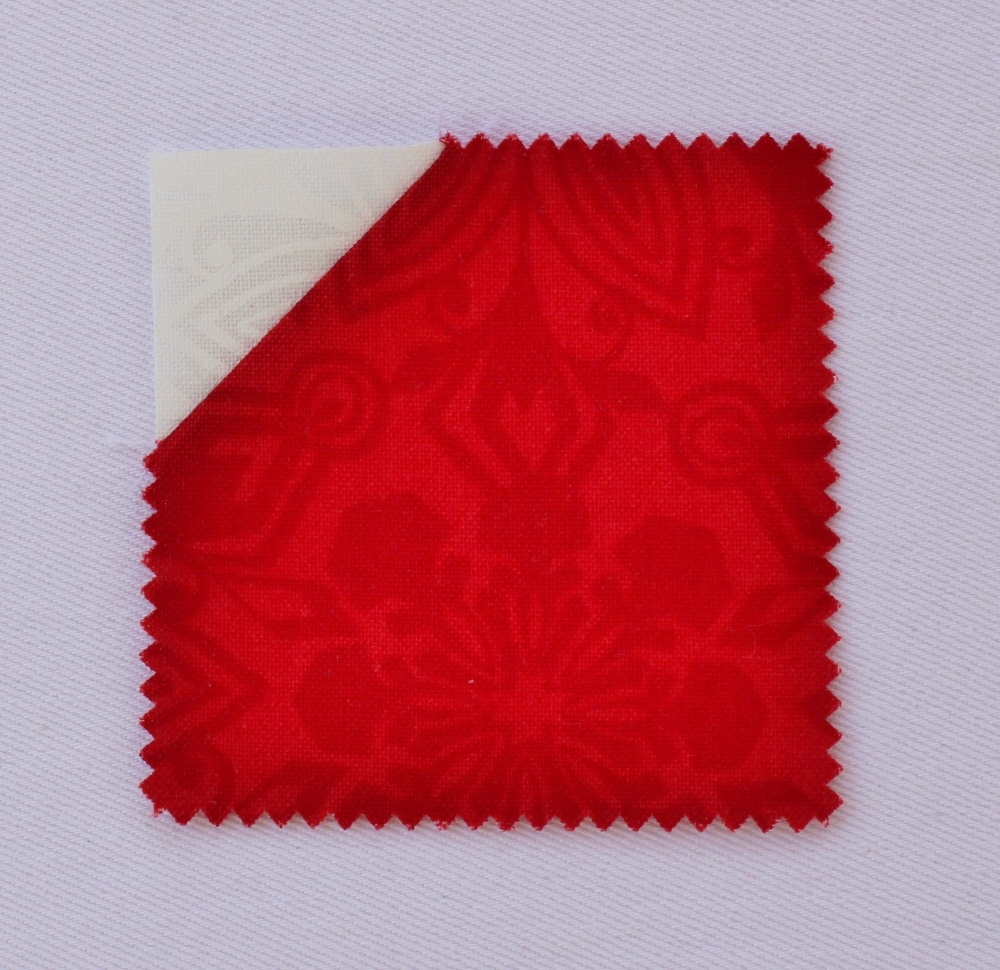
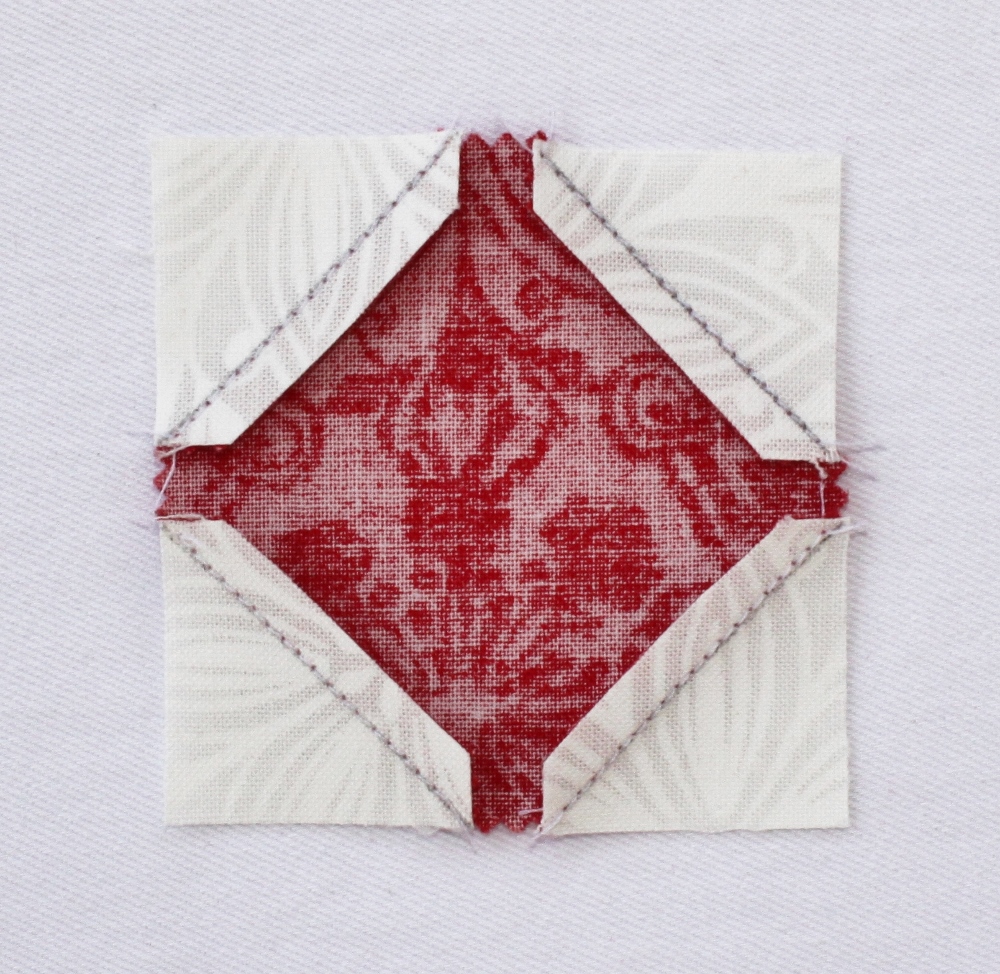
Place 1 mini charm square on a flat surface with right side facing up. Place 1 background fabric 1 1/8" x 1 1/8" on mini charm square with drawn line visible as follows:
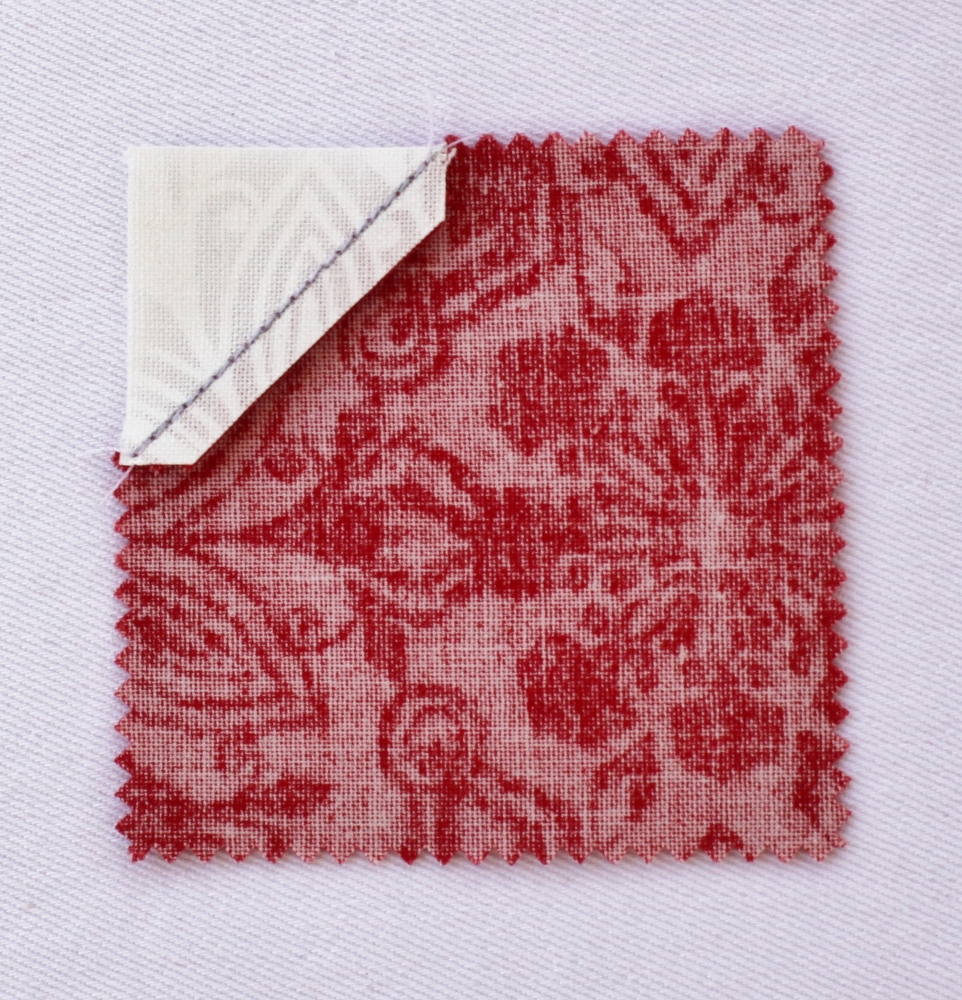
Stitch along drawn line. Press away from background fabric.
Trim excess fabric a scant 1/4" from seam:
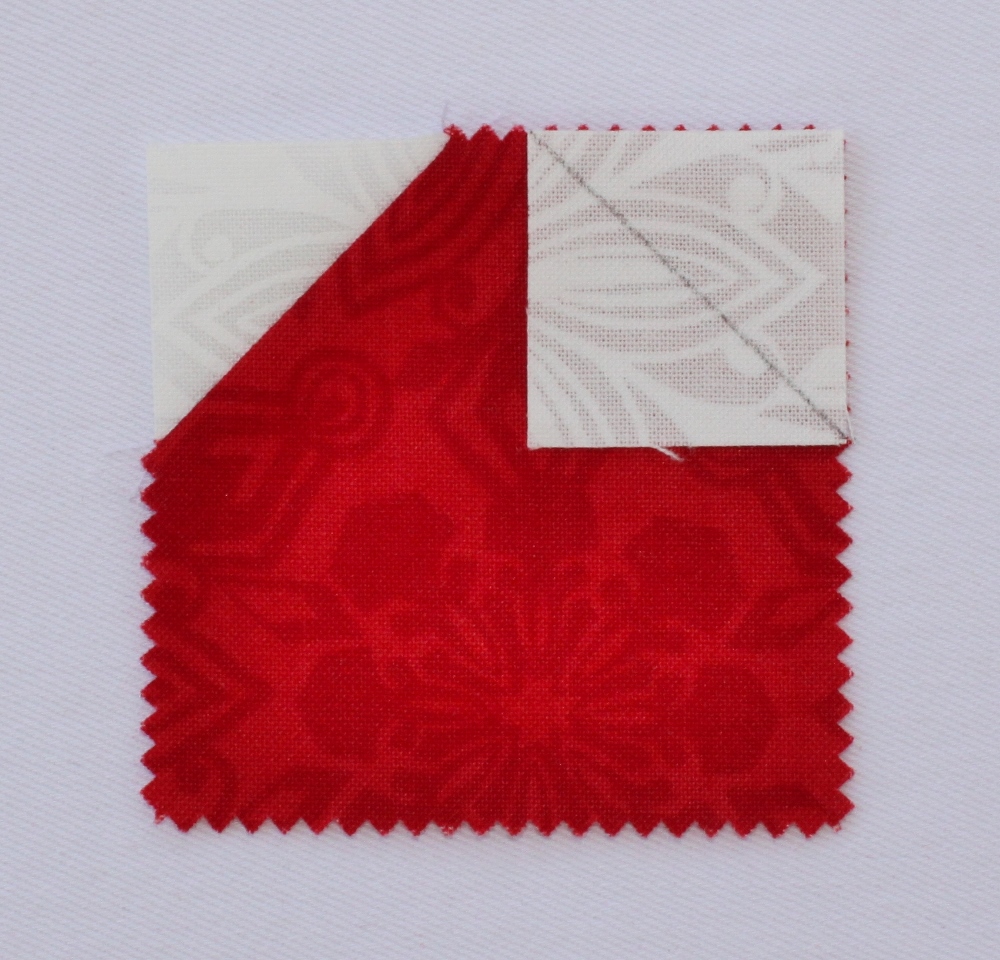
Place 1 background fabric 1 1/8" x 1 1/8" atop mini charm square with drawn line visible as follows:
Stitch along drawn line, press away from background fabric, and trim excess fabric a scant 1/4" from seam.
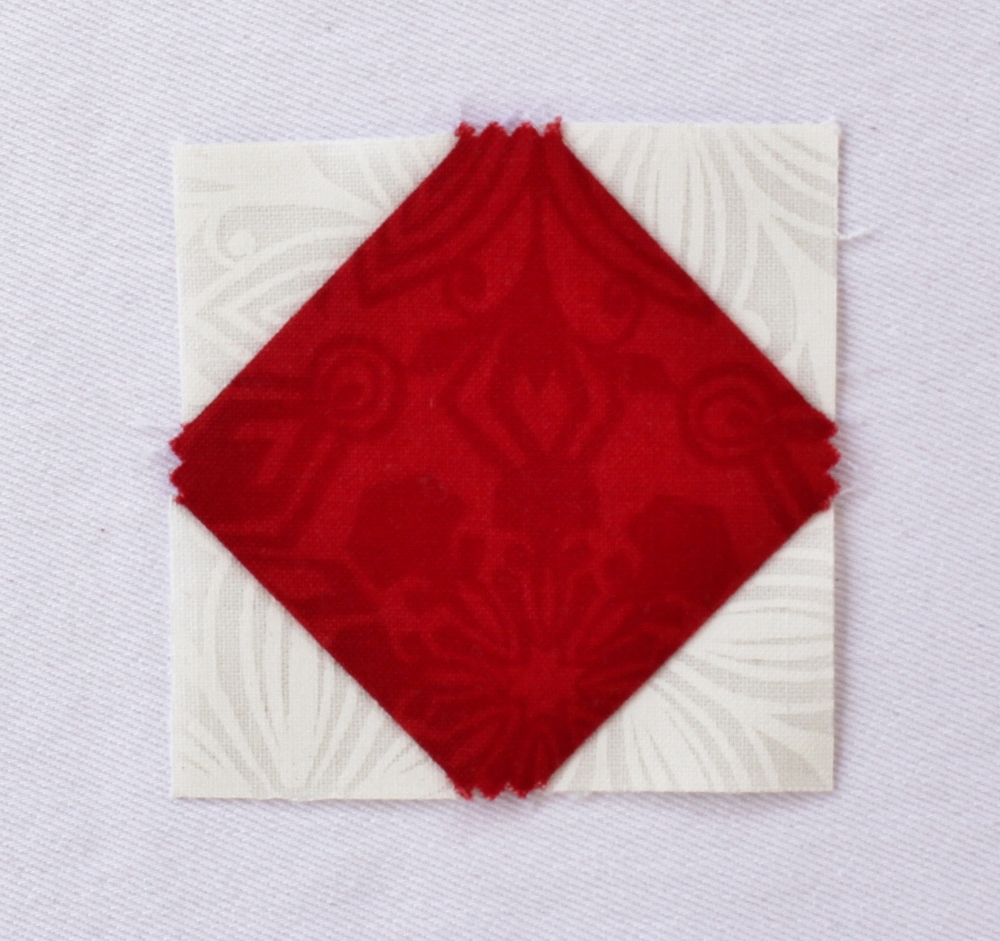
Continue in same manner for all 4 corners of mini charm square. The final ornament unit should measure 2 1/2" x 2 1/2":
Repeat above steps with remaining 21 ornament mini charm squares and 84 - 1 1/8" x 1 1/8" background squares.
Strip Piecing Ornament Tops:
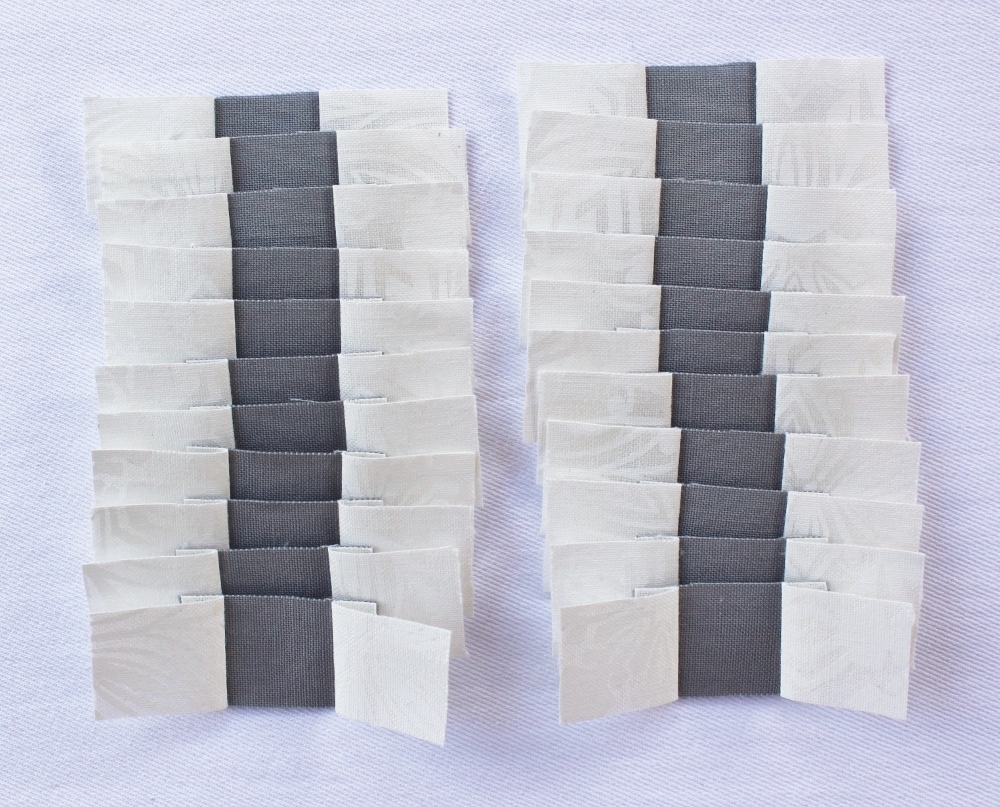
Using a scant 1/4" seam and with right sides facing together, stitch 1 background fabric 1 1/8" x 20" to either side of gray 1 1/4" x 20".
Press seams away towards background fabric.
The finished background fabric/gray strip unit should measure 2 1/2" wide.
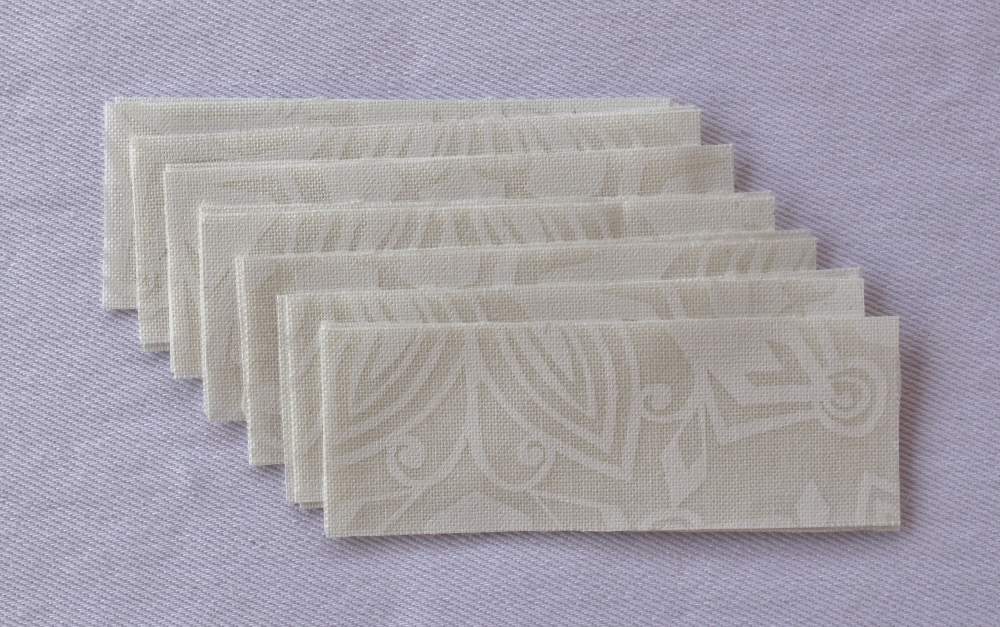
From the background fabric/gray strip unit, cut 22 - 3/4" x 2 1/2" units.
Assemble Ornament Blocks:
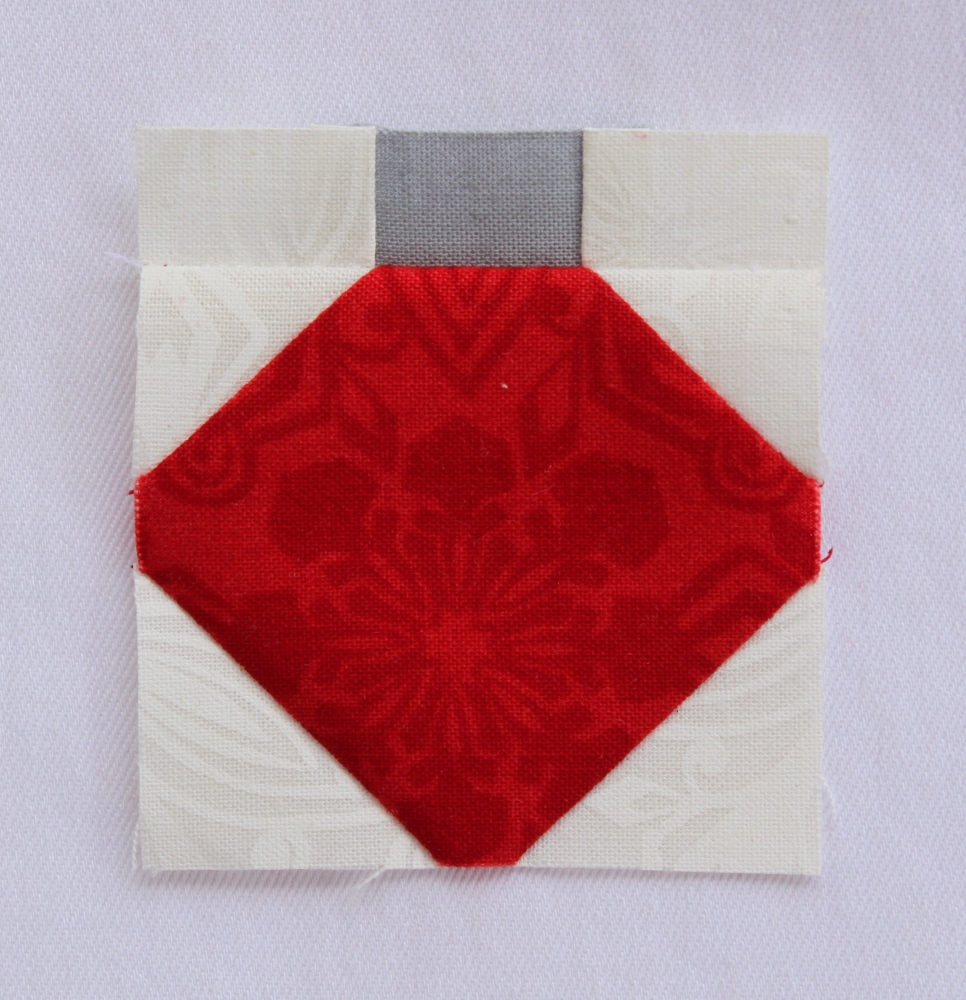
Stitch 1 ornament top unit to 1 mini charm ornament with right sides facing together as follows, pressing seam away from ornament top:
Finished ornament block should measure 2 1/2" x 2 3/4".
Repeat above steps to make 22 ornament blocks.
Assemble Quilt Center:
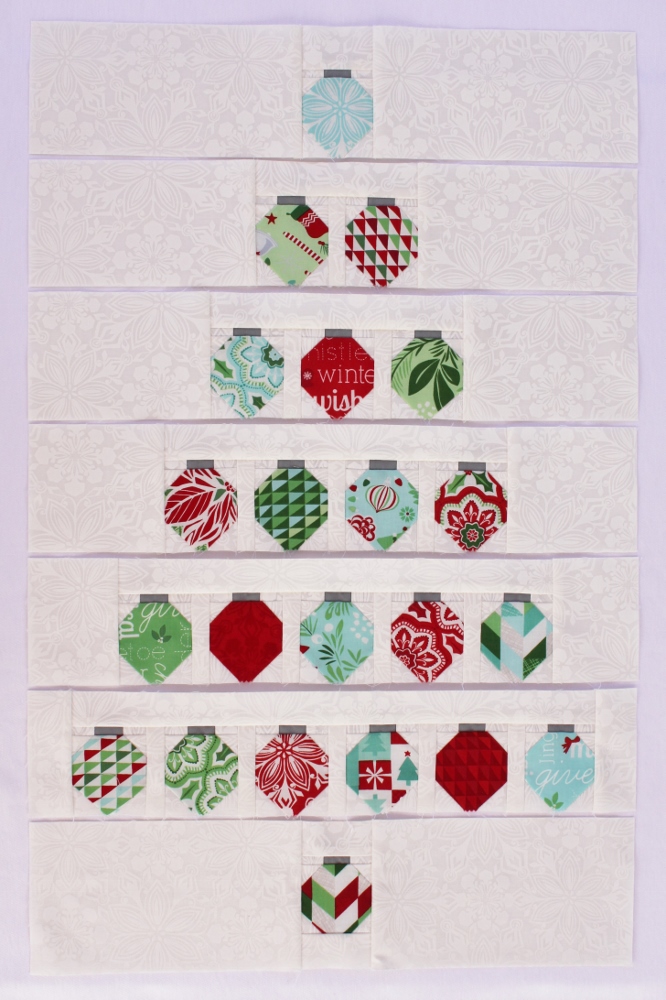
Lay out 22 ornaments blocks in approximation of tree shape as desired. The quilt center is assembled row by row.
Row 1:
Lay out 1 ornament block, 1 background fabric ("BF") - 1 1/2" x 2 1/2" (above ornament block), and 2 BF - 3 3/4" x 7 3/4"s as follows:
Stitch together ornament block and 1 background fabric ("BF") - 1 1/2" x 2 1/2". Press seam away from ornament top. Then stitch 1 BF - 3 3/4" x 7 3/4" to either side, pressing seams away from ornaments:
Row 2:
Lay out 2 ornament blocks, 1 BF - 1" x 2 3/4" (in between ornament blocks), 1 BF - 1 1/4" x 5", and 2 BF - 3 1/2" x 6 1/2"s as follows:
Stitch together 2 ornament blocks with 1 BF - 1" x 2 3/4" in between ornament blocks. Press seams away from ornaments. Then stitch 1 BF - 1 1/4" x 5" to top of previous unit. Press seam away from ornament tops. Then stitch 1 BF - 3 1/2" x 6 1/2" to either side, pressing seams away from ornaments:
Row 3:
Lay out 3 ornament blocks, 2 BF - 1" x 2 3/4"s (in between ornament blocks), 1 BF - 1 1/4" x 7 1/2", and 2 BF - 3 1/2" x 5 1/4"s as follows:
Stitch together 3 ornament blocks with 2 BF - 1" x 2 3/4"s in between ornament blocks. Press seams away from ornaments. Then stitch 1 BF - 1 1/4" x 7 1/2" to top of previous unit. Press seam away from ornament tops. Then stitch 1 BF - 3 1/2" x 5 1/4" to either side, pressing seams away from ornaments:
Row 4:
Lay out 4 ornament blocks, 3 BF - 1" x 2 3/4"s (in between ornament blocks), 1 BF - 1 1/4" x 10", and 2 BR - 3 1/2" x 4"s as follows:
Stitch together 4 ornament blocks with 3 BF - 1" x 2 3/4"s in between ornament blocks. Press seams away from ornaments. Then stitch 1 BF - 1 1/4" x 10" to top of previous unit. Press seam away from ornament tops. Then stitch 1 BF - 3 1/2" x 4" to either side, pressing seams away from ornaments:
Row 5:
Lay out 5 ornament blocks, 4 BF - 1" x 2 3/4"s (in between ornament blocks), 1 BF - 1 1/4" x 12 1/2", and 2 BF - 3 1/2" x 2 3/4"s as follows:
Stitch together 5 ornament blocks with 4 BF - 1" x 2 3/4"s in between ornament blocks. Press seams away from ornaments. Then stitch 1 BF - 1 1/4" x 12 1/2" to top of previous unit. Press seam away from ornament tops. Then stitch 1 BF - 3 1/2" x 2 3/4" to either side, pressing seams away from ornaments:
Row 6:
Lay out 6 ornament blocks, 5 BF - 1" x 2 3/4"s (in between ornament blocks), 1 BF - 1 1/4" x 15", and 2 BF - 3 1/2" x 1 1/2"s as follows:
Stitch together 6 ornament blocks with 5 BF - 1" x 2 3/4"s in between ornament blocks. Press seams away from ornaments. Then stitch 1 BF - 1 1/4" x 15" to top of previous unit. Press seam away from ornament tops. Then stitch 1 BF - 3 1/2" x 1 1/2" to either side, pressing seams away from ornaments:
Row 7:
Lay out 1 ornament block, 2 BF - 1 1/4" x 2 1/2"s (above and below ornament block), and 2 BF - 4 1/4" x 7 3/4"s as follows:
Stitch together ornament block and 2 BF - 1 1/4" x 2 1/2"s (to top and bottom of ornament block). Then stitch 1 BF - 4 1/4" x 7 3/4" to either side of previous unit:
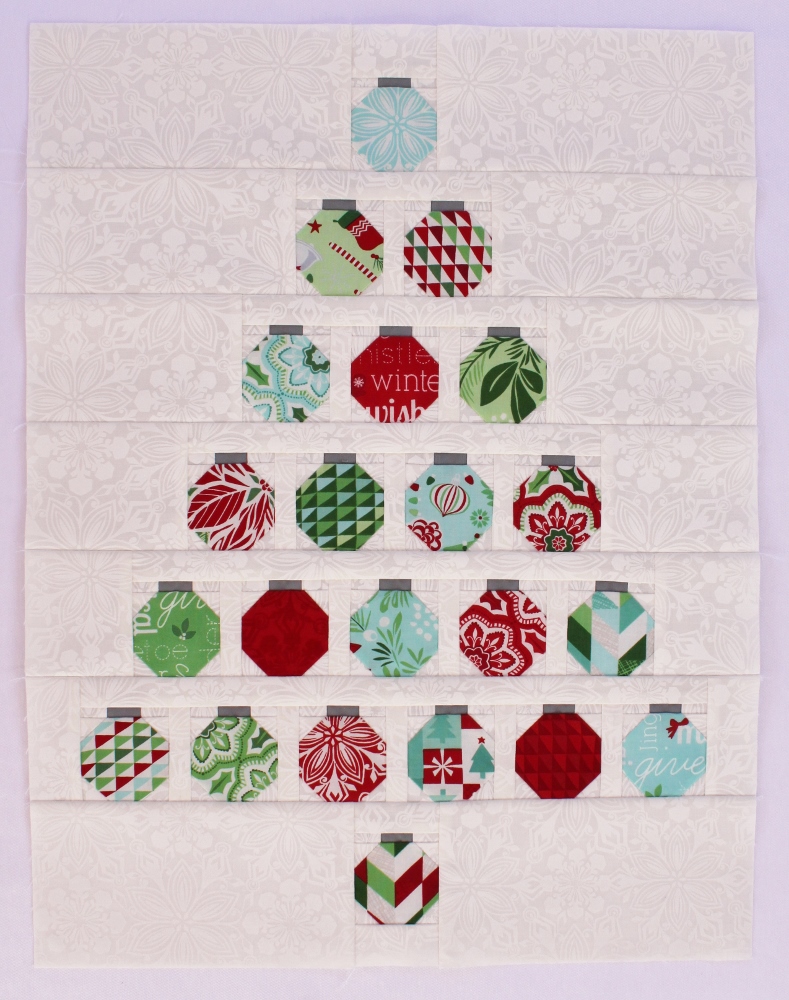
Lay completed rows out in order to create tree shape -- Row 1 at the top and Row 7 at the bottom:
Stitch rows together to complete quilt center, pressing seams towards bottom of quilt.
Add Pieced Border:
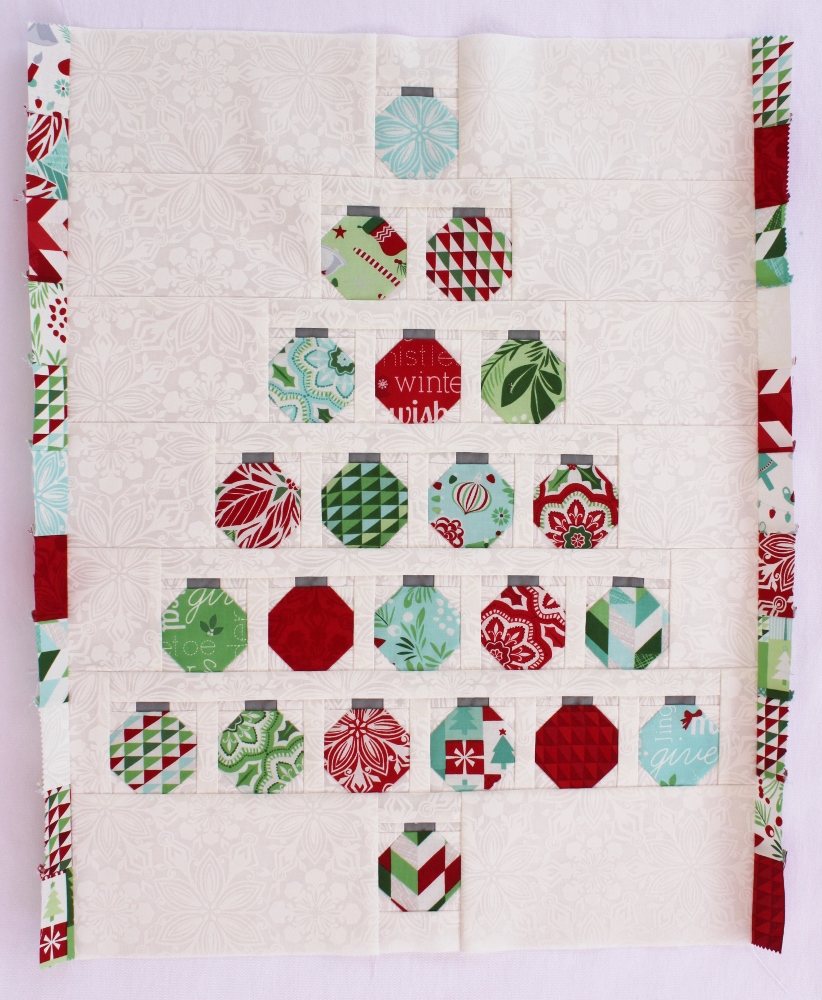
Lay out 2 borders of 11 - 1 1/4" x 2 1/2" mini charm rectangles for top and bottom of quilt and 2 borders of 9 - 1 1/4" x 2 1/2" mini charm rectangles for sides of quilt:
For each border, stitch together 1 1/4" x 2 1/2" mini charm rectangles, pressing seams in one direction.
Stitch long borders to either side of quilt center, matching centers and pressing seams towards border.
Stitch short borders to top and bottom of quilt, matching centers and pressing towards borders.
Done!
Finish quilt:
Layer the quilt top with batting and backing fabric. Baste and quilt as desired. I basted the quilt using both spray basting adhesive and thread just to make sure it stayed still during machine quilting. I wanted the quilting for this project to be something fast and simple that I could do on my own at home, so I used my sewing machine to stitch both a tree shape around the ornaments and vertical lines in the background of the quilt.
One cheerful and fun 18" x 24" quilt, perfect for adorning your wall at Christmas!
Jen Daly
{jendalyquilts.com}

