Welcome to Moda Fabrics!
Sleep Tight Dreamcatcher
Sleep Tight Dreamcatcher
Hi there! I'm Julie from 627handworks.com and will be showing you how to make a dreamcatcher using fabric strips. You can make a simple dreamcatcher using fabric and yarn or dig into your craft supplies for embellishments such as ribbon, specialty yarn, beads, artificial feathers and anything else you can think of.
To be honest, I'm not normally a batik kind of person and don't find myself drawn to them for sewing. But this is a perfect project for batiks and gives me a new appreciation for these fabrics.
I think every dreamcatcher needs a 'web' and at least one faux feather. From Wikipedia:
The Ojibwe believe that a dreamcatcher changes a person's dreams. According to Konrad J. Kaweczynski, "Only good dreams would be allowed to filter through... Bad dreams would stay in the net, disappearing with the light of day." Good dreams would pass through and slide down the feathers to the sleeper.
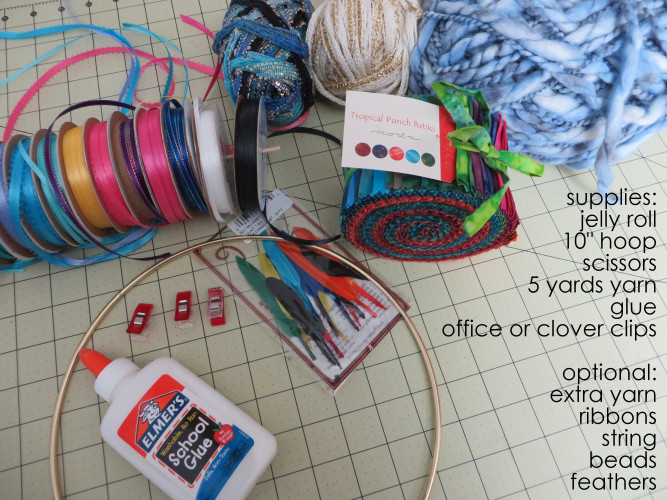
Tropical Punch Batiks - Jelly Roll
10" round metal hoop*
5 yards of yarn or specialty yarn
Scissors
Glue
Office or Clover clips
Optional:
Different hoop sizes
Yarn & specialty yarns
Ribbon
Beads
Feathers
Cutting mat, ruler & rotary cutter
* These hoops are typically found in the yarn/embroidery section of craft stores.
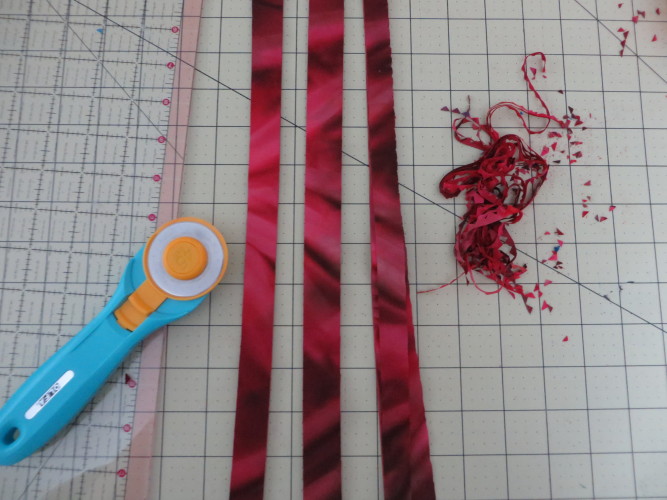
Start by grabbing a couple of strips and cutting them in half. My personal preference is to trim off the pinking for this project. (Quilters - don't panic when you see glue, this is an old cutting mat now used for crafts!)
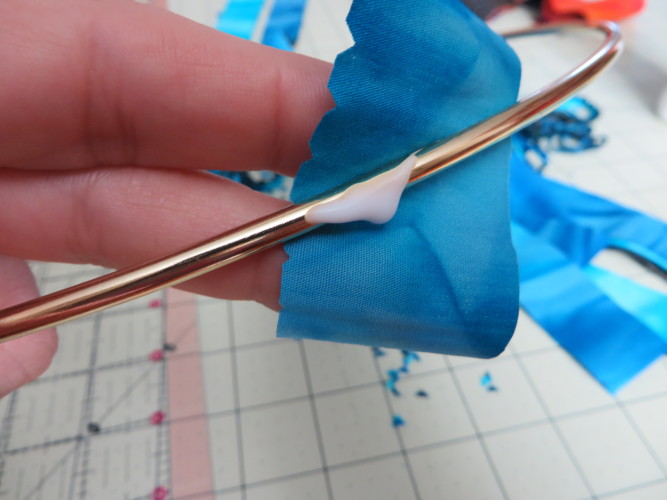
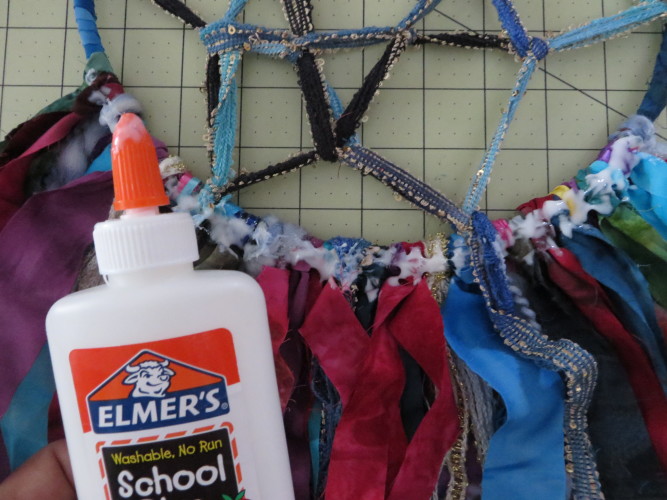
Dab some glue on the hoop and wrap an end of fabric.
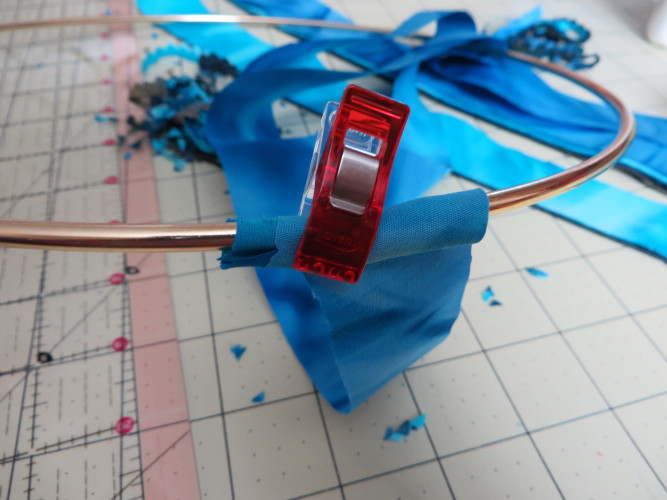
Clipping the fabric helps hold it in place as you go.
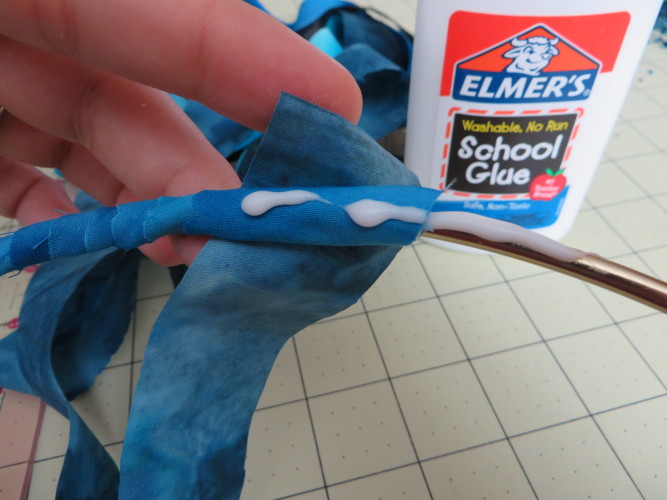
Work around the hoop with glue, wrapping and clips.
Don't be shy with the glue! It helps prevent the fabric from sliding around.
When you reach the end of a strip simply glue it down and begin a new strip.
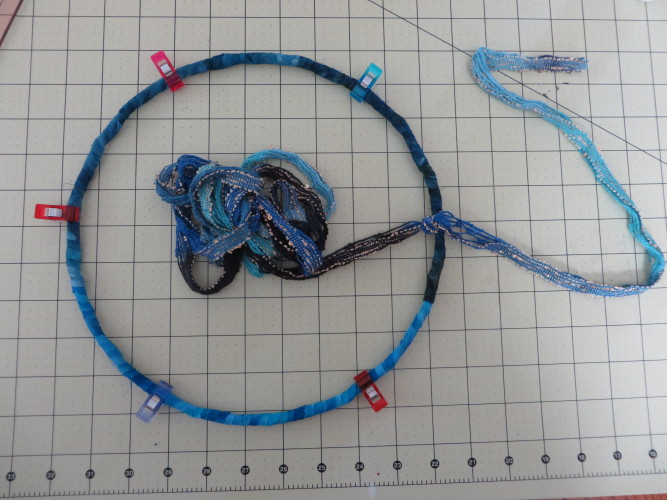
When you are finished wrapping, mark your hoop in 6 even sections with clips.
Take 5 yards of yarn (I'm using a specialty yarn) and tie on in place of a clip, leaving a 15-20" tail.
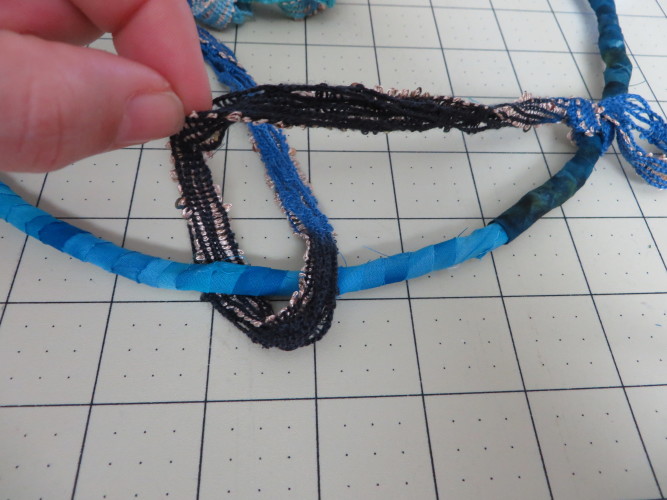
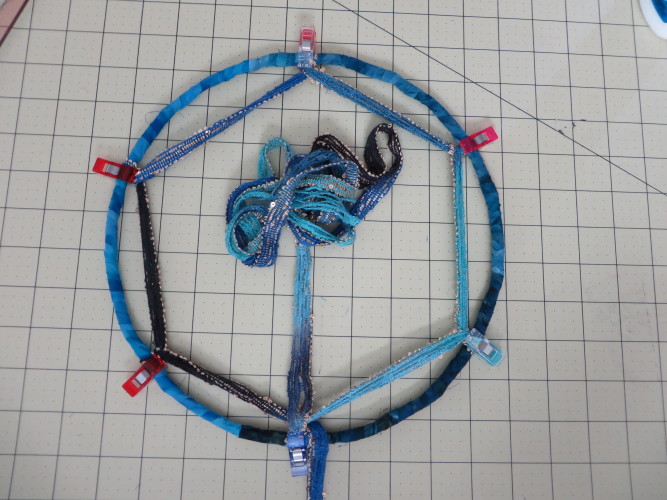
Take the long end of the yarn and remove the clip to the left. Make a loop as shown:
Tighten and clip.
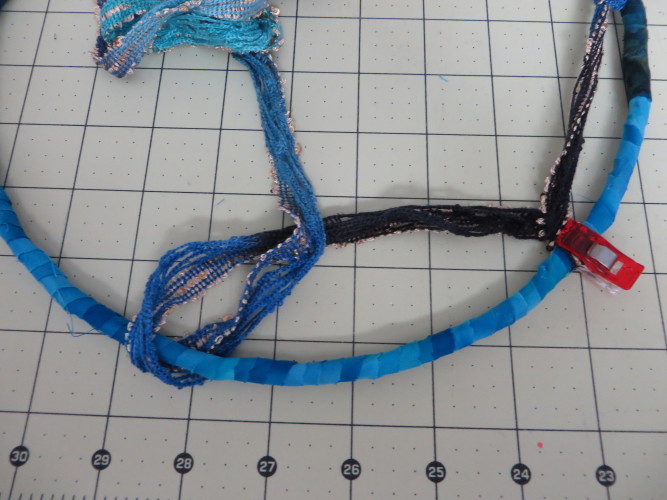
Take the long end of the yarn and remove the clip to the left. Make a loop as shown:
Tighten and clip.
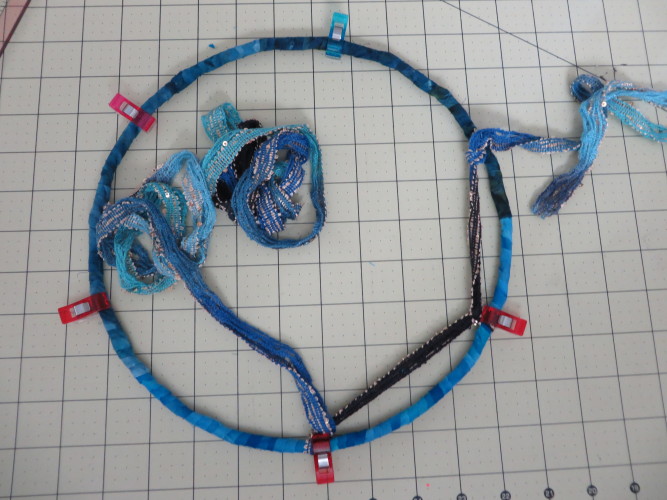
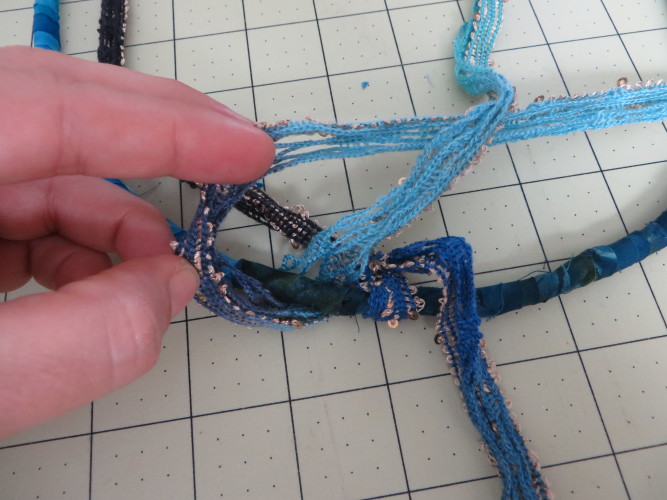
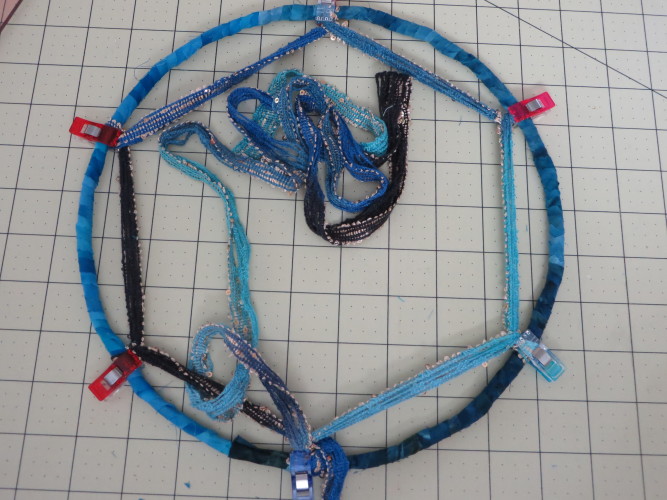
Work your way around to the beginning. When you reach the initial tie on wrap the yarn to the left of the knot, under the yarn, as shown:
It should look something like this:
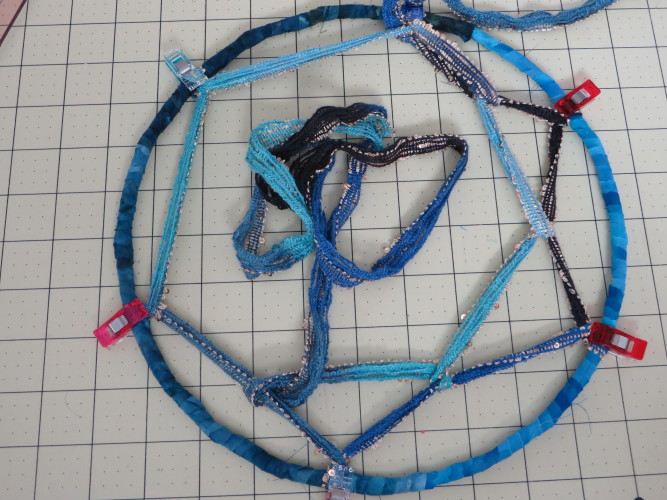
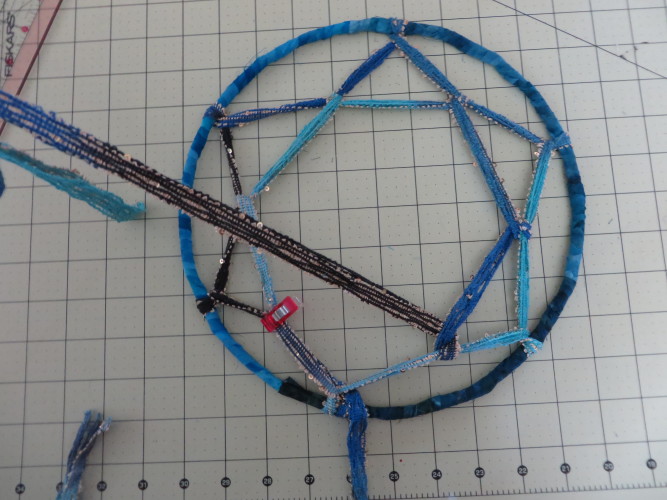
Now we are going to wrap the yarn around the center of the previous sections. The first wrap will lay flat against the previous yarn, but that's okay.
Keep wrapping around the previous sections. No need to clip in place.
When you reach the end (pink clip)...
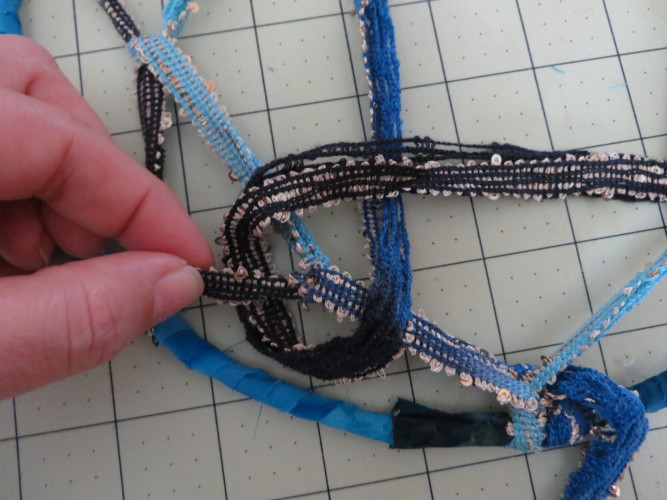
Wrap the yarn around the beginning tie.
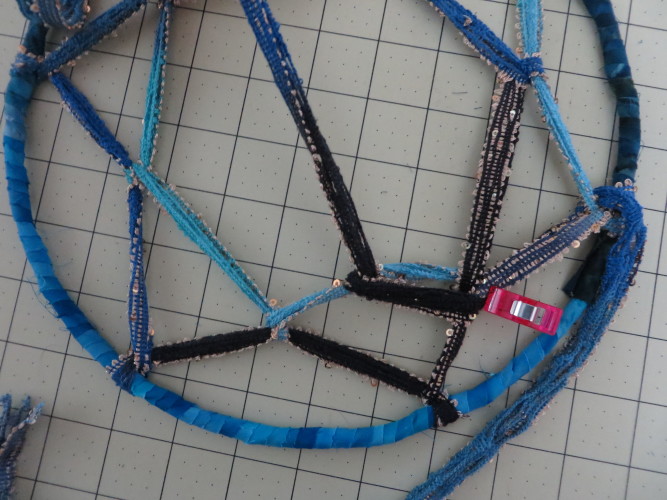
The pink clip below is where the last row ended and this row started.
Just like the last row - wrap the yarn around the center of the previous sections. The first wrap will lay flat against the previous yarn, but that's okay.
Work your way all the way around.
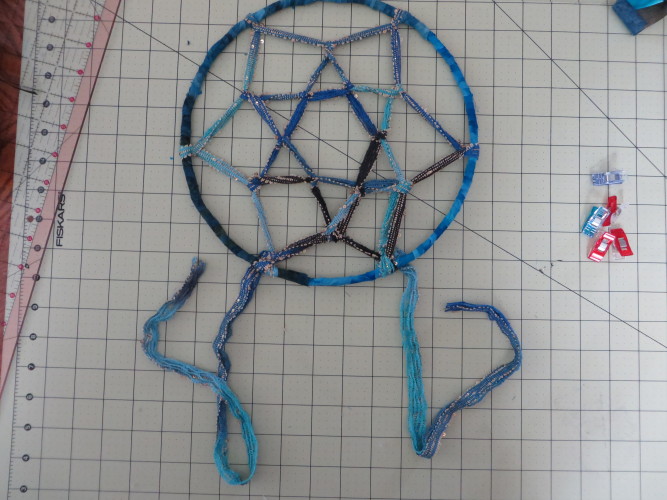
When you reach the end, hide the rest of the yarn. To do this, make your final wrap for the row - then wrap around the blue clip, then the purple clip area. You can do this however works best for you. Just follow previous wraps to get your yarn somewhere towards the starting point.
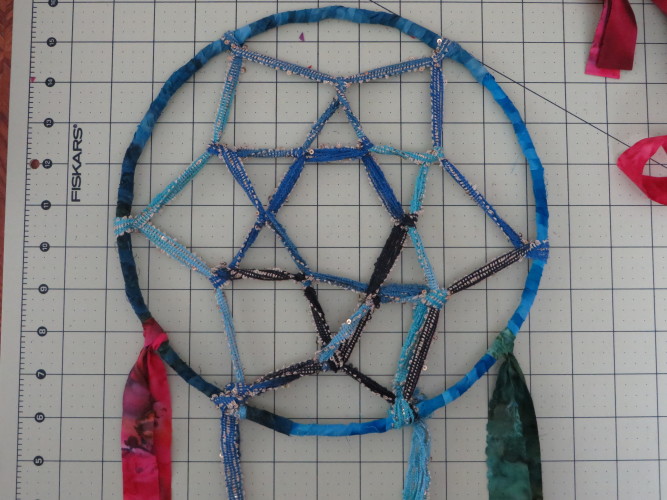
It should look like this.
I want to show you a few variations in hoop and weave wraps.
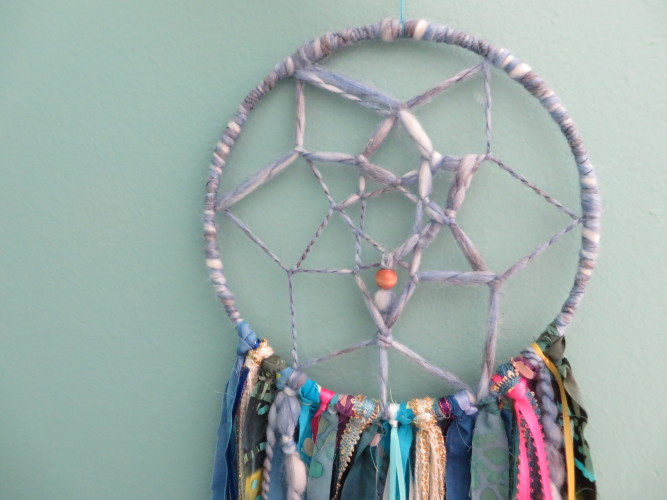
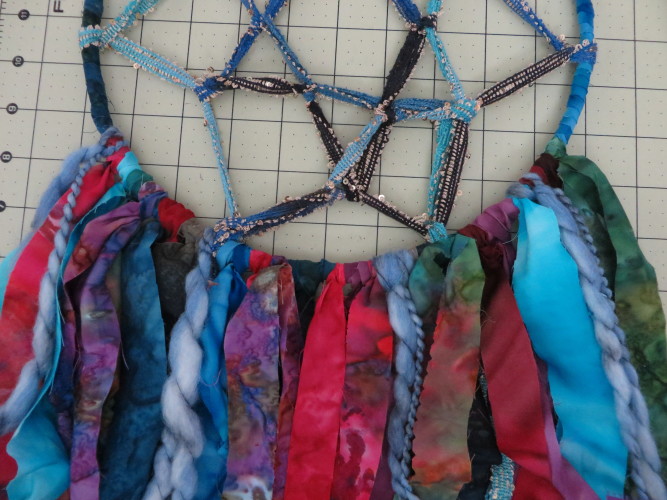
The one for this tutorial is a fabric wrapped hoop with specialty yarn for the web.
This is a 10" hoop with fabric wrap. Variegated string was used for the web using 12 starting points and several rows. Beads were added throughout.
Here is an 8" hoop wrapped in a specialty yarn. The web is the same yarn and was tied off by adding a bead and taking the yarn straight down the web to tie to the hoop.
There's no right or wrong way to weave the web so feel free to play around with it.
Now that's out of the way - here comes the fun part!
Grab 10-12 strips and cut in half and thirds. I like having different size strips to play with and cut the pinking off these as well.
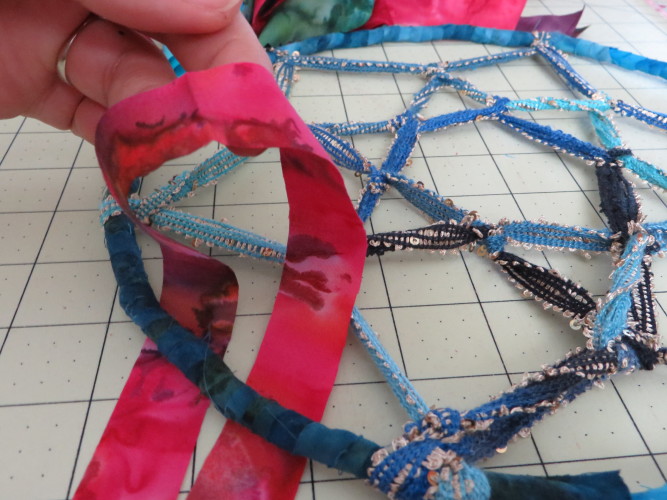
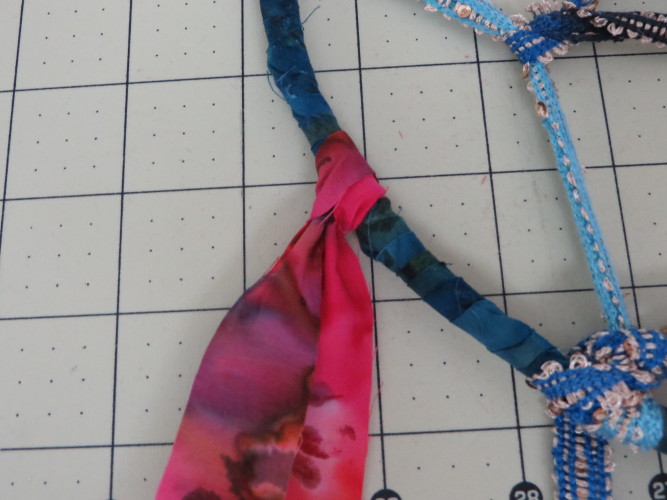
To attach the strips make a loop under the hoop.
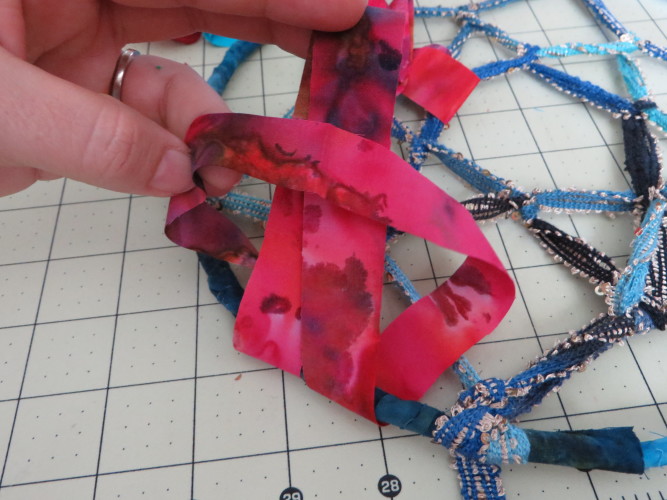
Pull the tails through.
Pull down to tighten.
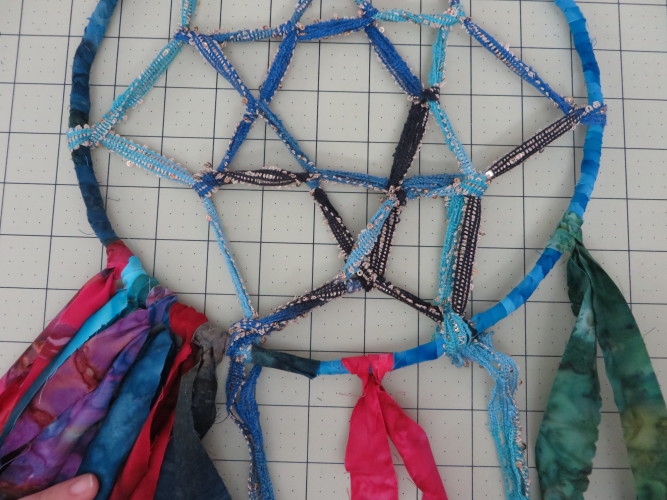
I like to start by marking my 'work area' with strips. I'm going to fill in the space between the pink and green strips.
I also like to cut an angle on the tails and tie knots in different areas. This is purely for aesthetics and up to you.
Start filling in those spaces.
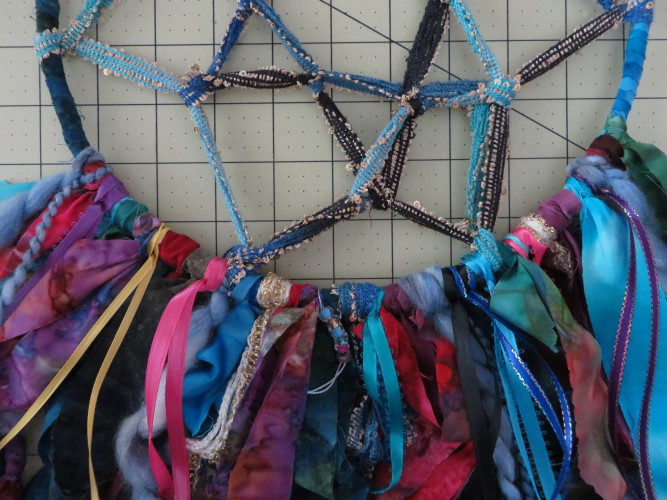
Optional: Embellishments
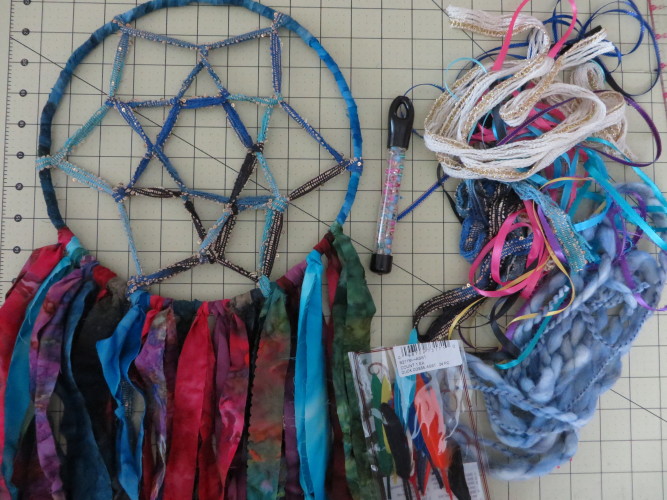
Grab a dozen or so 30-40" ribbon and yarn strings.
Tie them on using the same method.
I'm already digging the added texture.
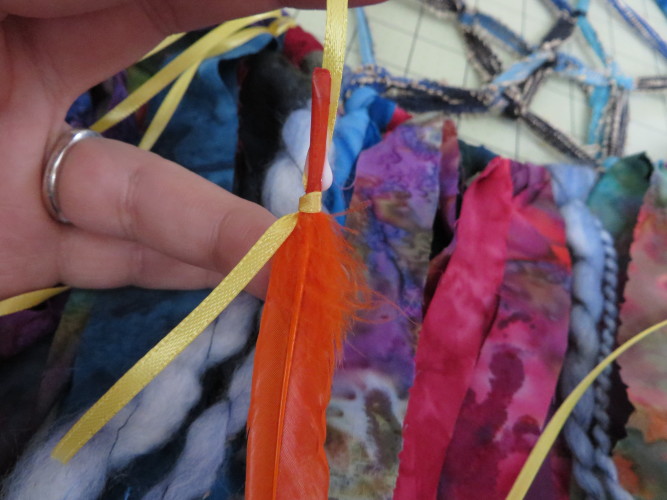
Add feathers by tying them to the ends of ribbon and add a bit of glue.
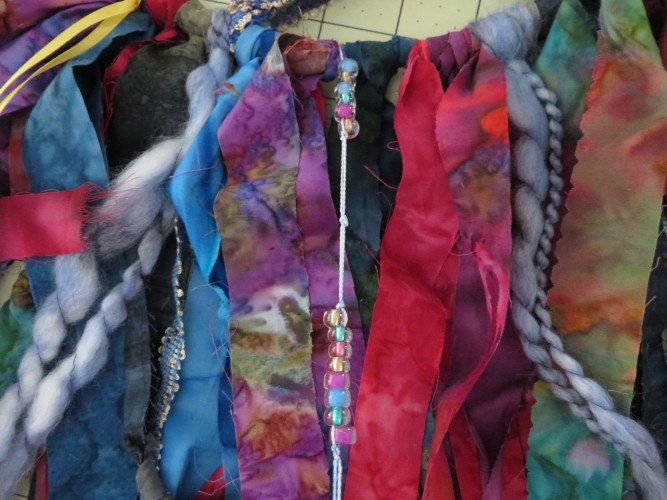
You can also add beads. Or make super long friendship style embroidery to add. In the past I've threaded large wooden beads to fabric strips and it turned out well.
I think this is good for me.
Flip it over and add glue to the back of the knots. This will prevent the knots from coming loose and keep everything in place.
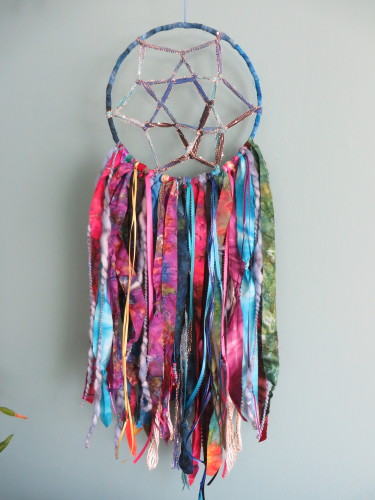
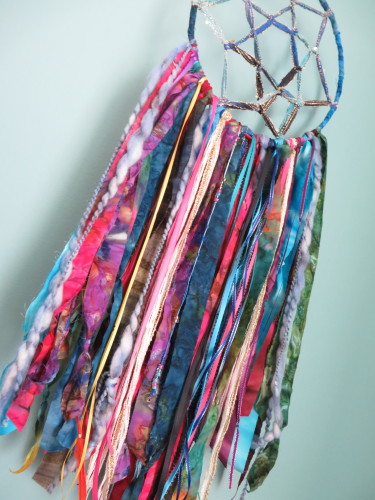
Ta-da!
Lovely!
This is a fun way to use leftover strips from previous projects as well.
Part of my collection. Fair warning: these are addictive!
One jelly roll will make several dreamcatchers.
If you make one please share with me. Contact me through my blog or tag me on Instagram @juliehirt. Happy Stitching!
Julie Hirt
627handworks.com


