Warehouse Closed On July 4th
Blockheads ~ Block 7
Blockheads ~ Block 7
Six down, forty-two to go.
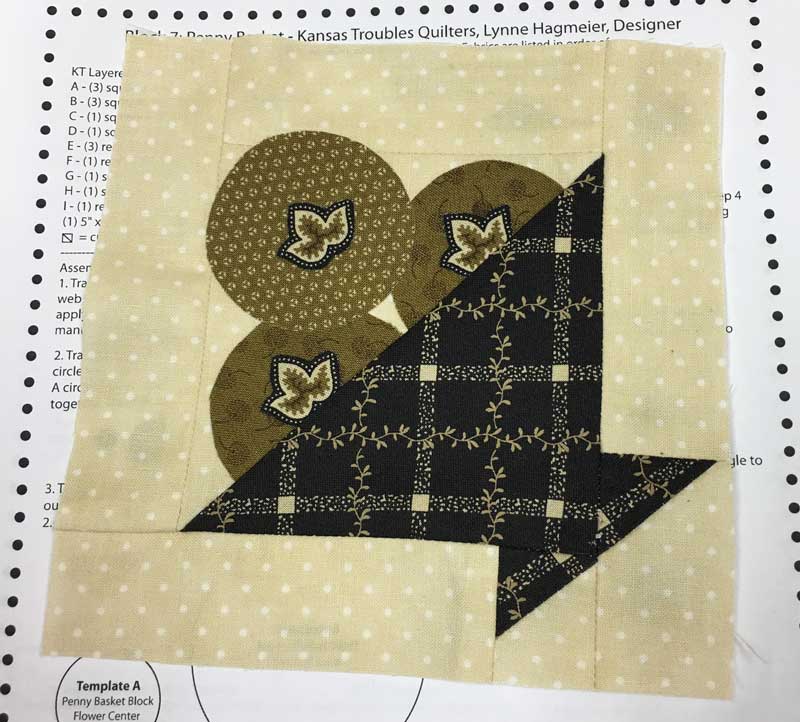
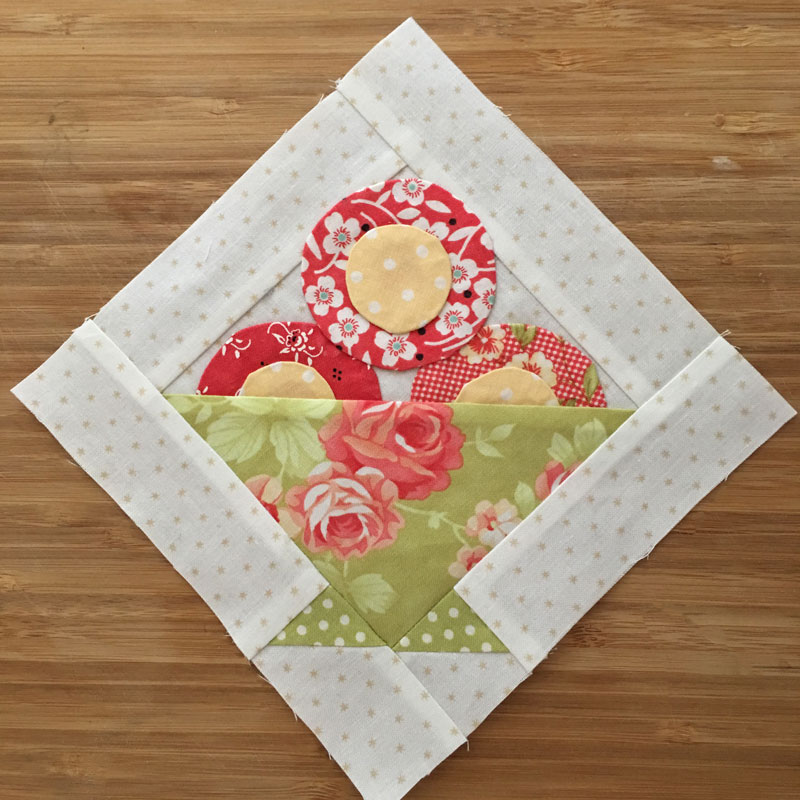
Penny Basket by Lynne Hagmeier of Kansas Troubles. If you're only here for the Block Instructions, you'll need to go to Lynne's blog to get those. So CLICK HERE FOR LYNNE'S BLOG.
The Penny Basket above is Tammy's - she used Garden House by Jan Patek. Tammy used Lynne's layered patchwork-fusible appliqué to make her block. How perfect are those fussy-cut centers?
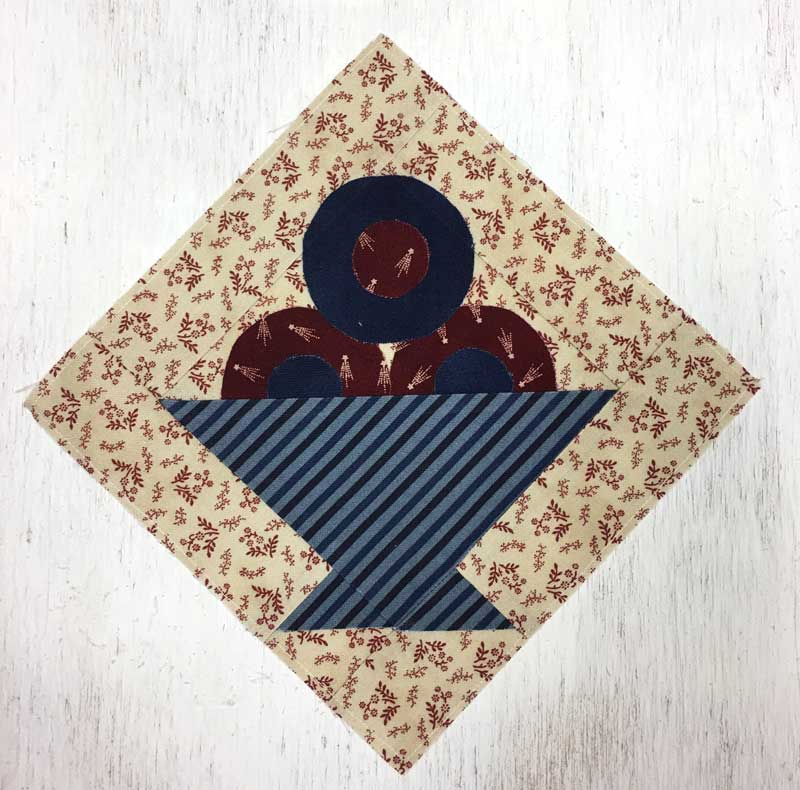
This is Chelair's Patriotic Penny Basket - Old Glory Gatherings by Lisa Bongean for Primitive Gatherings.
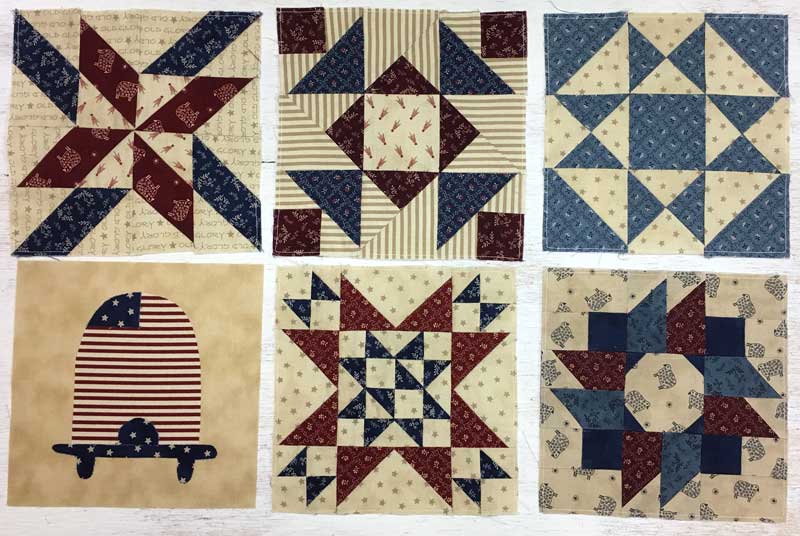
Chelair also brought in her first six blocks so I could share them with you. They're gorgeous!
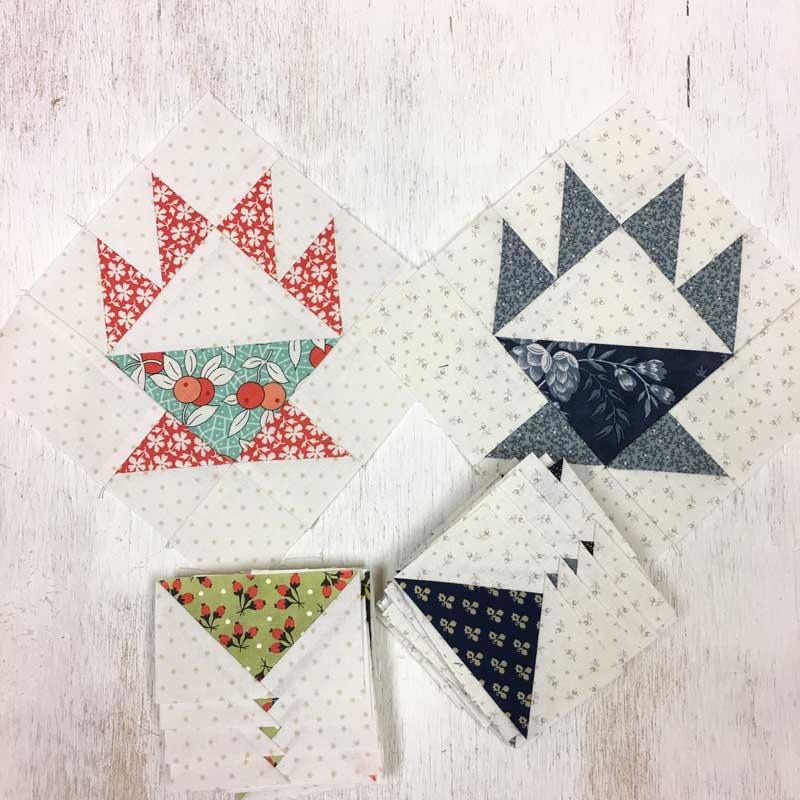
As for me, I made both of my blocks, the blue Reproduction version and the Fig Tree & Co. scrappy version without the second page of my pattern. Oops. I knew I should have waited but... oh well, my seam ripper hasn't been getting much use lately... :::snort::: So I had to go back and add the little wings at the bottom of the basket.
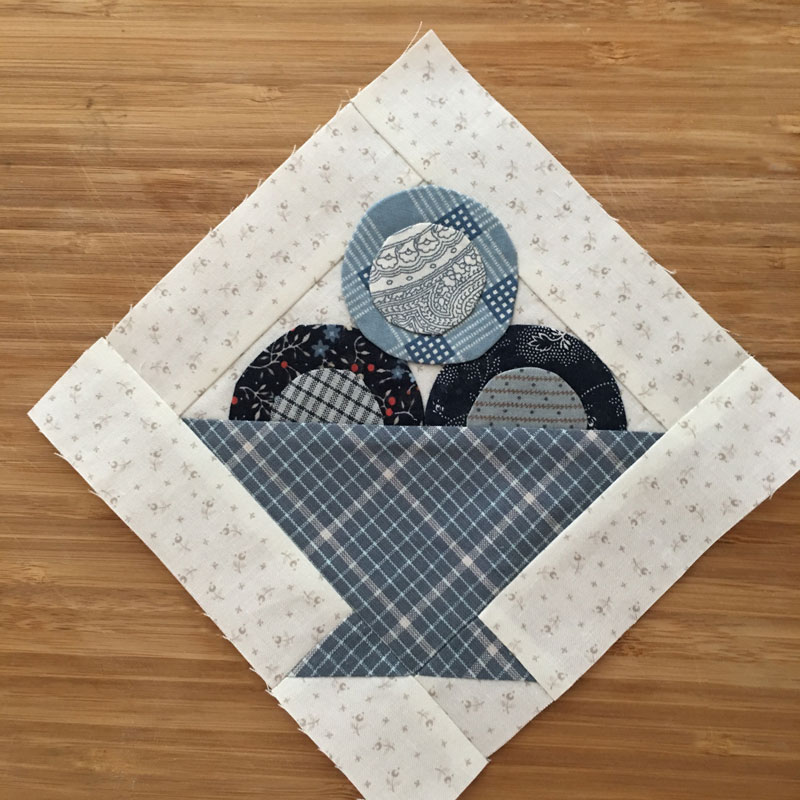
After I had the pattern in-hand, I also realized that the third circle goes on after the setting strips... instructions, sometimes they really can help.
So yes, make sure you have two pages to your instructions!
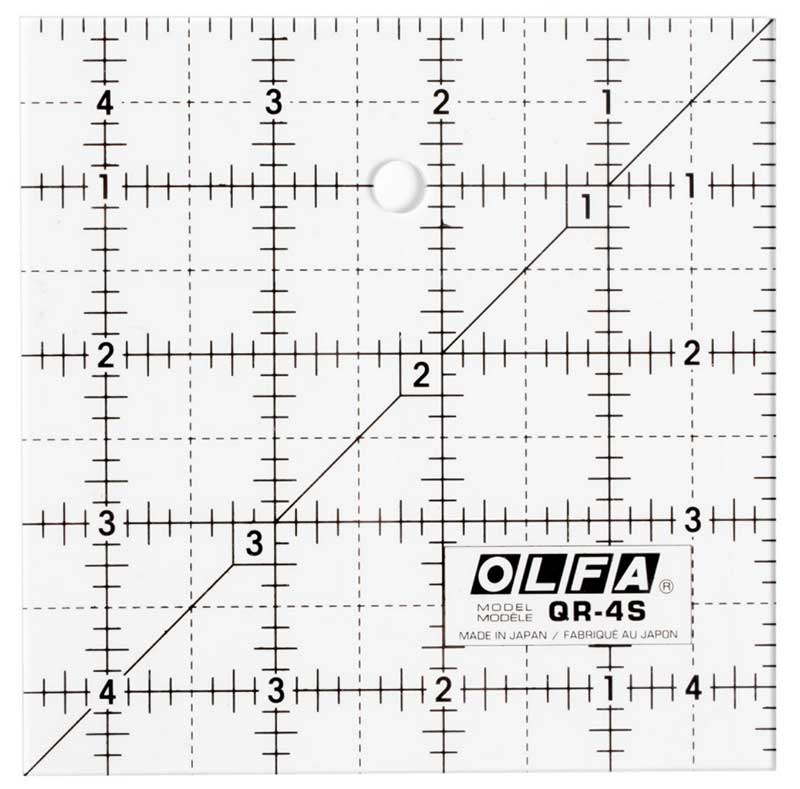
Question of the Week - Favorite Rulers.
When I'm cutting pieces and piecing blocks - especially small blocks - my go-to ruler is a 4-1/2" x 4-1/2" Frosted Olfa Square. I have multiples. I use them for everything - including trimming HTSs to size. (I have and love Bloc-Loc rulers for HTSs too.) I prefer the Frosted Olfa rulers because the markings are minimal and the frosted finish seems to have less glare - at least to my eyes. I also use the 6-1/2" x 6-1/2" and 6" x 12" Frosted Olfa Rulers.
The other rulers I reach for all the time are Lisa Bongean's Itty Bitty Eights - the 6" x 6" square and the 3" x 7" rectangle.
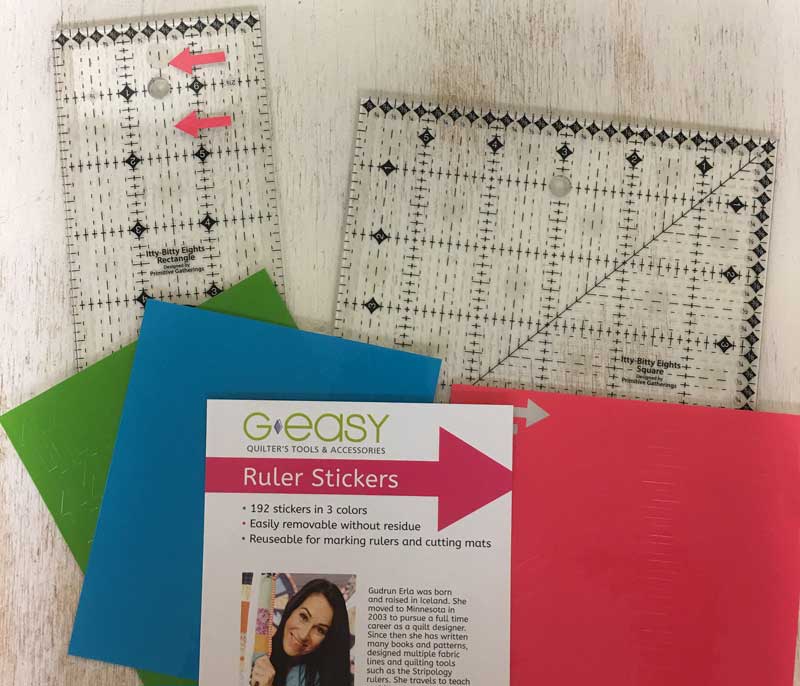
That's them - and yes, I really love these GE Ruler Stickers.
In addition to the blocks, I caught up with my flying geese quota - I added seven sets for each quilt top. And extra blocks - I'm going to need more than forty-eight blocks to complete the setting I have in mind so I made the first of those as well. Here is the first extra block - a simple Cake Stand block.
Cutting Instructions:
- Background - 3 squares - 2-3/8" x 2-3/8" - to make 6 small HTSs - finish at 1-1/2"
- Background - 1 square - 3-7/8' x 3-7/8" - to make 1 large HTS - finish at 3"
- Background - 2 squares - 2" x 2"
- Background - 2 rectangles - 2" x 3 1/2"
- Print 1 - 3 squares - 2-3/8" x 2-3/8" - to make 6 small HTSs - finish at 1-1/2"
- Print 2 - 1 square - 3-7/8' x 3-7/8" - to make 1 large HTS - finish at 3"
There will be two large HTSs, I'm saving the second one as I'm sure it can be used for something later.
In case you missed it, click here for Lynne's blog and the pattern for - LYNNE'S PENNY BASKET BLOCK.
That’s it for today so be sure to visit the others to see what they made:
- Lynne’s Blog / Facebook / Website
- Betsy’s Blog / Facebook / Instagram
- Jo’s Blog / Instagram
- Jan’s Blog / Website
- Lisa’s Blog / Website / Instagram
Be sure to see the blocks popping up in #modablockheads on Instagram and Facebook for more pictures. The Moda Blockheads Facebook group is also busy with folks sharing tips, suggestions and support.
Happy Blockhead Wednesday!

Comments