Welcome to Moda Fabrics!
Lady of the Lake Pillow Cover
Lady of the Lake Pillow Cover
Published:
Mar 24 2019 - 19:23

![]() Do you love Half Square Triangles? I designed this quilted pillow as a tribute to one of my favorite quilt blocks, Lady of the Lake, using my favorite piecing unit, the HST! The design affords opportunity for some fun fabric play with value and color to produce a handsome addition to your home décor. I hope you enjoy the recipe!
Do you love Half Square Triangles? I designed this quilted pillow as a tribute to one of my favorite quilt blocks, Lady of the Lake, using my favorite piecing unit, the HST! The design affords opportunity for some fun fabric play with value and color to produce a handsome addition to your home décor. I hope you enjoy the recipe!
This pillow cover finishes at 17 1/2" square. ![]()
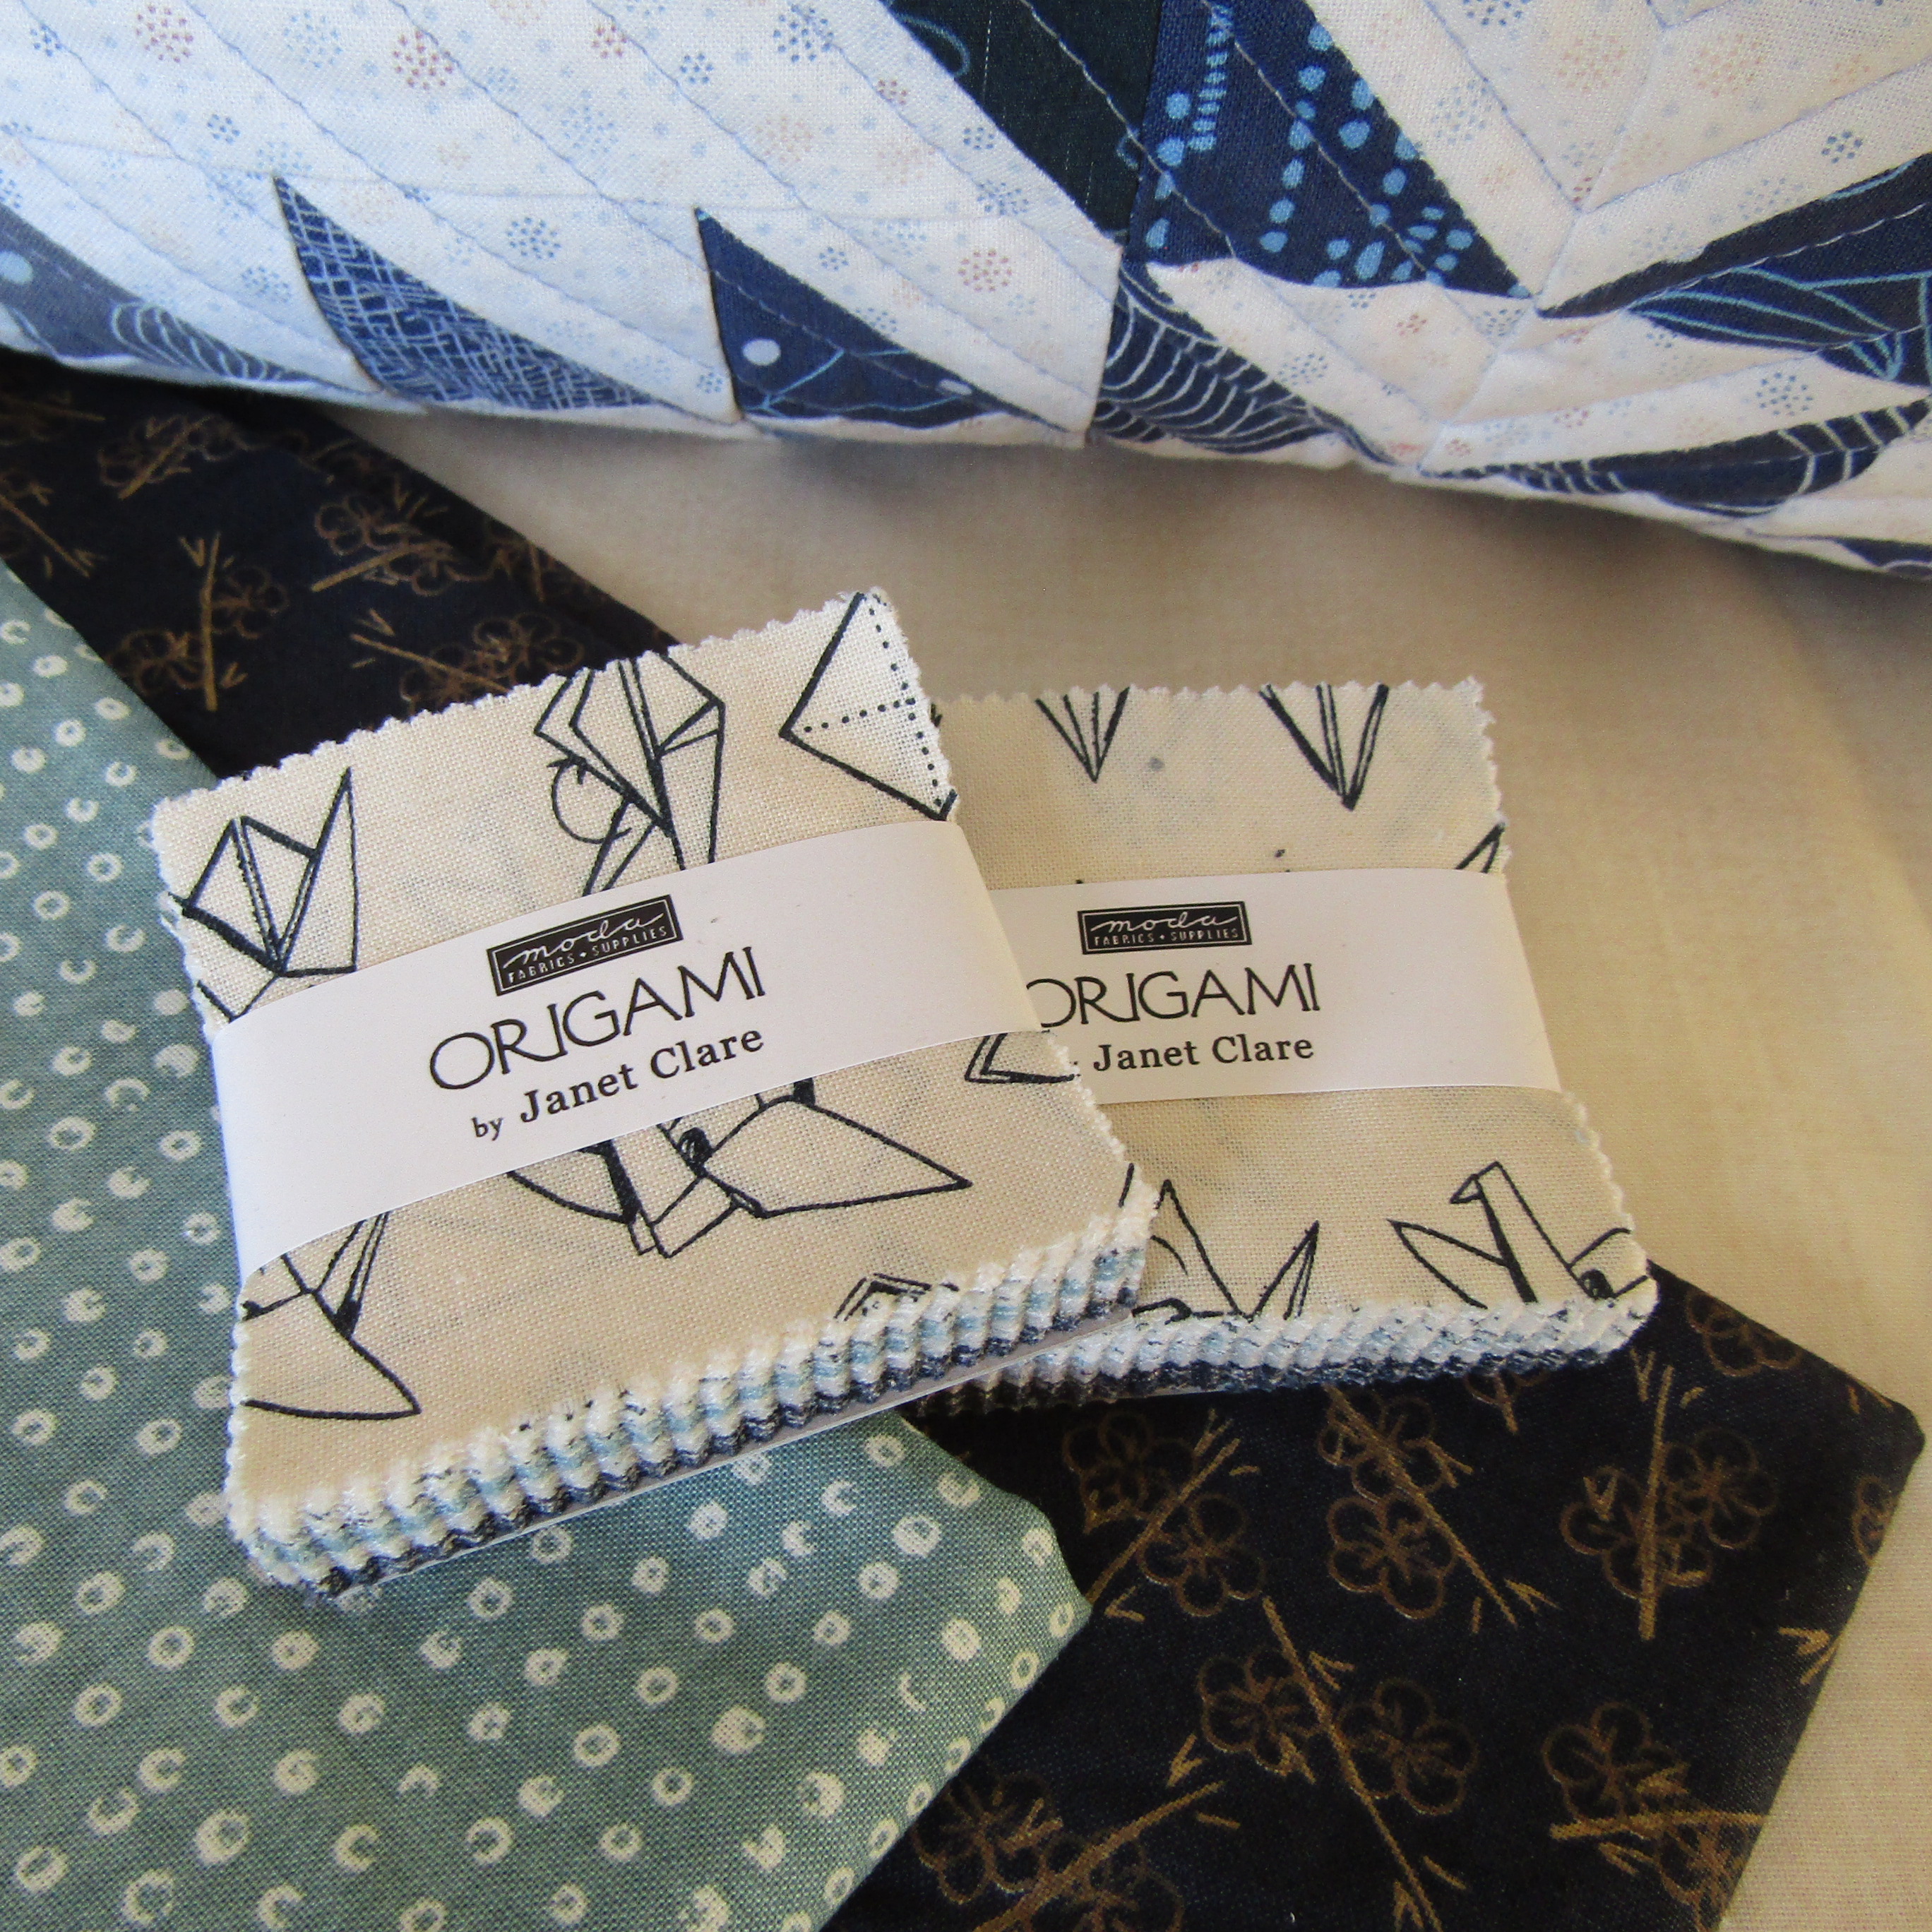 2 mini charm packs, Origami by Janet Clare 1/2 yard background fabric, Origami Woven Texture Cream {1357 17} 1/2 yard back of pillow fabric, Origami Plum Blossom Indigo {1473 12} 2 5 1/2" squares of extra back fabric or other scrap for center Half Square Triangles {I used Origami Dot Teal {1474 17} 2 20"+ squares of muslin or other fabric for quilt backings for front and back of pillow cover 2 20"+ squares of batting, for quilting front and back of pillow cover 1 14" zipper, color to match, gray or blue
 ![]() I find that a smaller square ruler (I use a 6 1/2" x 6 1/2" Creative Grids) is essential for trimming Half Square Triangles (HSTs). I used a Hera marker for marking my quilting lines, but you may use the marking tool of your choice, or free motion quilt as you like. If you have a walking foot, that would be helpful if you choose to quilt with straight lines. You will also need a zipper foot for the closure of this pillow cover.
I find that a smaller square ruler (I use a 6 1/2" x 6 1/2" Creative Grids) is essential for trimming Half Square Triangles (HSTs). I used a Hera marker for marking my quilting lines, but you may use the marking tool of your choice, or free motion quilt as you like. If you have a walking foot, that would be helpful if you choose to quilt with straight lines. You will also need a zipper foot for the closure of this pillow cover. ![]() Choose Charms: Let's begin by breaking open those mini charm packs. For this project we need 54 total charms. Most charm packs have prints with lighter and darker values. For this project, I chose 27 charms from each pack that would have the greatest contrast with my light background. All the dark blues, the grays and the teals, and a few of the light charms with dark print.
Choose Charms: Let's begin by breaking open those mini charm packs. For this project we need 54 total charms. Most charm packs have prints with lighter and darker values. For this project, I chose 27 charms from each pack that would have the greatest contrast with my light background. All the dark blues, the grays and the teals, and a few of the light charms with dark print. 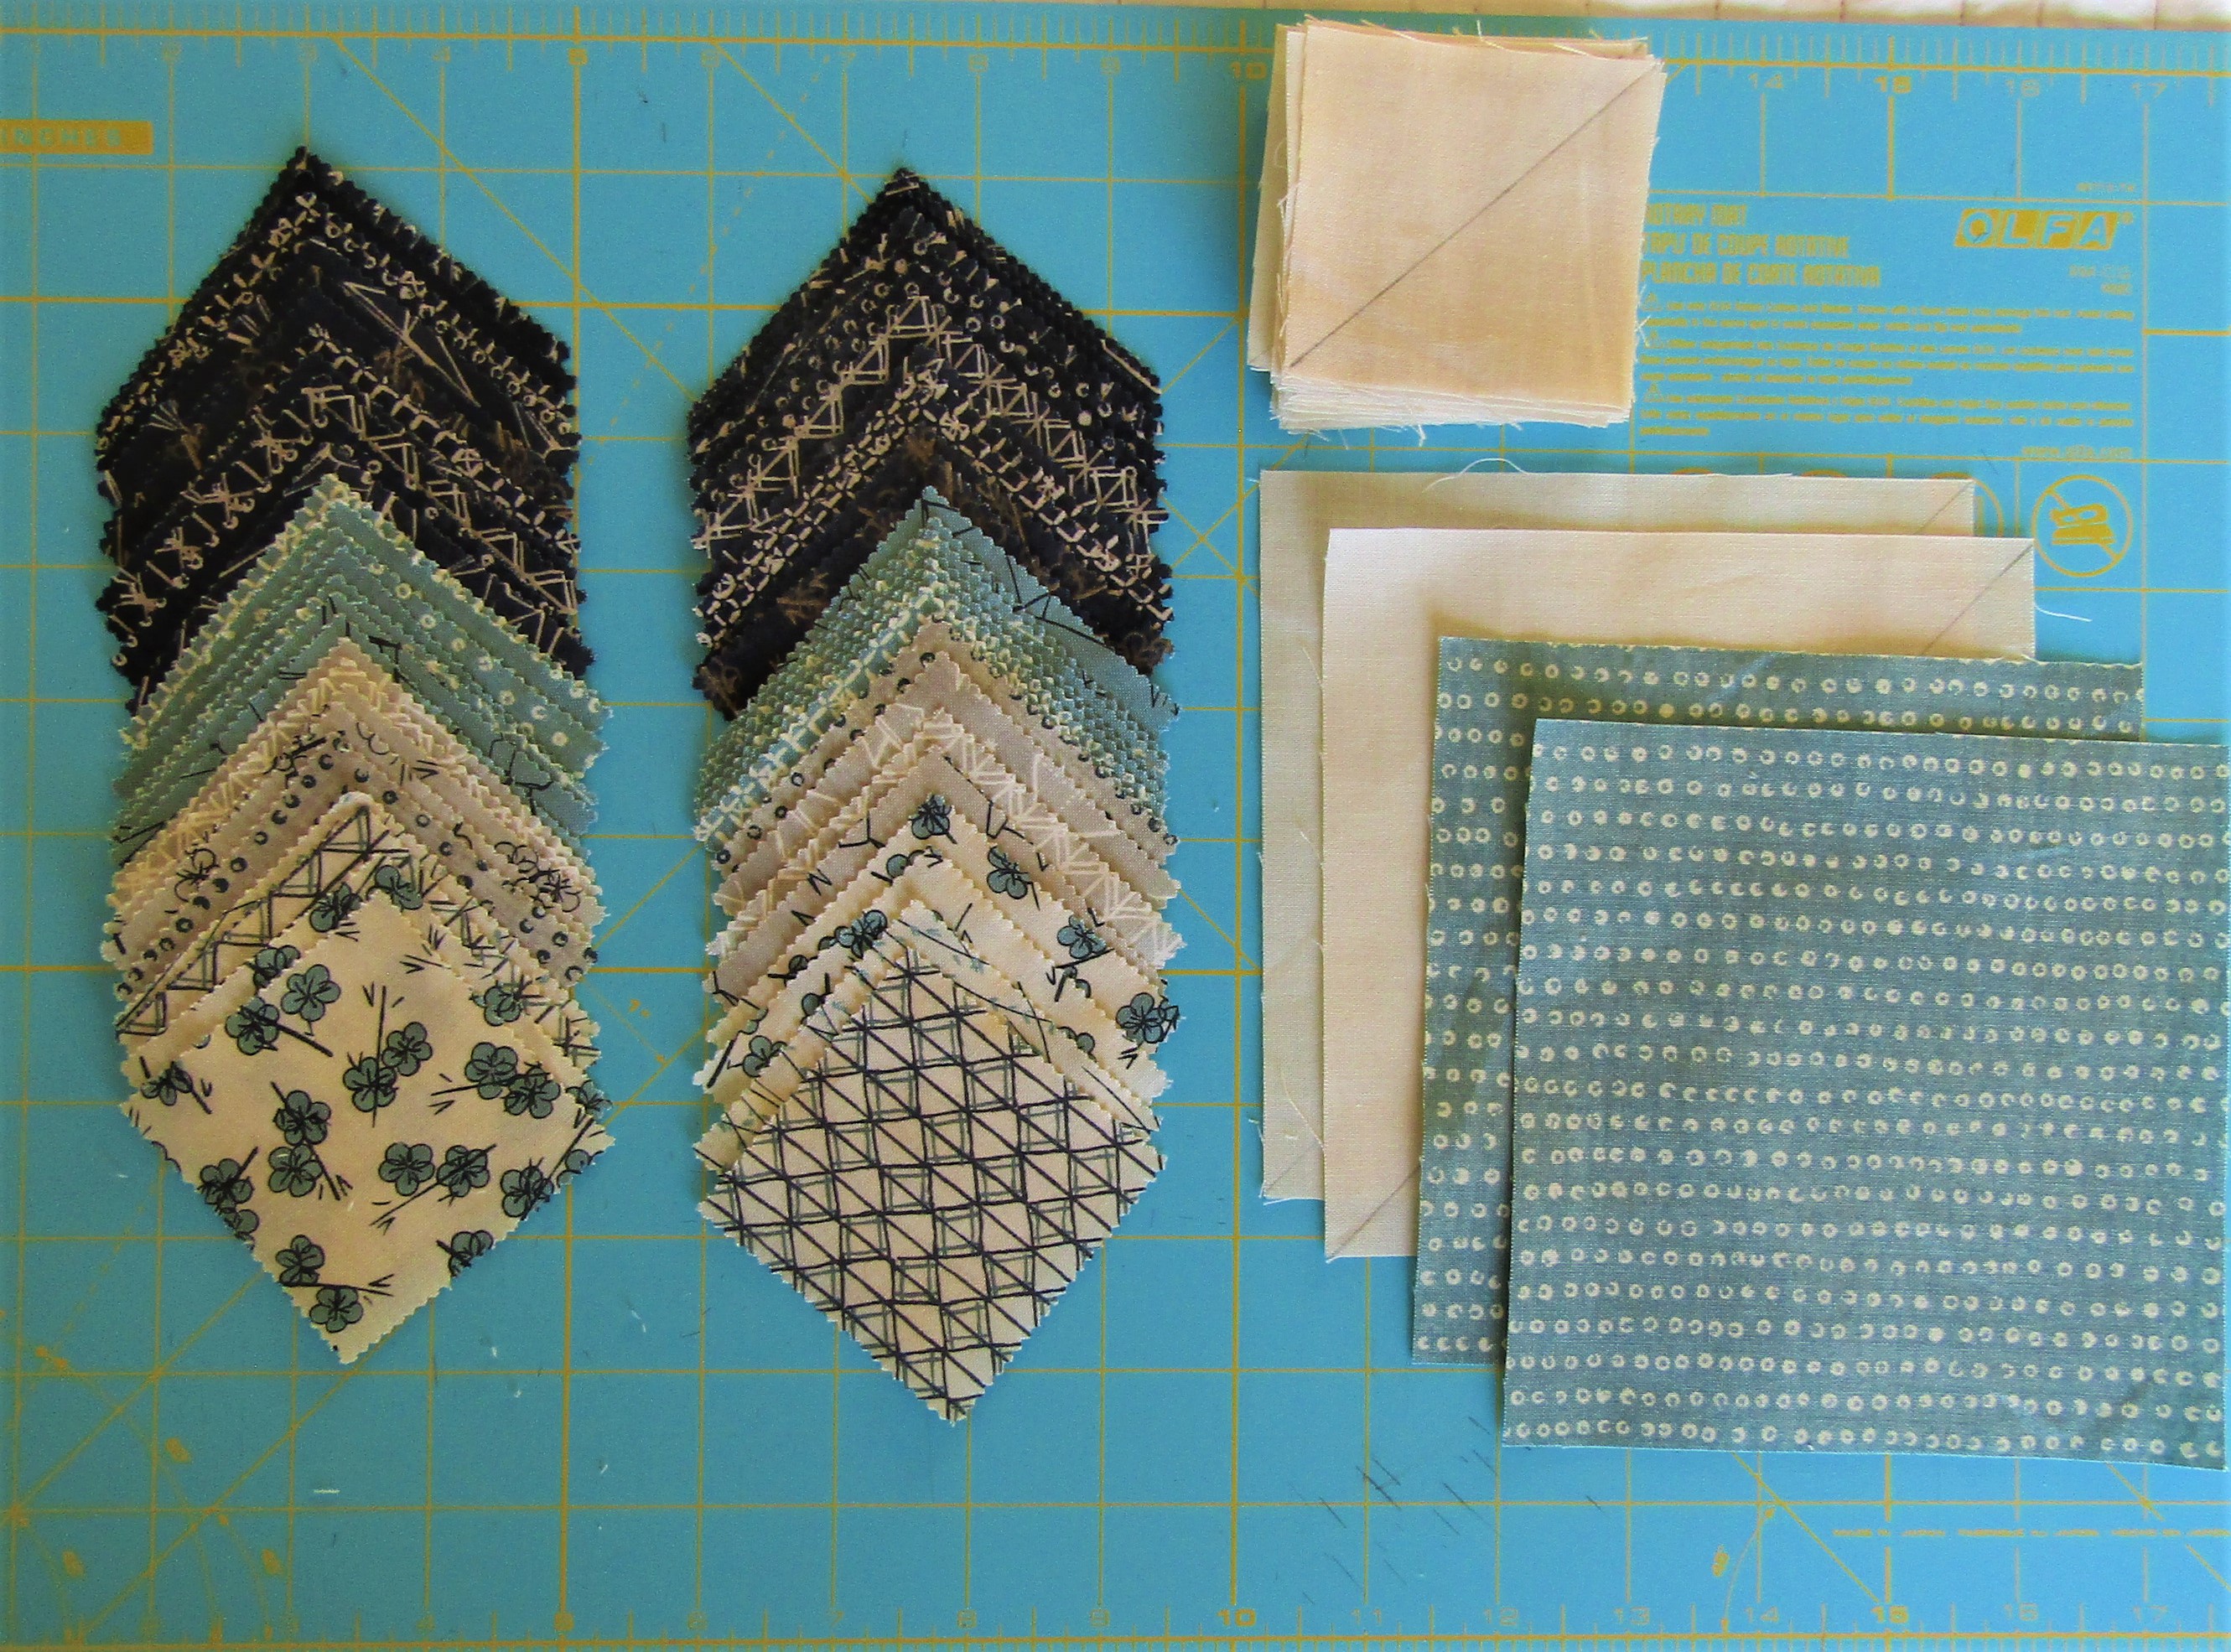 Cutting instructions: From the cream background fabric, cut 3 strips 2 1/2" x Width of Fabric. Subcut into 2 1/2" squares. Each strip yields 16 squares. If you are comfortable cutting multiple thicknesses, you may stack the 3 strips and subcut them all at once. Cut 1 more strip 2 1/2" x 15". Subcut into 6 2 1/2" squares. Total 54 2 1/2" squares. Cut a 5 1/2" x 11" rectangle. Subcut into 2 5 1/2" squares. *tip: When using a very light printed background fabric, be sure to keep track of which is the "right" side. From Back of Pillow (indigo) fabric, cut 1 18 1/2" x 18 1/2" square, if you can, otherwise, cut a square 18"x 18". From extra indigo or chosen scrap fabric, for center HSTs, cut 2 5 1/2" squares. Mark all cream background squares, on the wrong side, with a diagonal line, from one corner to the opposite (diagonal) corner. Make HSTs: Pair each of the 5 1/2" print squares with a 5 1/2" background square. Place right sides together, background square on top, and sew 1/4" from each side of the marked diagonal line. Press. Cut apart on the marked line, yielding 2 HSTs per pair, for a total of 4 HSTs. Press open and trim to 5". Pair each of the 2 1/2" print squares with a 2 1/2" background square. Place right sides together, background square on top, and sew 1/4" from each side of the marked diagonal line. Press. Cut apart on the marked line, yielding 2 HSTs per pair, for a total of 108 HSTs. Press open and trim to 2".
  Layout and assemble according to the photographs. Note that with the 4 2" HSTs in the center, you have options of turning the print to the center or out, like the rest.
  Also, play with the layout of all the HSTs to suit yourself. I chose to "frame" my center with the darkest prints, and worked the teals in the center, and reserved the lightest HSTs for the outer edges.
  Use the photo above to sew your top together, in the sections shown. (In my final pillow layout, I took the 4 dark HSTs from the corners, and traded them out with the 4 teal HSTs in the center). For the top, middle, and bottom sections, simply chain-piece the top row of HSTs to the row beneath it. Without snipping the connecting threads, press the seams of each pair in alternating directions, then sew them together with nesting seams, in the correct order. Follow the same procedure with each of the smaller HST sections.
  Complete the assembly of the second and the fourth rows. Sew all the rows together. Your completed Lady of the Lake block should measure 18 1/2" square. Do not trim to size until it has been quilted. Quilting: Layer 1 20" muslin square right side down, with 1 20" square of batting, and your completed Lady of the Lake pillow top block. Mark any quilting lines you may need. I chose to quilt my pillow with straight lines that followed the angles of the HSTs. I used my Hera marker to mark the lines in the larger center triangles. I used the edge of my sewing foot to guide my quilting lines, and quilted on either side of each seam/line.
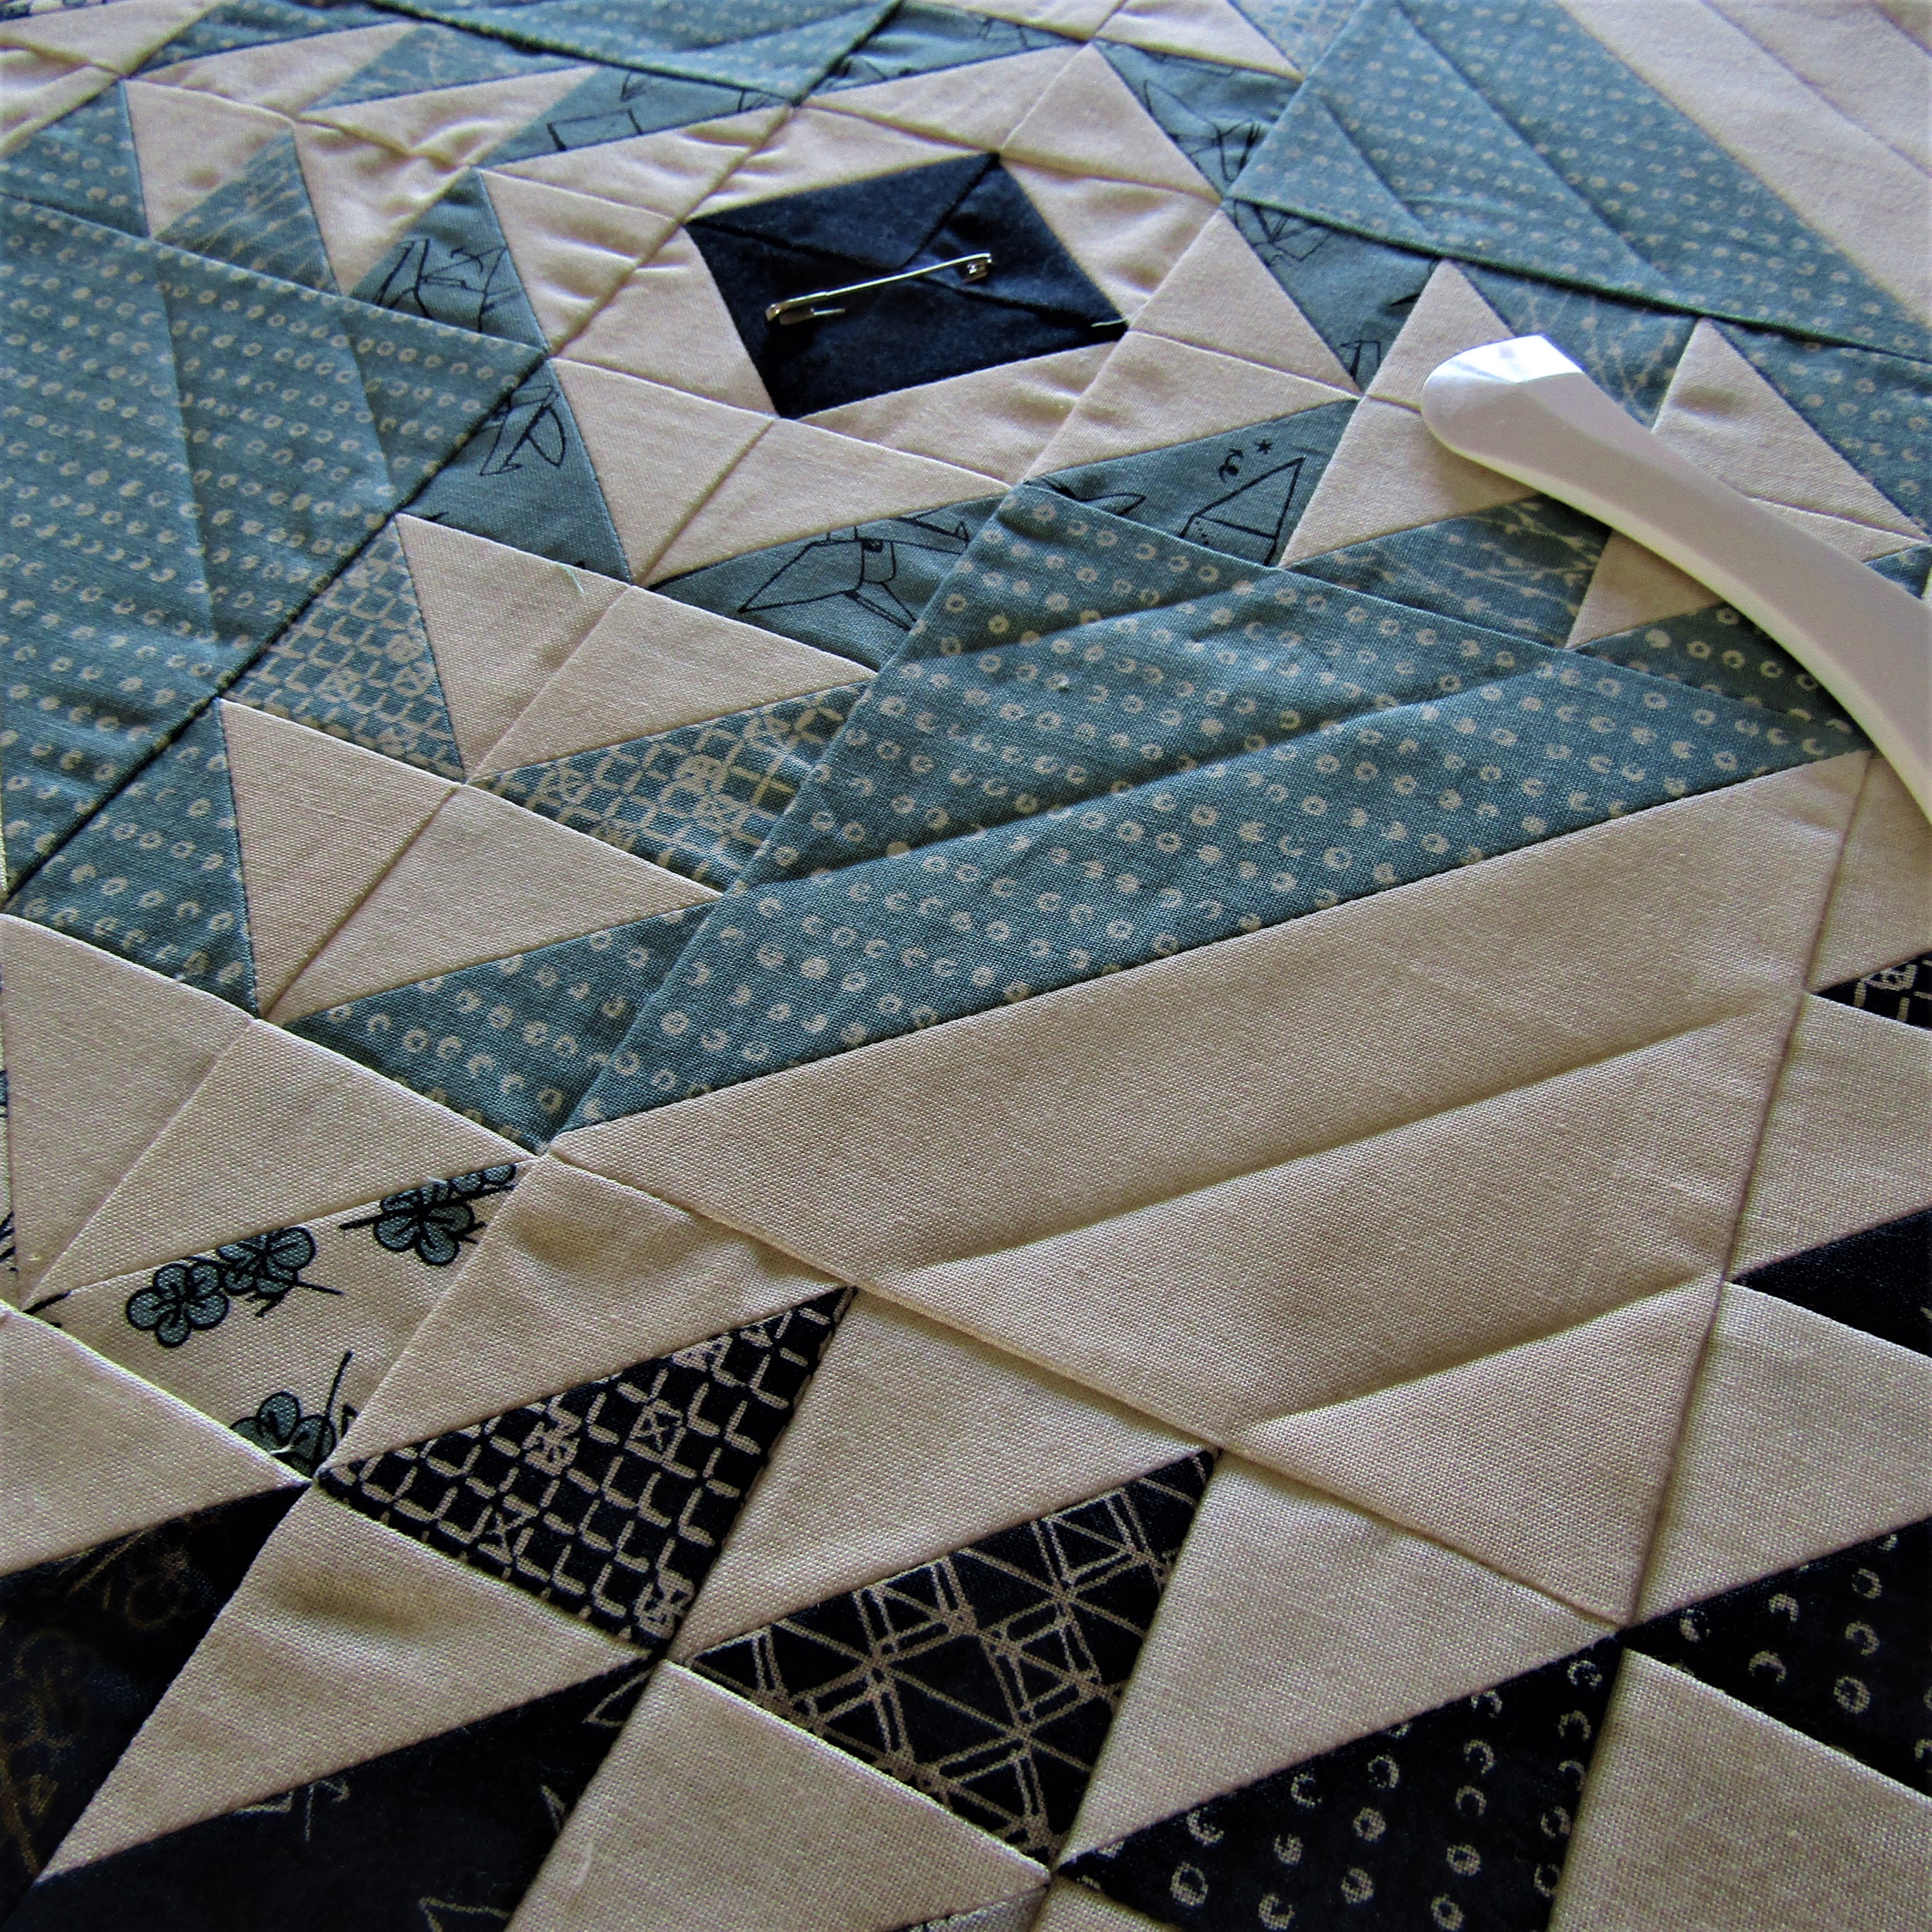
 I marked and quilted a simple 2" diagonal grid on the back of pillow piece.
 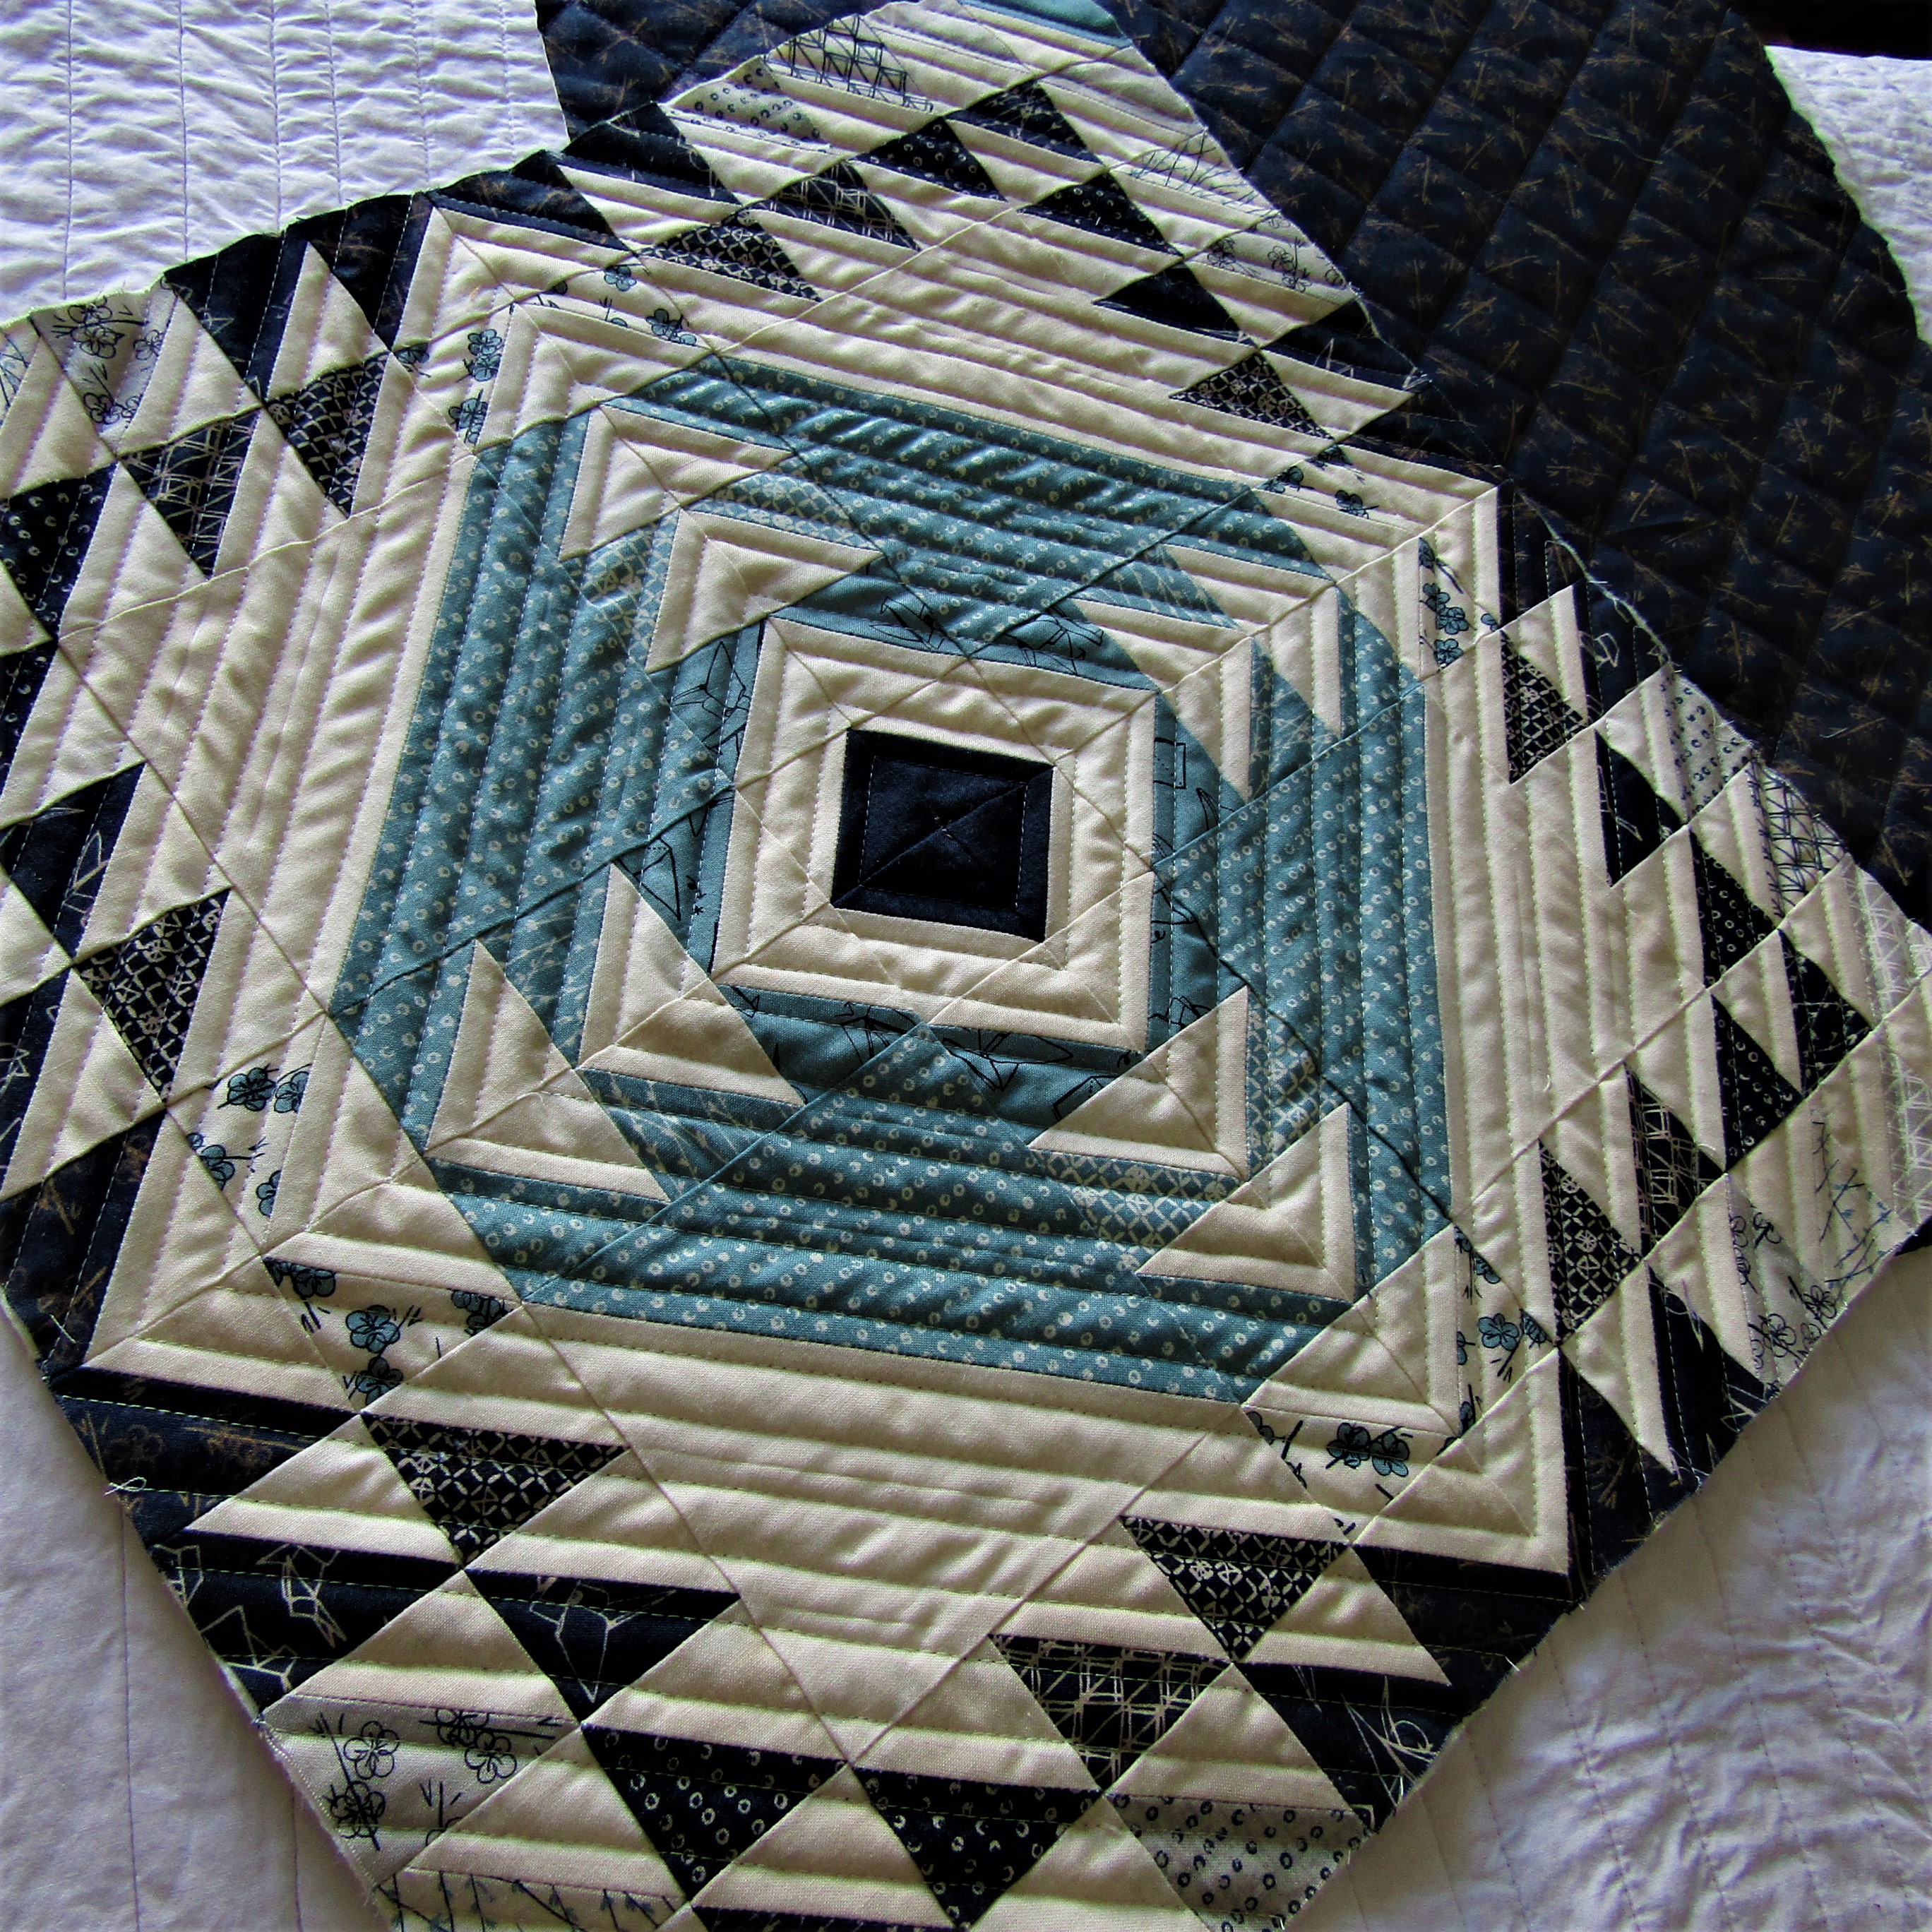 Trim both the front and back pieces as generously as you can, to 18"- 18 1/2" square. Add a zipper using your preferred method. Finish by pinning the front piece to the back, right sides together, and zipper open! Stitch using 1/4" seam allowance, from one side, starting from the edge with the zipper, around to the other edge with the zipper, backstitch at the start and stop. Turn through the open zipper, push out all the corners and press along the edges. Fill with a pillow form of your choice!
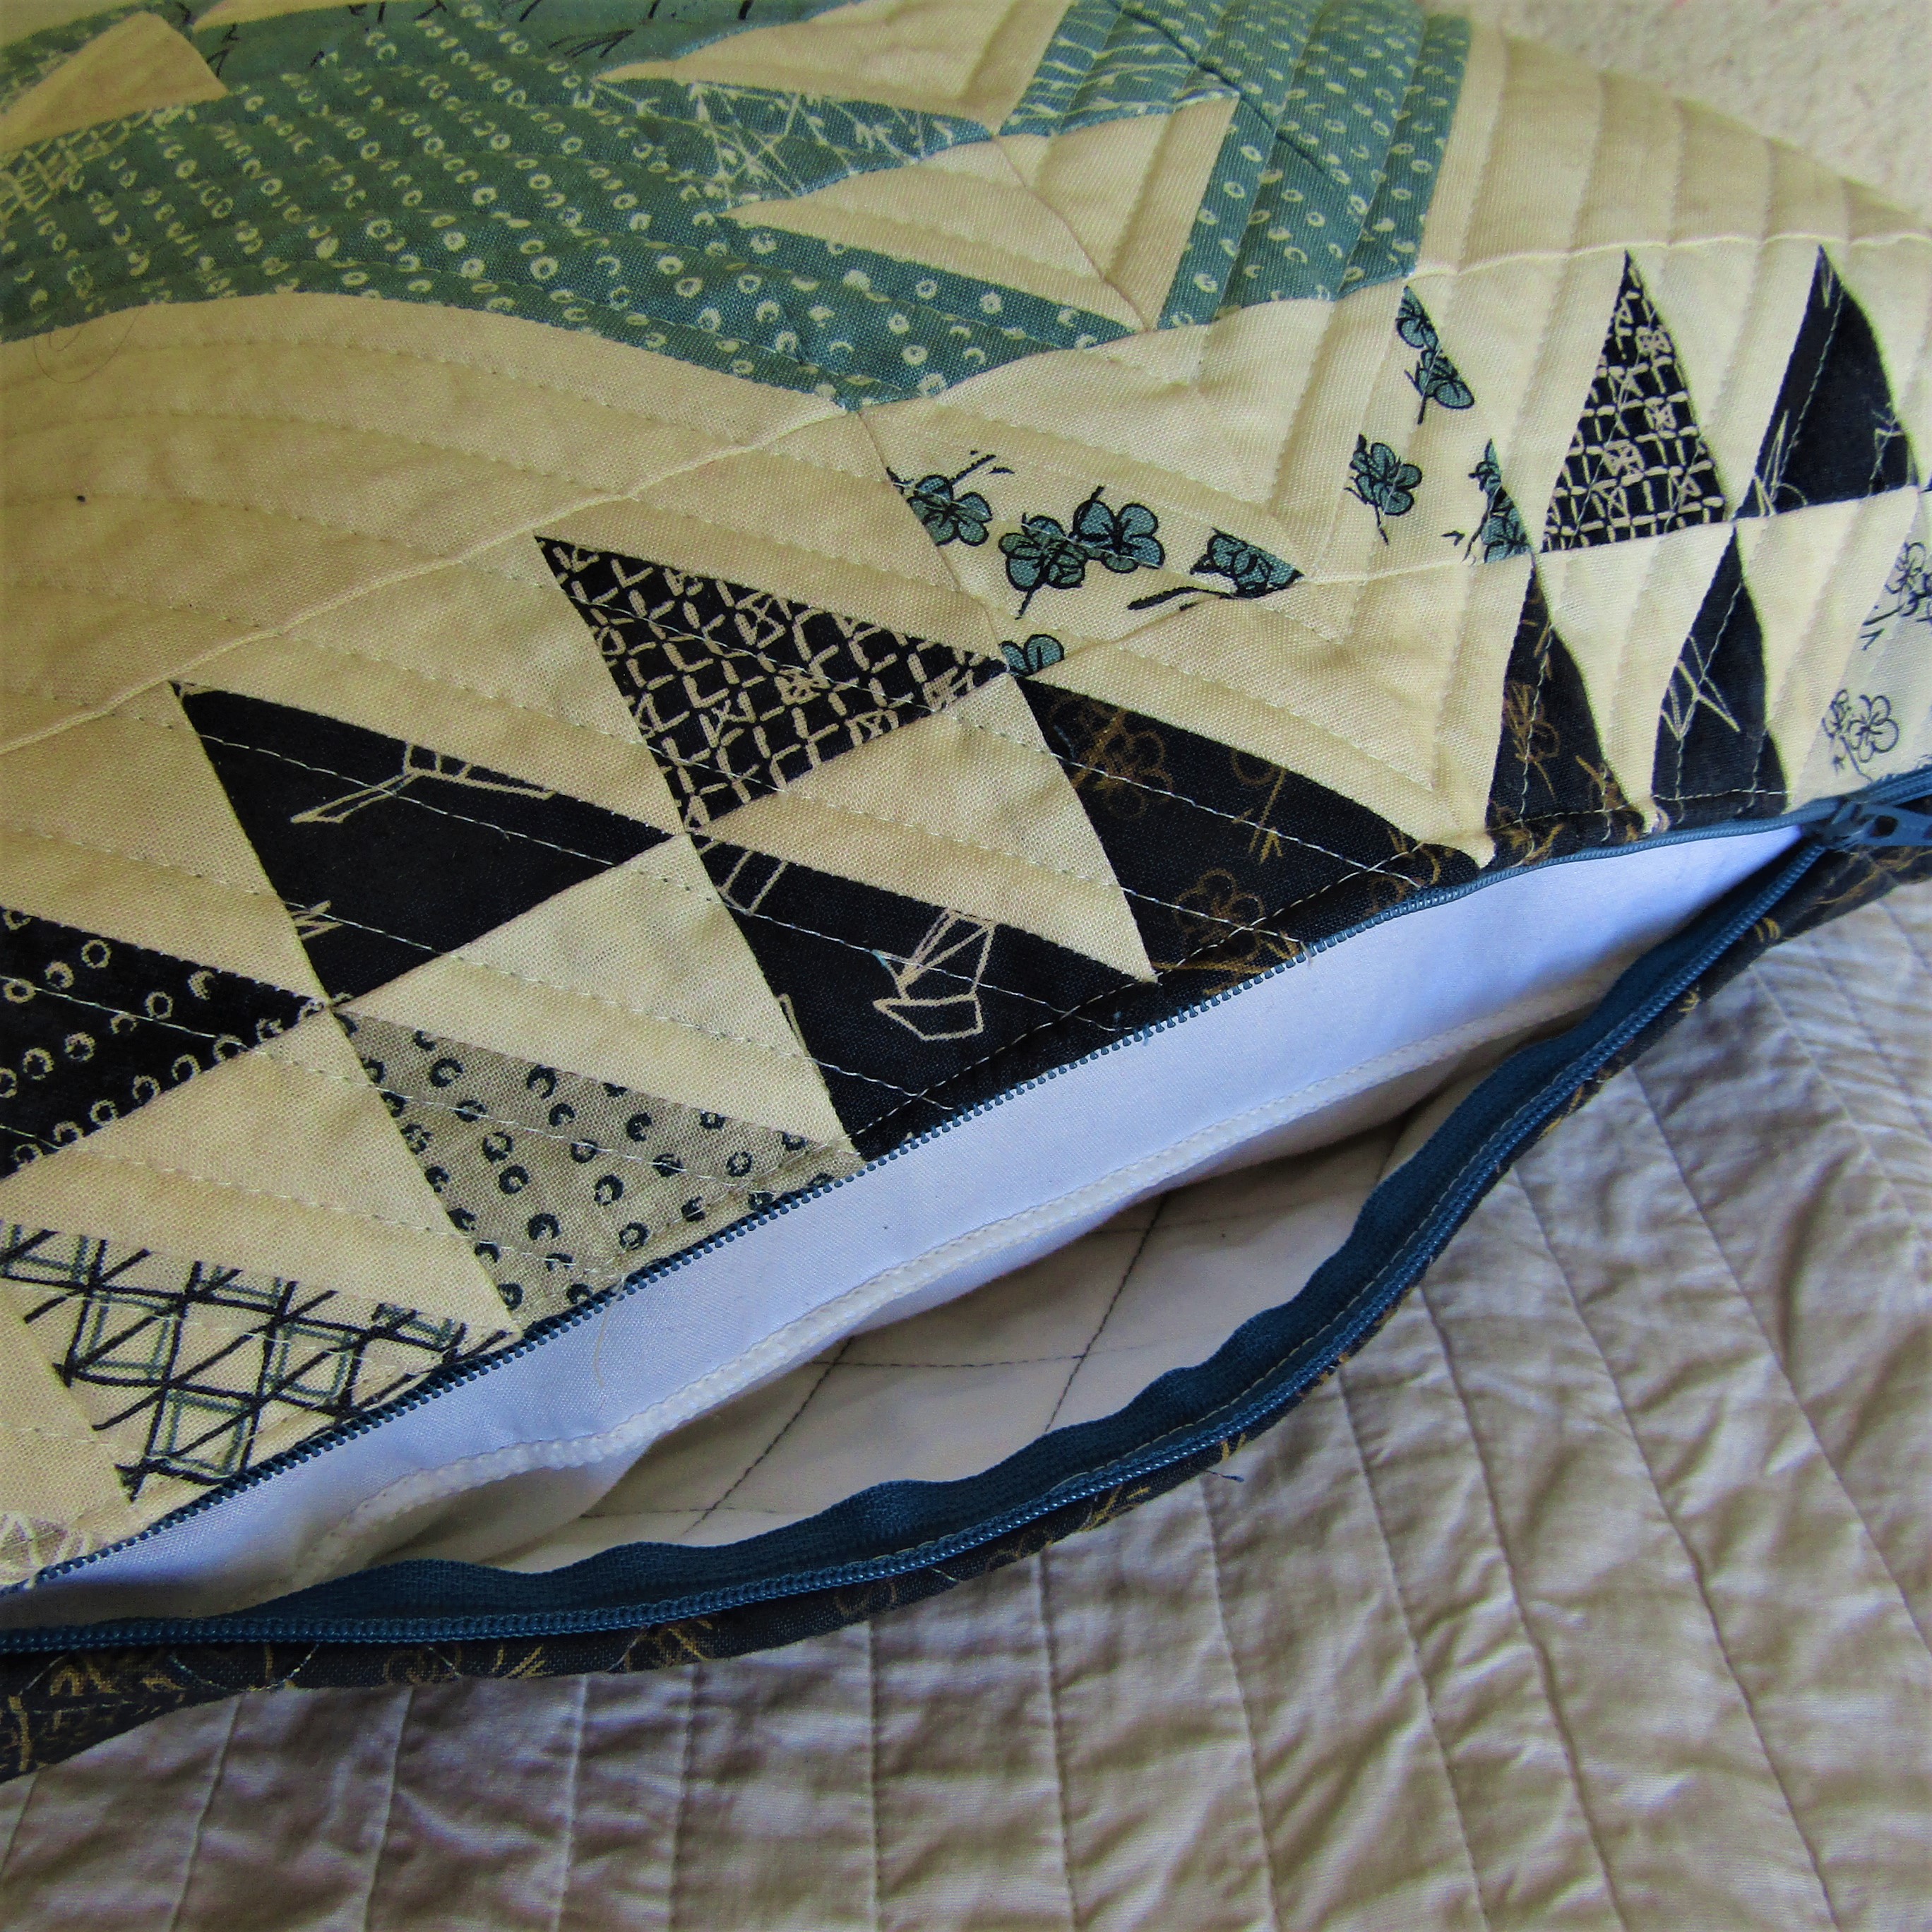
![]() This Pillow Cover finishes at aprox. 17 1/2" x 17 1/2".
This Pillow Cover finishes at aprox. 17 1/2" x 17 1/2". 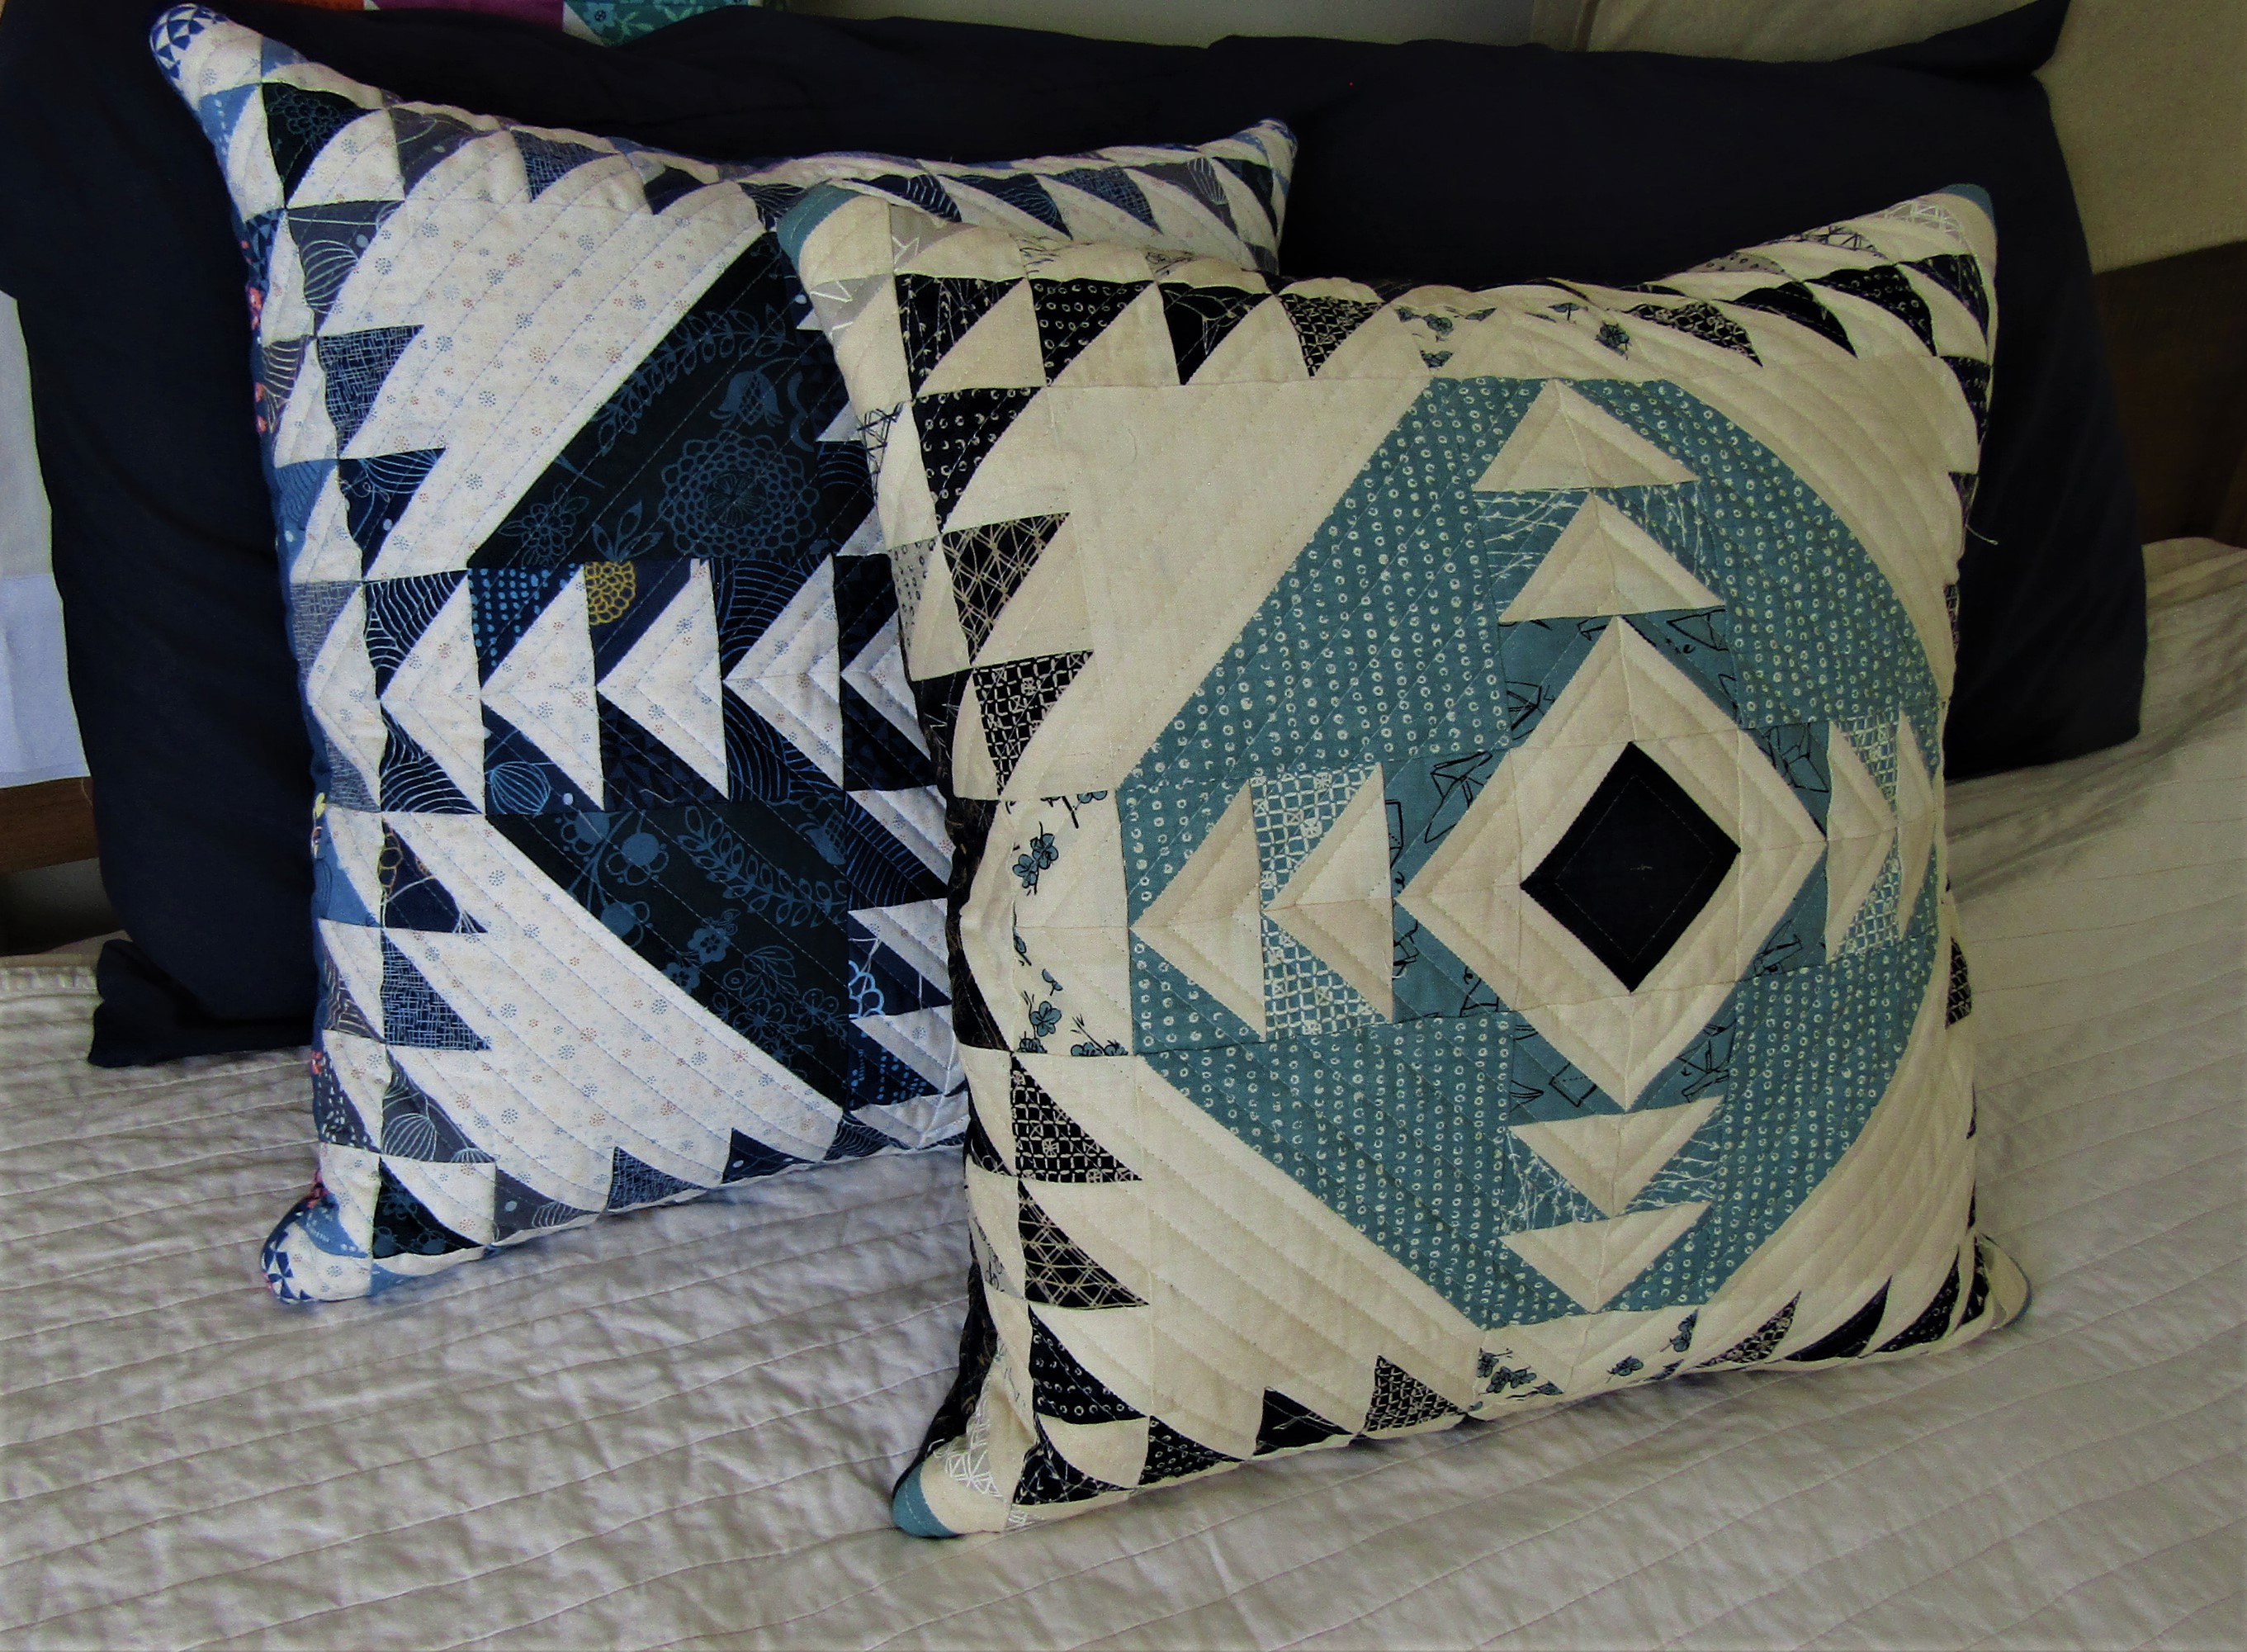 I hope you have enjoyed this recipe! If you decide to make a pillow for yourself, I hope you will share a picture! If you are on Instagram, use the tag #LadyoftheLakepillow, and of course, #modabakeshop, and please tag me @cedarforksarah, I would love to see it! To see more of what I am up to in my sewing room, please visit my blog Cedar Fork Stitches! Sarah Zimmerman {blog: Cedar Fork Stitches} {instagram: @cedarforksarah}
 ![]()
Posted in:
Comments