Welcome to Moda Fabrics!
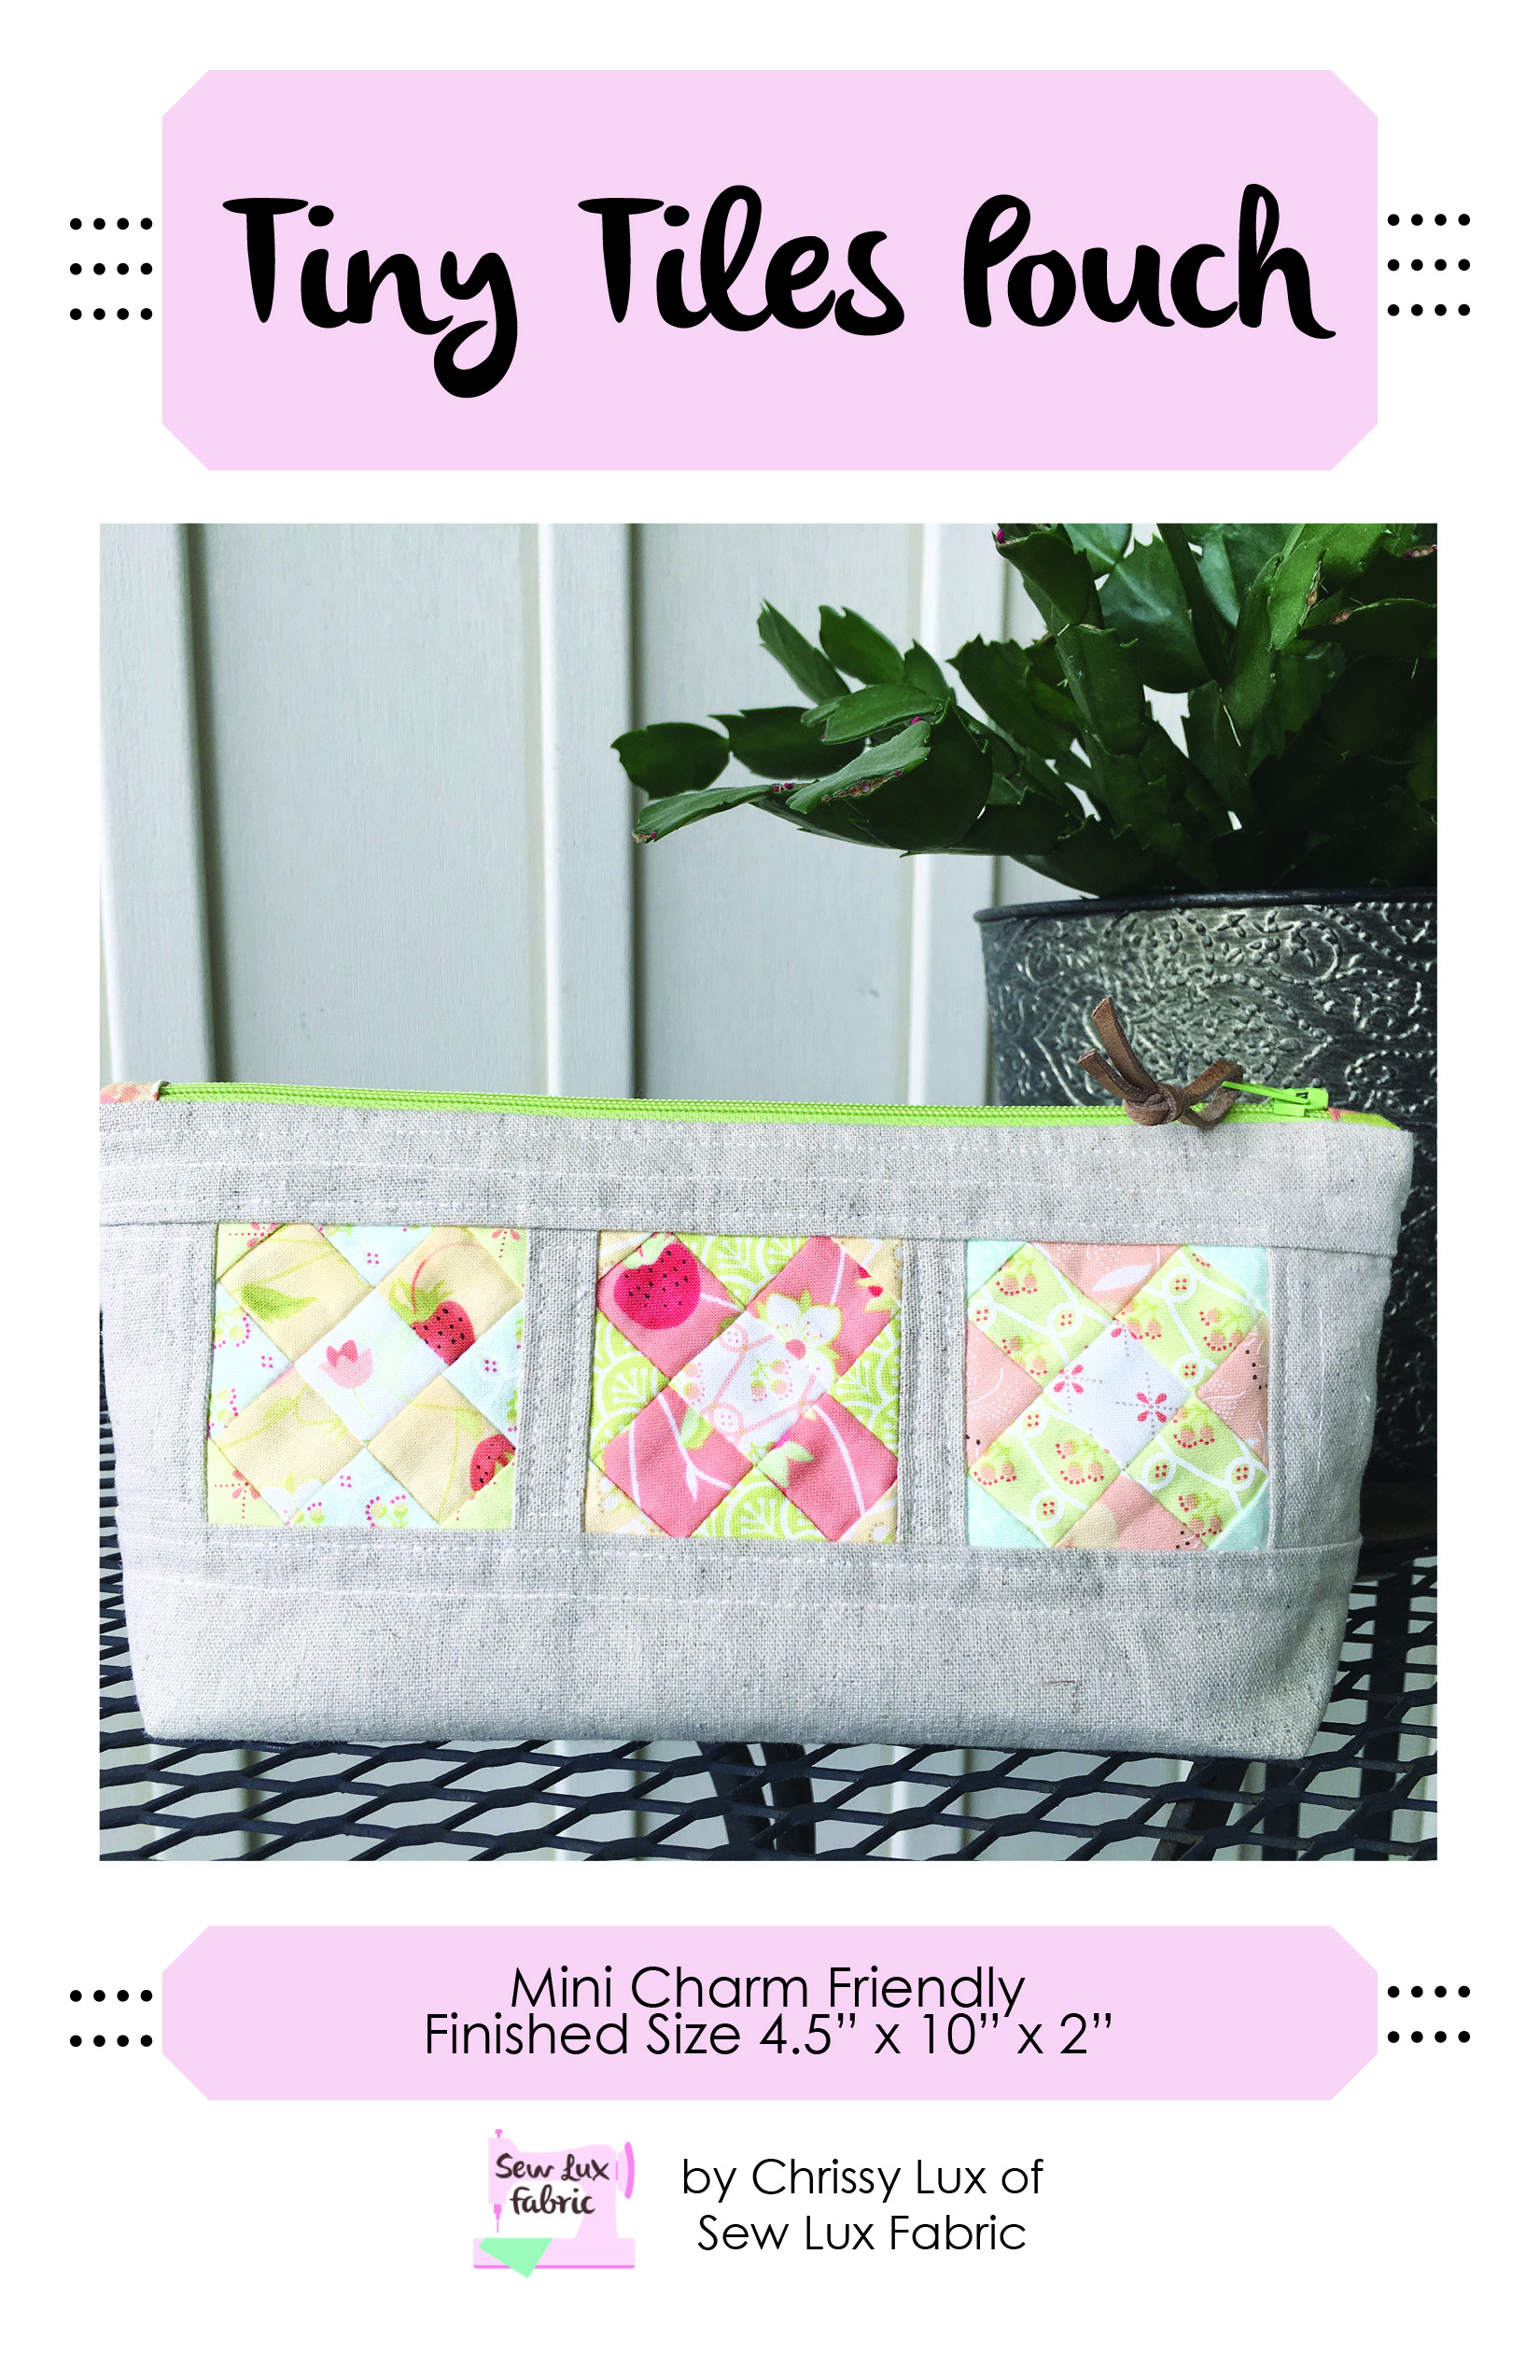
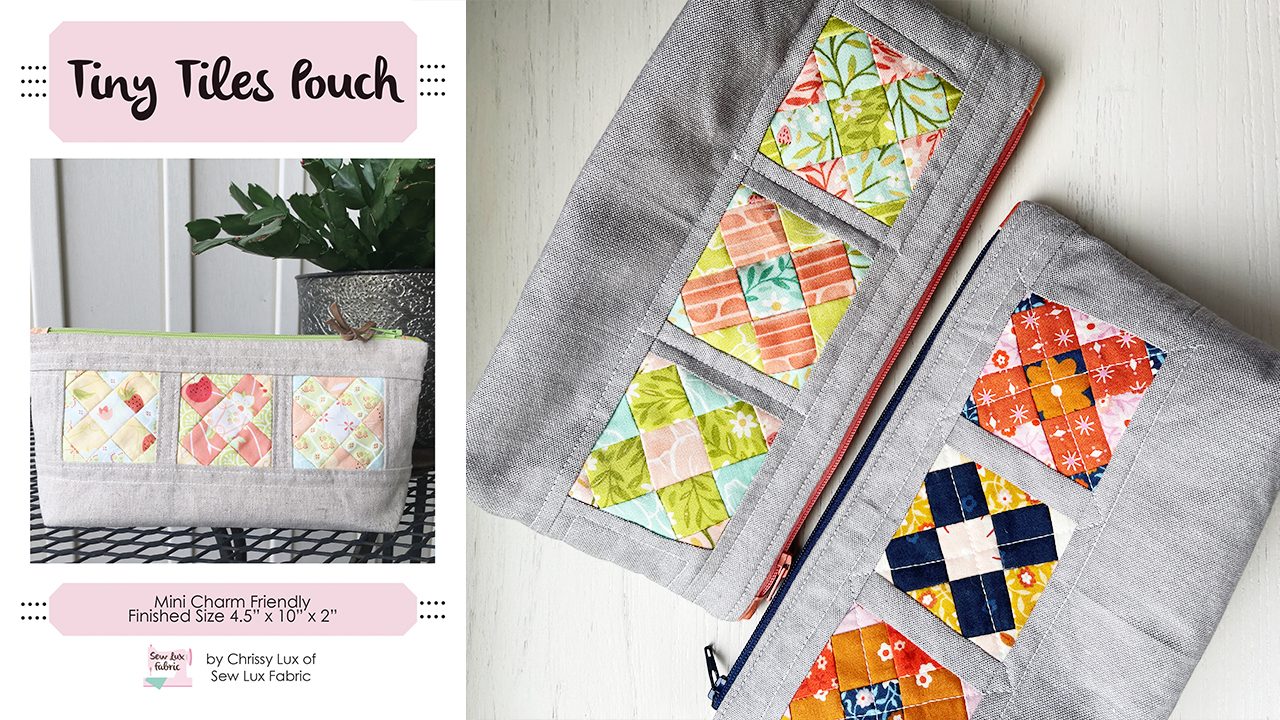
POUCH CLUB: TINY TILES
POUCH CLUB: TINY TILES
Published:
Jun 20 2024 - 08:00
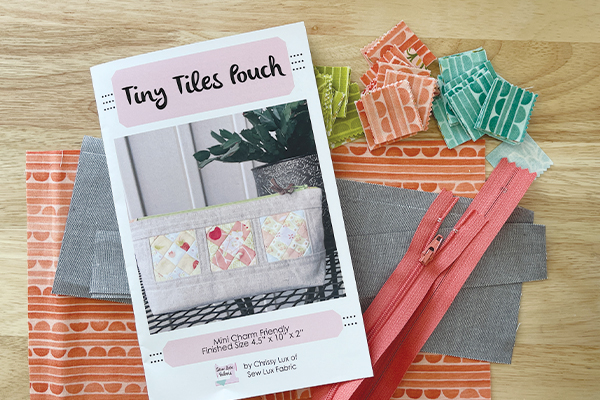
Materials Needed:
You will need the following to complete this project:
- 1 Mini Charm Pack for the Blocks
- 1 Fat Quarter Exterior (Mochi Linen shown)
- 1 Fat Quarter Lining
- (1) 12" longer zipper
- 1/3 yard Interfacing (Pellon SF101 or similar)
- Tiny Tiles Pouch Pattern SLF1905
Paper and PDF patterns as well as kits are available in our shop at Sew Lux Fabric or ask your local quilt shop to carry the paper pattern and kit one up for you!
Note: Be sure to check out the video on our YouTube channel linked at the end of this post for additional tips and video to support this tutorial.
Step 1: Piece the Blocks
Follow the directions in the pattern to cut the fabrics to size. We’re using prints from Kindred by 1Canoe2 for this one. (Kindred should be arriving in shops in just a couple of weeks!)
This pouch involves some tiny piecing. Here are my recommendations for success with tiny piecing:
- Consider making a test block with some scraps first!
- Be sure to use an accurate 1/4" seam allowance
- Press not iron. I will usually gently press open with my fingers and then place the iron on top. I will avoid "smushing" the iron against the seam to limit distortion of the fabric.
- Starch if you like!
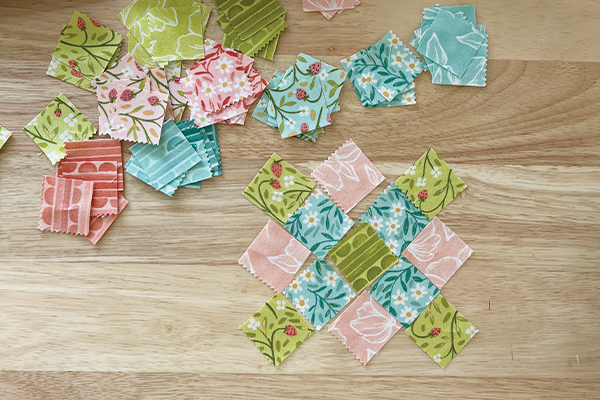
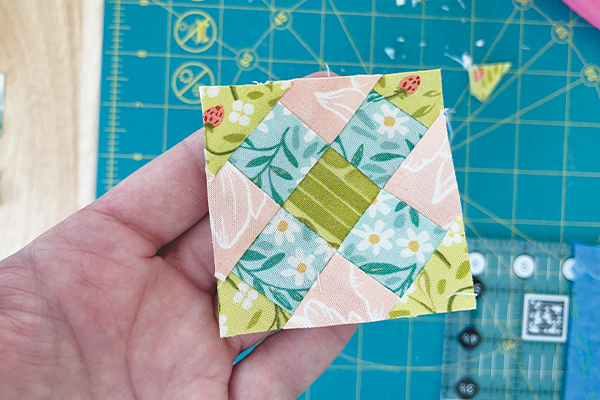
Plan out each block by layout out the squares and then sew them together in rows and then joining rows as directed in the pattern. You can press seams in opposite directions so they nest or you can press them open, if preferred.
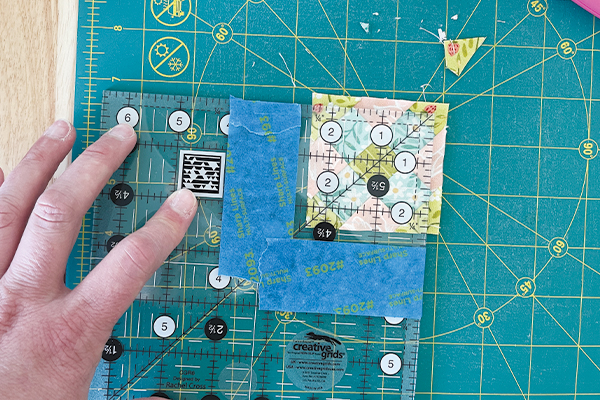
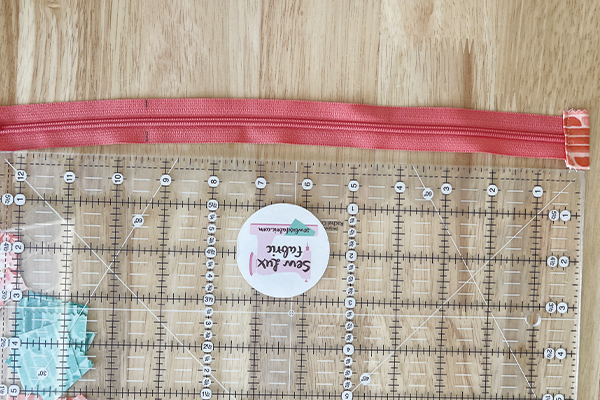
This block gets trimmed to 2-5/8". One tip I wanted to share for this one is to use some painters or washi tape to mark a ruler to help trim these blocks consistently.
As you can see in the photo below, I have placed tape along the area that I want to trim to. And then I am using the 45 degree line on my ruler to "split" the center square in the block in half to keep it centered.
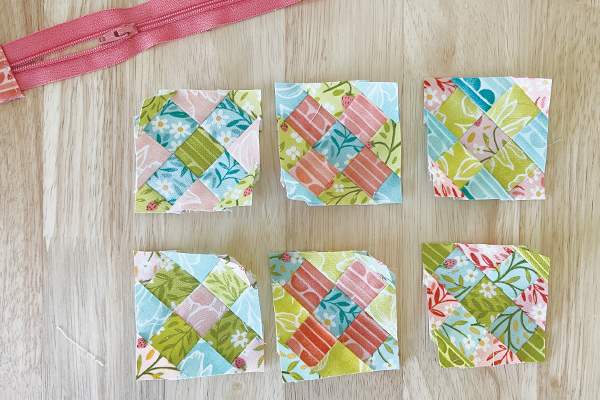
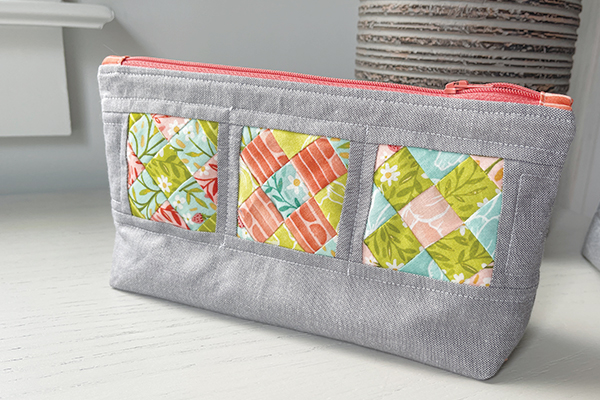
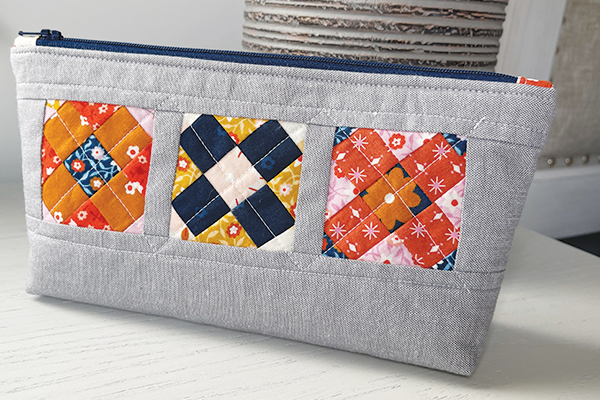
You'll need a total of six blocks - three for each side of the pouch.
These are blocks are so little and cute that I *briefly* considered making a bunch of them for a pillow! :)
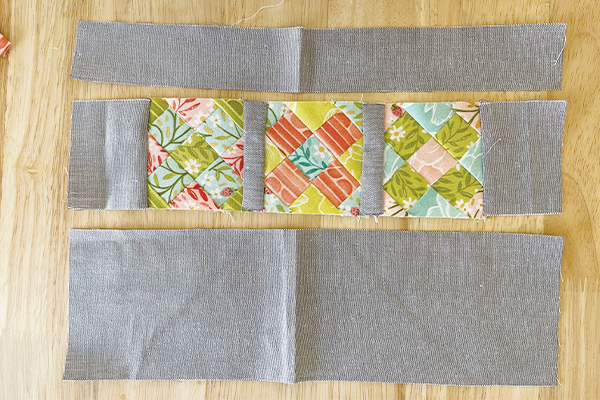
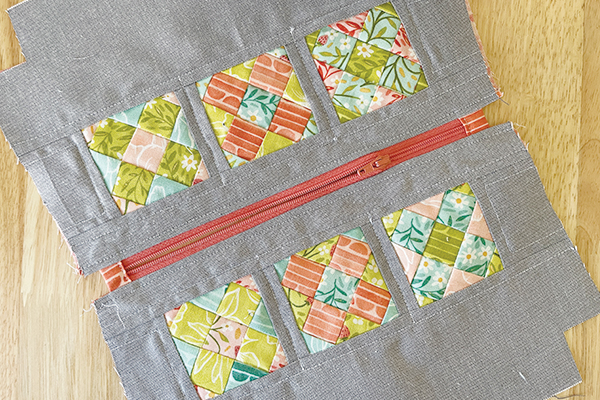
Step 2: Assemble the Pouch Exterior
You'll follow the directions in the pattern to sash the blocks together and then add top and bottom borders to make the pouch exteriors for the front and back.
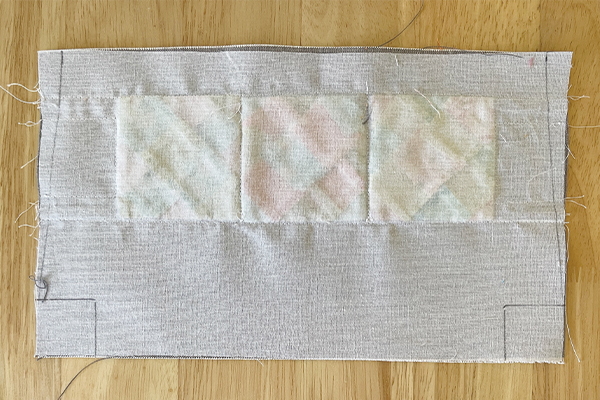
Adhere interfacing to the WRONG side (fusible fleece is also a good option, if preferred).
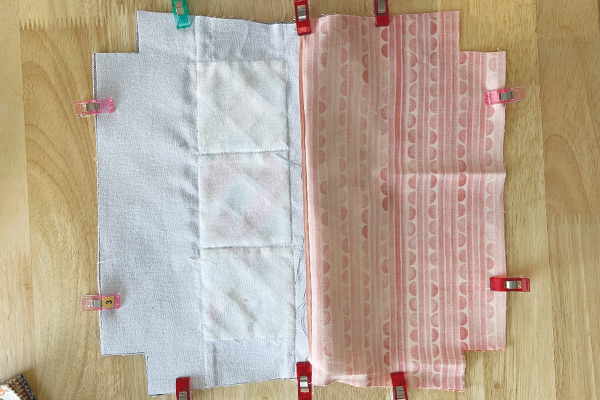
And then follow the directions in the pattern to shape the pouch by trimming the bottom corners and sides of the exterior and lining pieces.
Step 3: Prepare & Install the Zipper
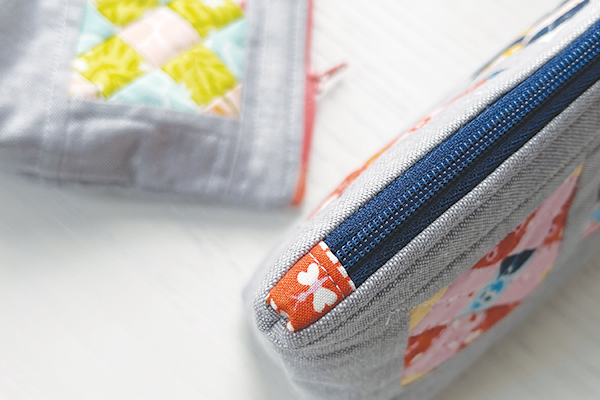
Follow the directions in the pattern to make and add tabs to the ends of the zipper. In the photo below, I am measuring from the end of the first tab to mark where to cut my zipper tape and add the second tab. Don't forget to move the zipper pull so it doesn't get cut off!
Place the zipper face down on the right side of one exterior and align it with the top edge of the pouch, centering it and leaving about 1/2" on either side. The zipper will be sandwiched between the exterior and lining.
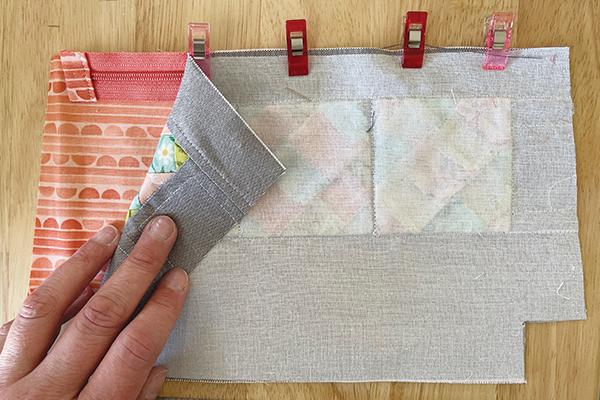
Install the zipper using a zipper foot and top stitch the exterior & lining in place. (Refer to video linked below.)
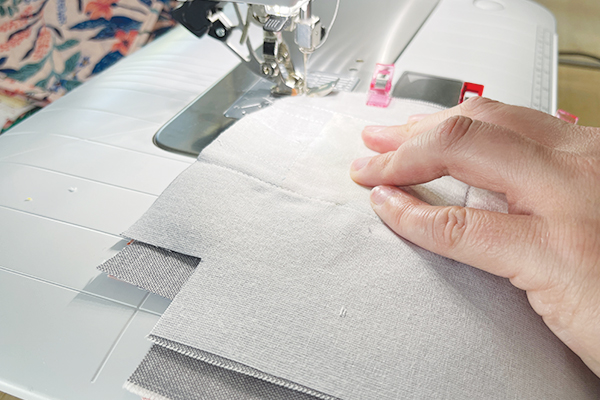
Topstitch zipper in place, if preferred. Your pouch should now look like this:
Step 3: Finish the Pouch
Arrange the pouch so that the exterior is RST and the lining pieces are RST. Make sure the zipper is half open and pin or clip in place around all four sides and sew closed, leaving a 3-4" hole in the bottom of the lining.
Turn the pouch right sides out through the hole in the bottom of the lining, press well and close the opening by hand or machine.
Your finished pouch is now ready to use and enjoy!
I made a second pouch using Lil by Kimberly Kight for Ruby Star Society. For this one, I adhered fusible fleece instead of a woven interfacing (Pellon SF-101) and it added a little more body to the pouch.
I may have also fussy cut the zipper tabs so these teeny tiny butterflies would show on the tab!
For more details and video of the steps above and some additional tips, check out the video.
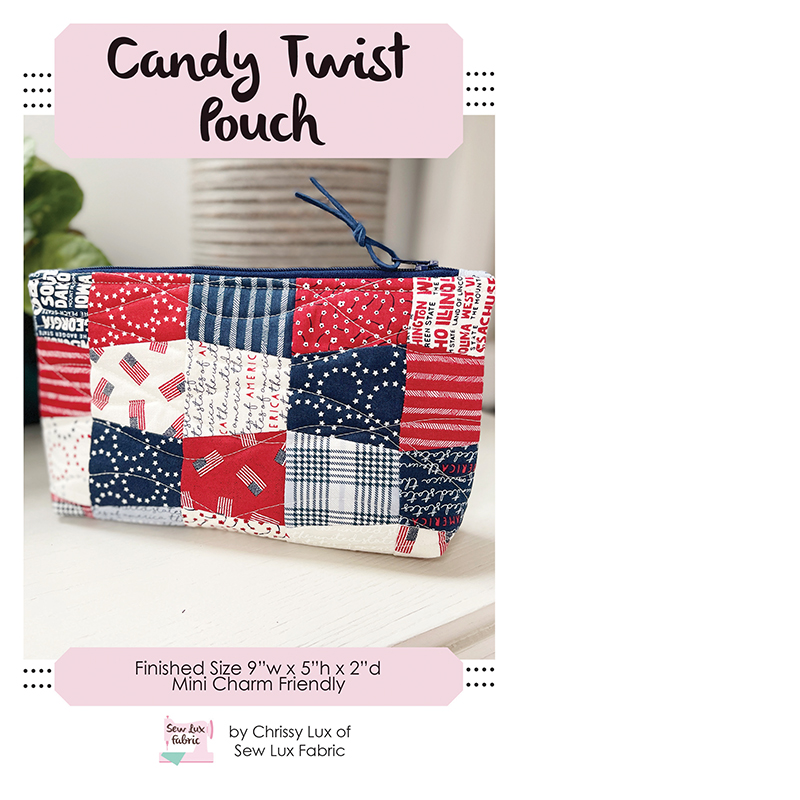
Next month, we will be making the Candy Twist Pouch, a fan favorite at Sew Lux! See you back here on July 18th for our next installment of the Pouch Club Series.
Posted in: