Welcome to Moda Fabrics!
Dec 18: Mary's Merry Go Round
Dec 18: Mary's Merry Go Round
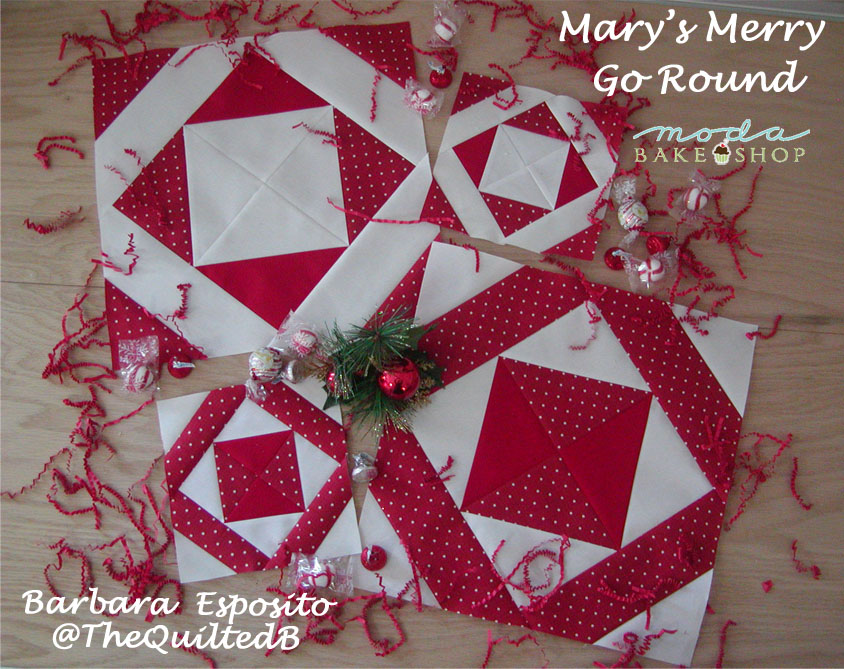
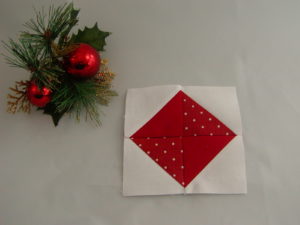
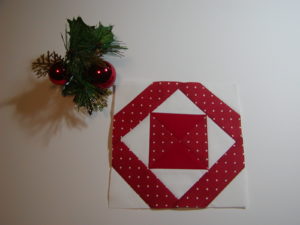
Buon Natale! It’s Barbara Esposito here, and I am excited to be participating in the MBS Countdown to Christmas again this year. This block is “Mary’s Merry Go Round”, block 18 in the series. It is the basic block from my “Mary’s Go Round” quilt which was featured on the Bake Shop on October 16th. The block is named for my Italian mother, Mary. She and my dad made Christmas a magical time for my family. There were hand-made jammies, a felt Christmas tree Advent calendar (complete with charms from bracelets purchased at Woolworth), snowballs tossed on the roof to sound like the reindeer, and cookies too numerous to list. The Hifi stereo in the living room resounded with the voices of Dean Martin, Frank Sinatra, and Mitch Miller (do YOU know all the words to "Must Be Santa"?) It was a time of family and festivities, and I am honored to be sharing this Christmas block in her memory.
This block finishes at 6" or 12" square.
| 12" Block | 6" Block |
| From white fabric, cut (4) 5" squares, (3) 2-3/4" x 22" strips | From white fabric, cut (4) 3" squares, (2) 1-5/8" x 22" strips |
| From red print #1, cut (2) 5" squares, (3) 2-3/4" x 22" strips | From red print #1, cut (2) 3” squares, (2) 1-5/8" x 22" strips |
| From red print #2, cut (2) 5" squares | From red print #2, cut (2) 3” squares |
Before you bake:
- All seams are SCANT quarter inch
- HST (half square triangles) are sized to be trimmed down
- RST - right sides together
- Very helpful but not necessary: a 12-1/2 inch (6-1/2 inch) square ruler to make the 45 degree triangle cuts a breeze.
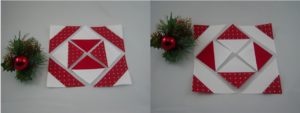
- Bonus: Because of the way the 45 degree triangle strips are cut, you will be able to make two different blocks from the strip sets!
Here are the directions for the 12-1/2 inch block, sizes for the 6-1/2 inch block are in parenthesis.
For the HST Units:
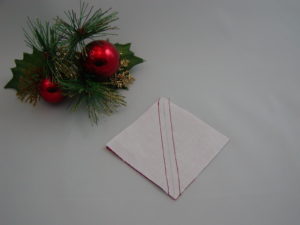
- Place the red and white 5-inch (3-inch) squares right sides together (RST).
- Draw a diagonal line on each block.
- Sew a SCANT ¼ inch on either side of the diagonal line.
- Cut the squares apart on the diagonal line to make two HST units from each square set.
- Trim to 4-1/2 inches (2-1/2 inches), and trim off dog ears.
Press open to the dark side for two units, to the light side for 2 units. This will allow the seams to nest.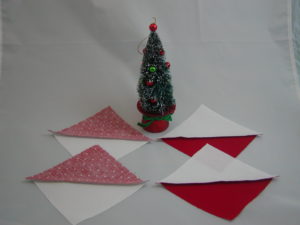
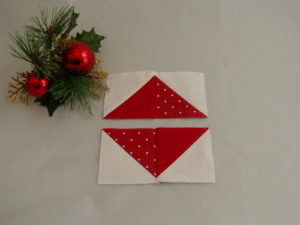
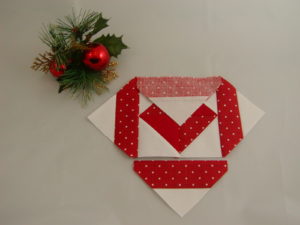
- Assemble the four blocks as shown to make two units, 4 HST's each. Set aside
For the strips:
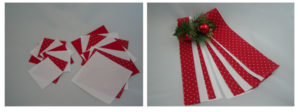
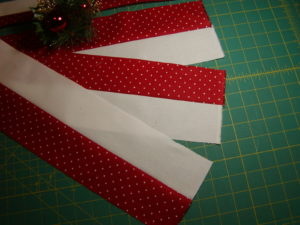
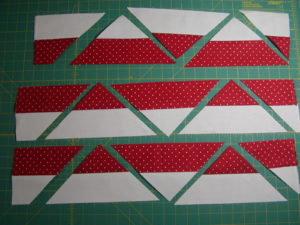
- Place a red and a white strip RST and sew along the 22 inch side to make a strip set
- Press open to the dark side to make three (two) strip sets 22 inches long by 5 inches (2-3/4 inches) high.
Cutting the 45 degree triangles:
IMPORTANT: for the 12-1/2 inch block, two strip sets will be cut with red on the top, one with white on the top. For the 6-1/2 inch block both strips can be the same way.
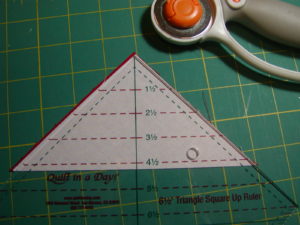
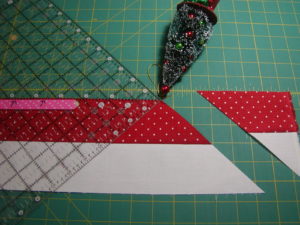
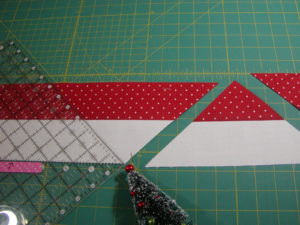
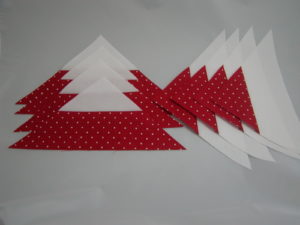
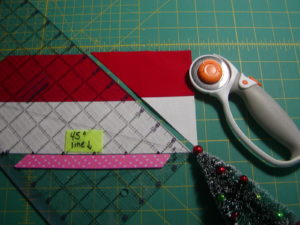
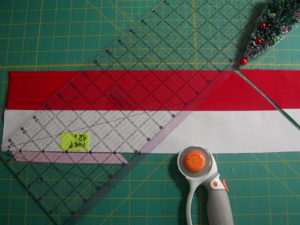
If you are using the 12-1/2 inch square (6-1/2 inch square) ruler it is simply a matter of aligning the center diagonal line on the ruler with the top then bottom of the strip set and aligning the point of the last cut with the point on the ruler. You should have three (four) triangles from each strip set.
NOTE: If you are not using one of these square rulers no worries! You simply need a ruler with a 45 degree line. Scroll down to the bottom to see how to cut the triangle units using a standard 6 by 24 inch ruler.
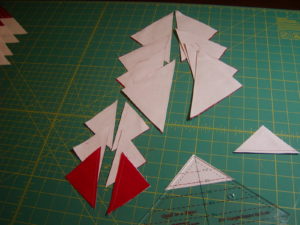
Gather the triangles in groups of four.
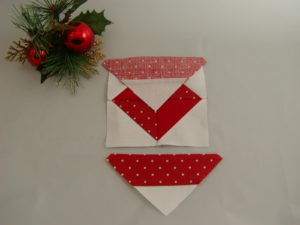
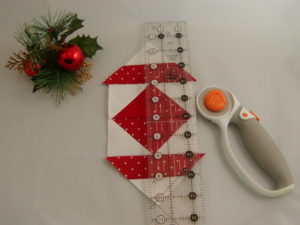
Add these triangles to the HST units, top and bottom first. Trim off those dog ears. Add remaining two units to the sides.
Square up to 12-1/2 (6-1/2) inches.
Cutting 45 º triangles with a standard ruler:
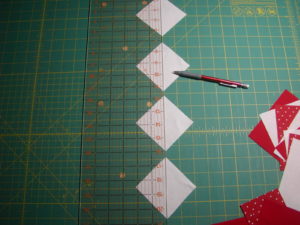
Mark the 45 degree line on your ruler. As above, place this line on the bottom of your strip set.
Make the cut and then flip the ruler over, right to left so you are looking at the back of the ruler.
With this method you always line up the 45 degree line with the BOTTOM of the strip set.
Again, make the cut and then flip the ruler back, left to right so you are looking at the correct side of the ruler, lining up the 45 degree line with the BOTTOM of the strip set.
Continue this process to the end of the strip set. A bit more work than the 12-1/2 (6-1/2) inch square ruler but the end result is the same!
This block finishes at 6" or 12" square.
My Mother absolutely loved to sew. It didn't matter if it was a dress (or two) for the prom, or a special set of tiny PJ's for a grandson's well loved teddy named Ta. I would love to tell you that I followed in her footsteps from a very young age, but that would be naughty of me and, well, I'm counting on Santa to bring me a LOT of fabric. I was introduced to quilting about 15 years ago, and I have never looked back. I believe it would have pleased her to know that my quilting brings me as much joy as her sewing brought her. Maybe the apple truly doesn't fall far from the tree after all. Buon Natale mom, Buon Natale.
Barbara Esposito
{instagram: @theQuiltedB}

