Welcome to Moda!
Honey Bun Quilt-along
Honey Bun Quilt-along
We're going to spend the long weekend making these simple blocks with Honey Buns!
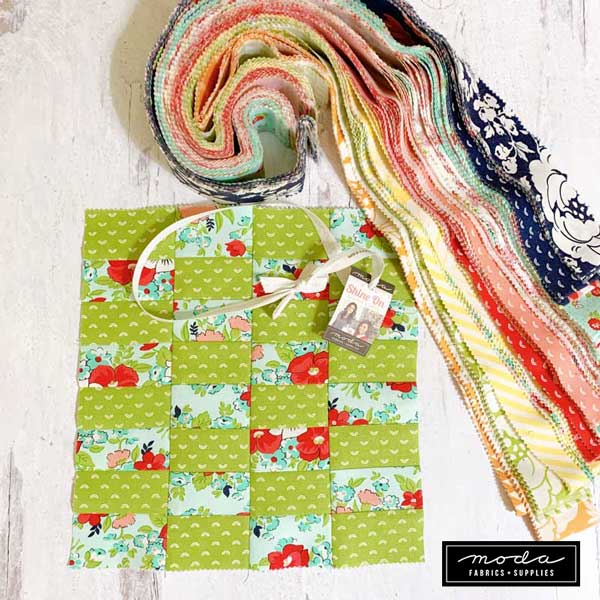
Shine On by Bonnie & Camille - coming in October.
What is a Honey Bun? It's a Moda pre-cut with forty strips measuring 1.5" x 42" wof.
The block is made with strips, and strip sets. It's a variation of a checkerboard block, but we're going to call this Honey Games. Or Bun & Games. (I wanted to call this "Beer & Skittles" but I was out-voted. "Beer and Skittles" has a British origin, and it means enjoyment, relaxation and amusement, an easy time.)
So let's get started!
Block details.
- The block is strip-pieced!
- There are thirty-two rectangles in each block, each rectangle finishes at 1" x 2".
- Each block finishes at 8" x 8" - 8.5" x 8.5" including seam allowance.
- Two Honey Bun strips - 1.5" x 42" - makes 1 block.
- One Honey Bun of 40 strips makes 20 blocks.
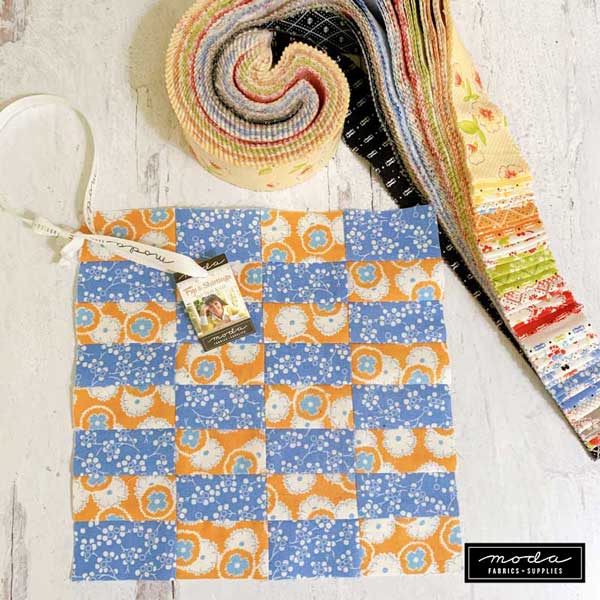
Fig & Shirtings by Joanna Figueroa for Fig Tree & Co. - coming in November.
Quilt Options. We're using just Honey Buns for a quilt top that is entirely 1" x 2" rectangles, but adding sashing and a narrow border is an option.
- Use 1 Honey Bun to make 20 blocks. Set 4 x 5, the finished quilt will measure 24" x 32". With 1" sashing and a 2.5" border, the quilt will finish at 32" x 41".
- Use 2 Honey Buns to make 40 blocks. Set 6 x 6, the quilt will measure 48" x 48". With 1" sashing and a 2.5" border, the quilt will finish at 58" x 58".
- Use 3 Honey Buns to make 56 blocks. Set 7 x 8, the quilt will measure 56" x 64". With 1" sashing and a 2.5" border, the quilt will finish at 67" x 76".
- Use 4 Honey Buns + 1 Fat Eighth to make 81 blocks. Set 9 x 9, the quilt will measure 72" x 72".
The first thing to do is get the strips ready to use. We have three suggestions to share - what our Designers recommend.
Betsy Chutchian puts her Honey Buns and Jelly Rolls right into the dryer. Nope, she doesn't unroll them first. She's done this for years and says that this method removes most of the lint, shrinks the strips a bit, and gets them ready to use. Set the dryer to run on High Heat for about 6 to 8 minutes. Then Clean the lint filter and repeat, running the strips through three cycles. The strips will come out of the dryer as though they had been pressed, and no, they are not in a tangled wad. Then she puts the pile of strips in a big basket next to her machine and pulls out combinations as she sews. Genius! (She told me to make sure I stress that there will be a lot of lint, so keep cleaning the filter.)

Corey Yoder also recommends removing as much lint as possible before stitching. She uses a lint roller-remover to de-lint both sides of the Honey Bun. Use as many sheets as needed.
Laurie Simpson likes to starch her Honey Bun strips before she uses them. So she empties a bottle of starch or Best Press - 16 oz. - into a pail, then adds the unrolled strips. Squish them around so they are saturated. Grab a couple of strips and squeeze out the excess starch, then hang the strips on a drying rack. This works with full and half-strips - 42" and 21" long. (When I did this recently, there was enough starch left in the pail to saturate approx. three 1/2-yard pieces of fabric.)
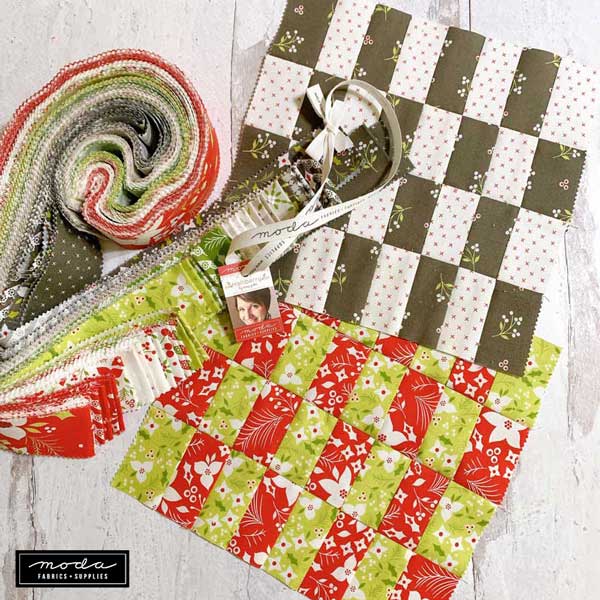
Holliberry by Corey Yoder - in shops now.
Before you start sewing, here is something to consider.
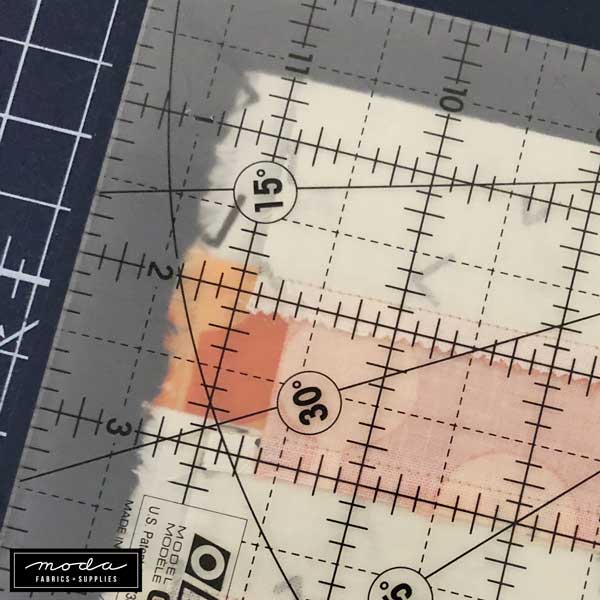
TIP JAR - Accuracy. This step will eliminate most of the pinked edge, allowing for greater accuracy in piecing the block.
Seam Allowance. Use a very scant 1/4" seam allowance - smaller than normal. I will describe the seam as a "scant scant", two to three threads over from where you would usually stitch.
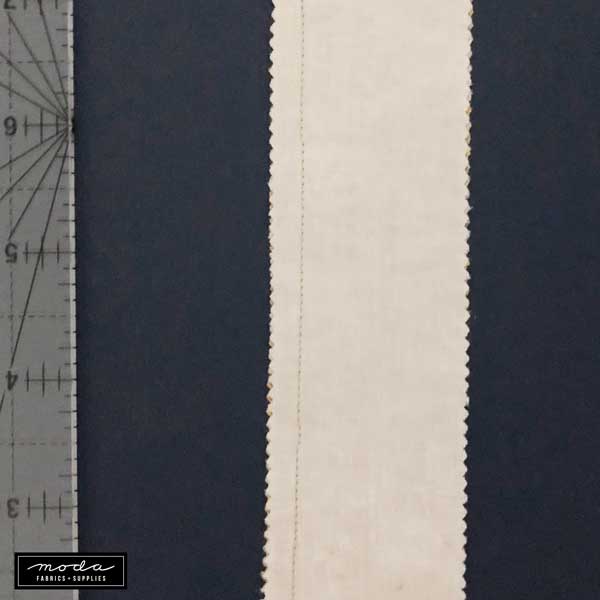
Trimming. Place the strip on the cutting mat with the seam on the left side. If you're left-handed, reverse that.
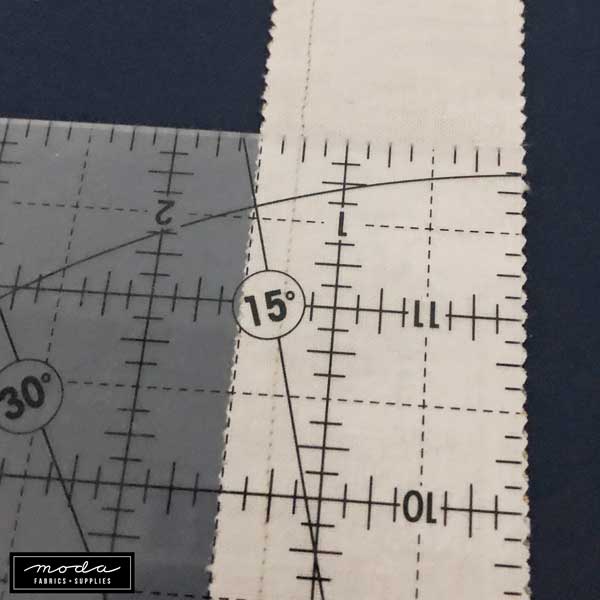
Measuring. Place a rotary ruler on the strip with the 1.25" line on the seam-stitching. (A 12" long ruler works well for this, just move it up the strip before cutting.)
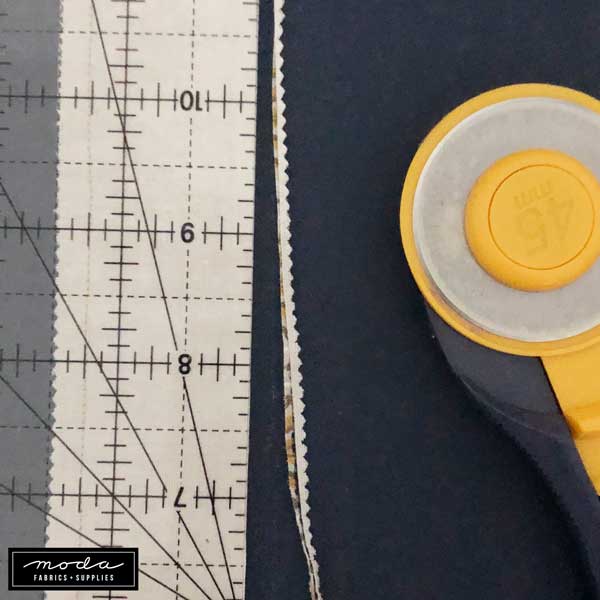
If it looks like you're about to cut more than this - stop! Check the line on the ruler. And the amount trimmed will sometimes be less than this.
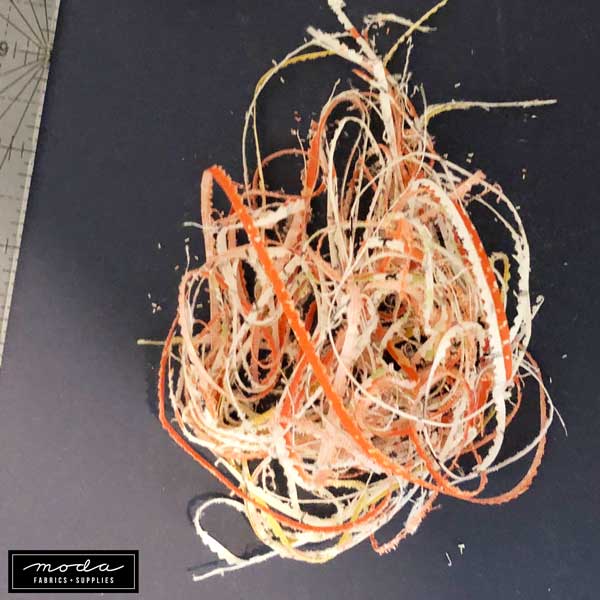
And yes, you'll need a lint roller to clean off the cutting mat.
After joining the first two strips, all seams are a regular scant 1/4".
Making a Block - A test block is recommended.
Select two coordinating-contrasting strips - 1.5" x 42". Optional - cut the strips in half to yield two strips - 1.5" x 21".
With right sides together, join the strips on the long edge with a scant 1/4" seam allowance. Press the seam in one direction.
- If the strips have been cut in half, make two matching strip sets.
- For a 42" long strip set, cut the strip set in half to make two pieces - 2.5" x approx. 21".
Using a scant 1/4" seam allowance, join the two strips to make a four-strip strip set.
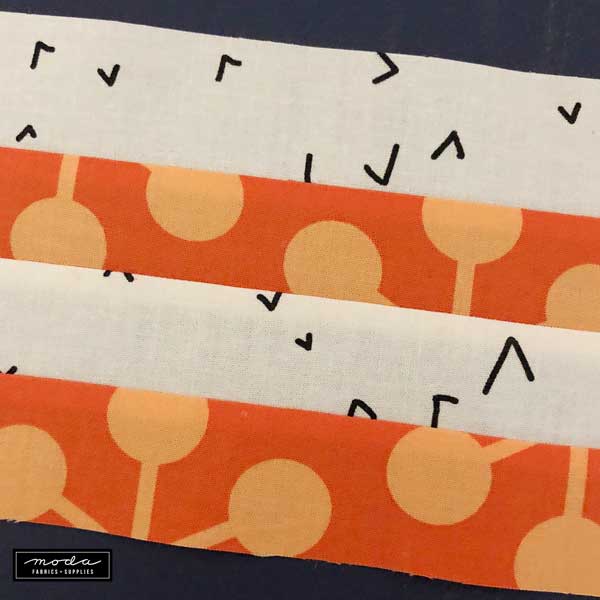
Press the seam so that it's going in the same direction as the other two seams. (The strip will measure 4.5" x 21".)
Cut the strip set in half to yield two pieces that are at least 10.5" long.
I fold the strip in half to quickly check that I have two pieces that are 10.5" long - don't forget to account for any selvage.
Join the two pieces to make an eight-strip strip set - 8.5" x 10.5".
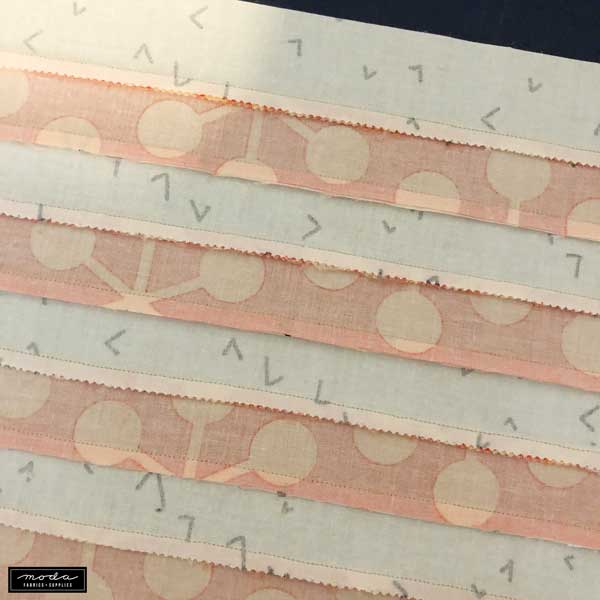
Press the seams so they are all going in the same direction.
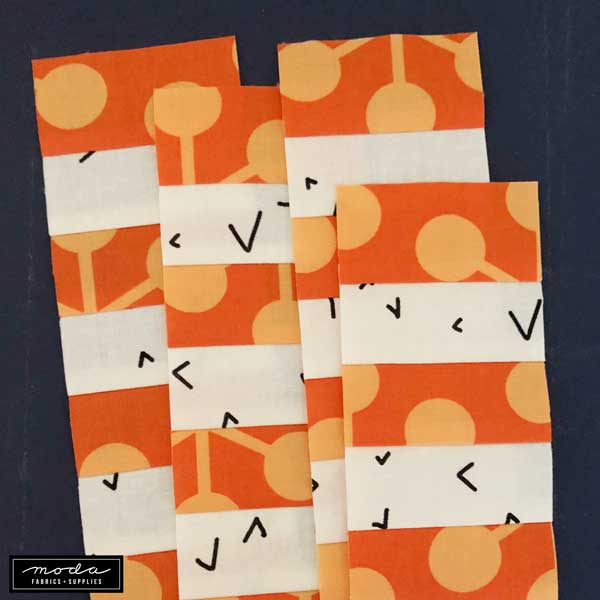
From the strip set, cut 4 segments that are 2.5" wide. (They should measure 2.5" x 8.5".)
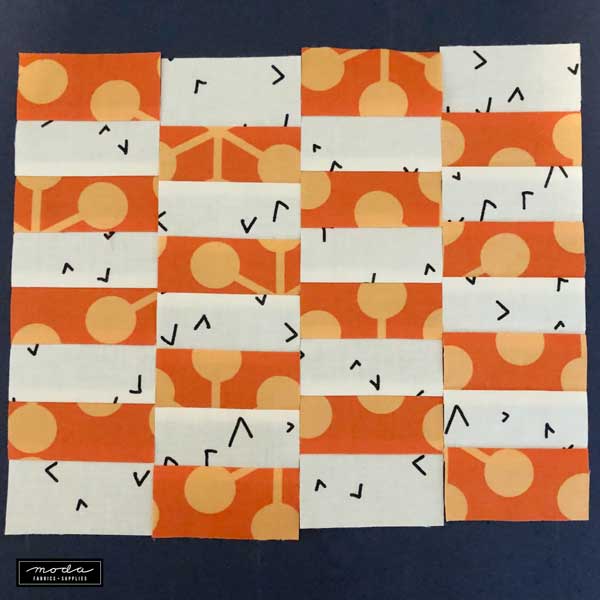
Lay out the strips as shown.
Using a scant 1/4" seam allowance, join the strips. Press the seams in one direction.
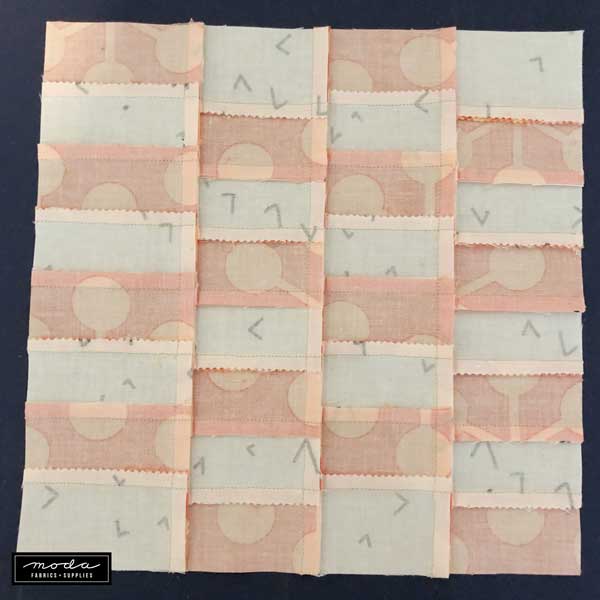
Or don't press the seams yet as it is possible - likely - that the vertical seams will need to be pressed in the opposite direction when the quilt is assembled.
The block will measure 8.5" x 8.5".
Repeat!
One thing to note on the block above... look at the long seam on the left. Do you see how the seams are going "up"? That strip-segment would have been on the top as I joined the first pair of strips, and on top for the second matching pair of strips. Meaning, the seams were going against the presser foot as I was joining them. That's my preference, but it doesn't matter which way they are going - up or down. Just be consistent! If you join the segments the same way every time, the seams on all of your blocks will be the same. Why is that important? If all of my blocks look like this on the wrong side, all of the seams will abut when I'm joining blocks.
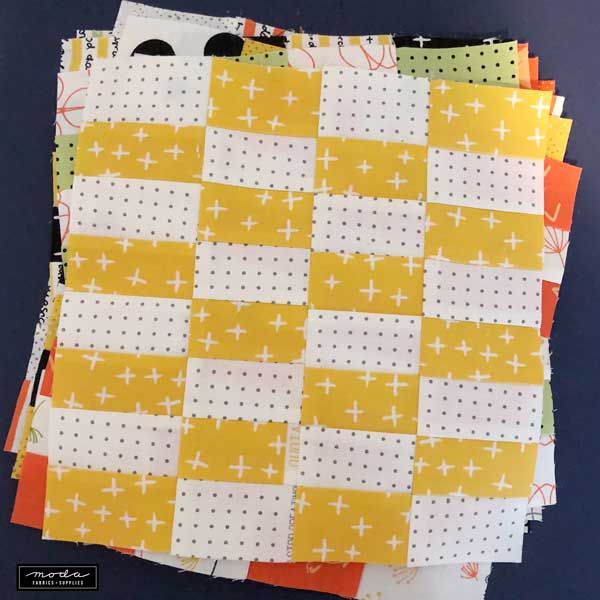
The block will measure 8.5" x 8.5".
Ten blocks made. Even with the extra trimming step, I made these in less than two hours.
How many more to make? I am planning - hoping? - to make 72 blocks, making my quilt 64" x 72".
The fabrics are Quotation by Zen Chic, the collection will be in shops in October. I have three Honey Buns and a few 1/4-yard and 1/2-yard pieces of the Ivory and Yellow prints.
Are you looking at the block on the top? Do you remember where I wrote to account for the selvage when measuring the strip set before cutting it in half?
Oops.
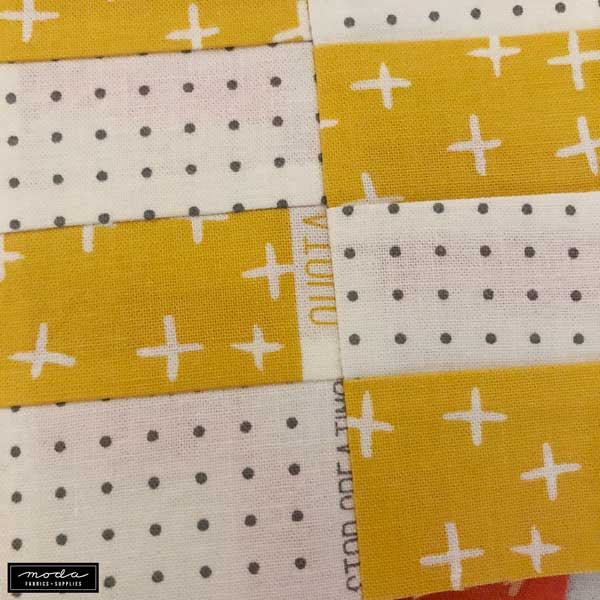
This is my favorite block. I hope it winds up in the middle of the quilt.
If you'd like to download this tutorial - Honey Games ~ Moda Honey Bun Quiltalong.
One more idea to share... so what would this block look like if it was a bit scrappier?
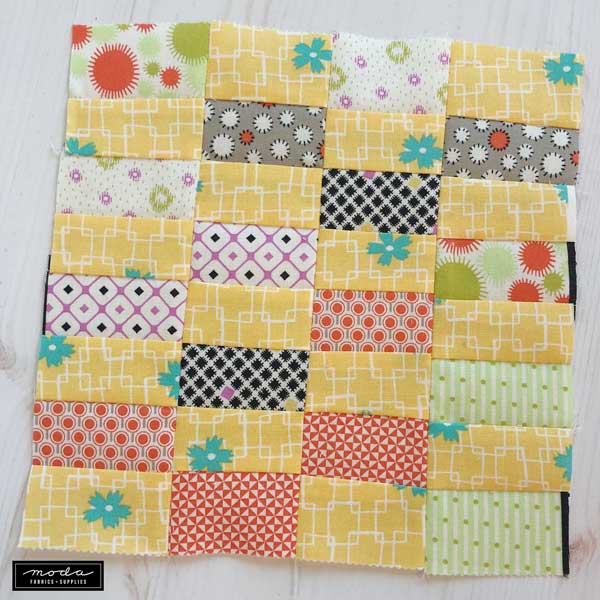
Moda Lissa - Lissa Alexander, Moda's Director of Marketing - is mixing Honey Buns of Jen Kingwell's Fine & Sunny with some of the Lollies in the collection. She cut strips across the width of fabric - 1.5" x 42" - and joined them to a Honey Bun strip.
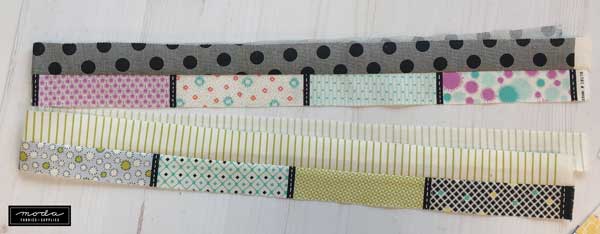
The "stitch lines" on the Lollies are a generous 5" apart so the cutting works perfectly. Join the two strips and cut them in half on the middle stitch line.
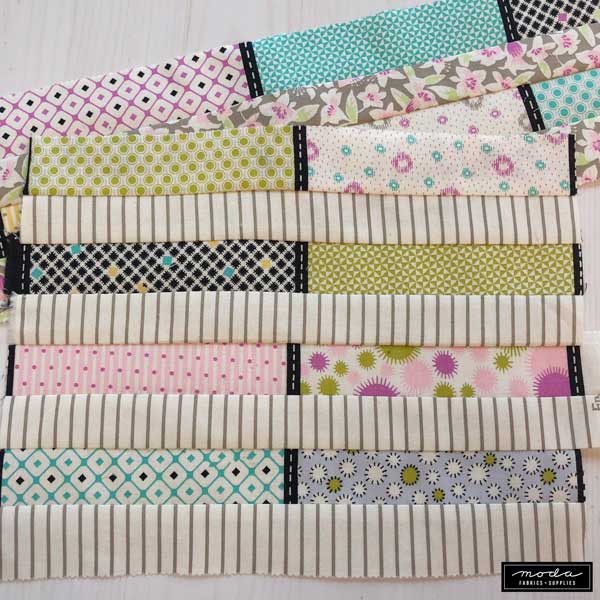
Join the two halves to make a four-strip set - paying attention to the placement of the stitch lines on the Lollies. (That's the strip set in the back.) Cut on the middle stitch line and join the two halves to make the eight-strip set. Then cut the 2.5" segments and join them to complete the block.
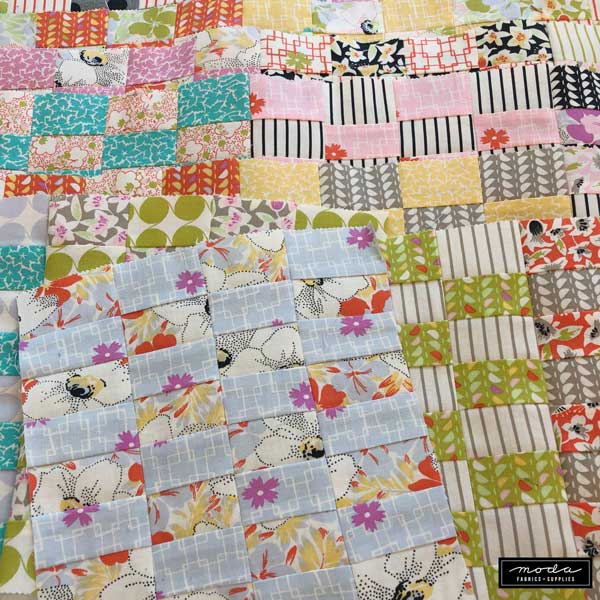
How colorful and cool are these? (Yes, she's worked a head a little bit so that we'd have something to share on this blog post.)
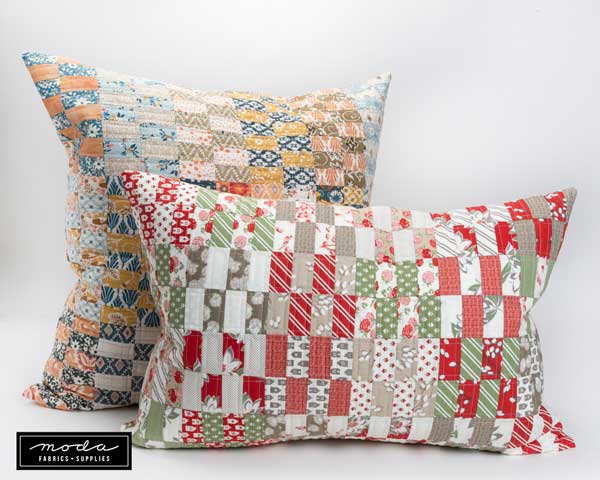
Because this block is so much fun to make, we kept playing with Honey Buns.
Square Pillow. It's the one in back, it measures 24" x 24" and it's made with 18 half-blocks set in three rows of six blocks each. The half-blocks finish at 4" x 8". The steps are the same as those shared above, but the strip sets are shorter. The pillow requires 1/2 of a Honey Bun - either 18 full strips, or 36 half-strips. Cut the strips in half to yield 36 strips - 1.5" x 21". Join two strips, press, cut in half to yield two two-strip pieces that are at least 10.5" long. Join those, press, and cut that to yield two four-strip pieces that are at least 5.25" long. Join those, press and cut 2 segments from the 8-strip piece that are 2.5" wide. The fabrics are Cider by BasicGrey, in shops in November.
Rectangle Pillow. This is made 24 quarter-blocks that finish at 4" x 4" for a pillow that measures 16" x 24". It can be made with 12 strips - 1.5" x 21" - or with 48 strips that measure - 1.5" x at least 10.5". Using 21" long strips will make two matching blocks. For greater variety in combinations, we cut the strips to 10.5". Join two 1.5" x 10.5" strips, press, cut in half to yield two two-strip pieces that are at least 5.25" long. Join those, press, and cut that to yield one four-strip piece. From the four-strip piece, cut two segments that are 2.5" wide. Join the two strips to make a block that measures 4.5" x 4.5" with seam allowance. The blocks were turned sideways, just to be different. (But are they really sideways? ) The fabrics are At Home by Bonnie & Camille, it's in shops now.
We're sharing this on social media using the hashtag - #modahoneybunqal
If you missed the downloadable tutorial - Honey Games ~ Moda Honey Bun Quiltalong.
Have fun with Honey Games! Bun & Games.

Comments